Smart Sensing
Wireless Smart Sensor WS1
Wireless Smart Sensor WS1 Pro
Wireless Smart Multi-Sensor GS1
Wireless Smart Multi-Sensor GS2

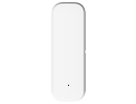
Wireless Motion Sensor MS1

Air Quality Sensor AQS1
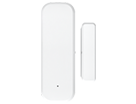
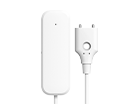
Smart Leak Detector LD1

Smart Watch HW1

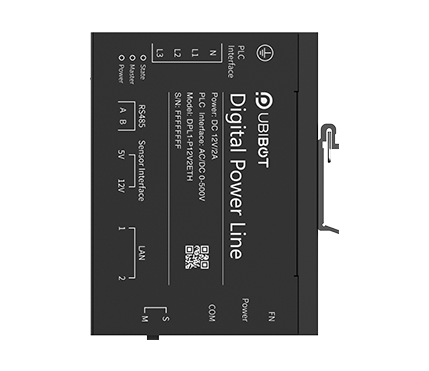
Digital Power Line DPL1
Industrial-grade Temperature and Humidity Sensor THS-NEX

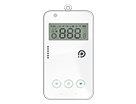
Wireless Temperature & Humidity Sensor WS4
Smart Control
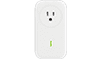
Wireless Smart Plug SP1

Network Relay NR1

Metering Network Relay NR2
Smart Video

IP Camera IPC

Vision AI Box VA1 / VE1
LoRa Gateway
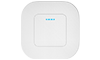
LoRa Gateway GW1
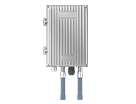
LoRa Outdoor Gateway GW1-O
LoRa Node

LoRa Data Collector DC1-L-1RS
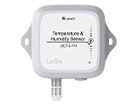
Temperature and Humidity Sensor DC1-L-TH
LoRa CO2 Sensor DC1-L-CO2

LoRa Sensor WS1 Pro-L
LoRa Smart Sensor GS1-L
PT 100 Temperature Sensor DC1-L-PT
Atmospheric Pressure Sensor DC1-L-THP
LoRa Magnetic Contact Sensor DC1-DM
LoRa Temperature & Humidity Sensor DC1-TH
LoRa Water Leak Sensor DC1-LD


 Click [Pending Commands] - [New Command], enter the upgrade instruction at the command string and click Save. Please confirm the upgrade instruction with the after-sales staff.
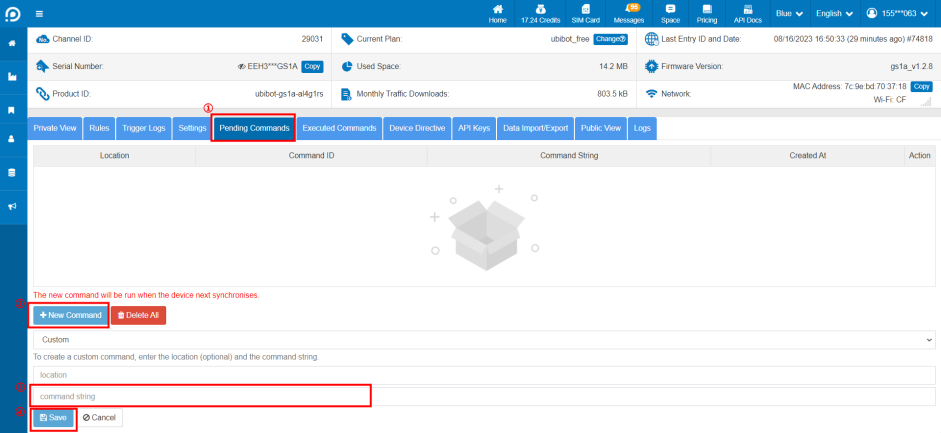 After saving, the device will execute the command and complete the upgrade in the next sync cycle, please check the device firmware version and confirm it in time.
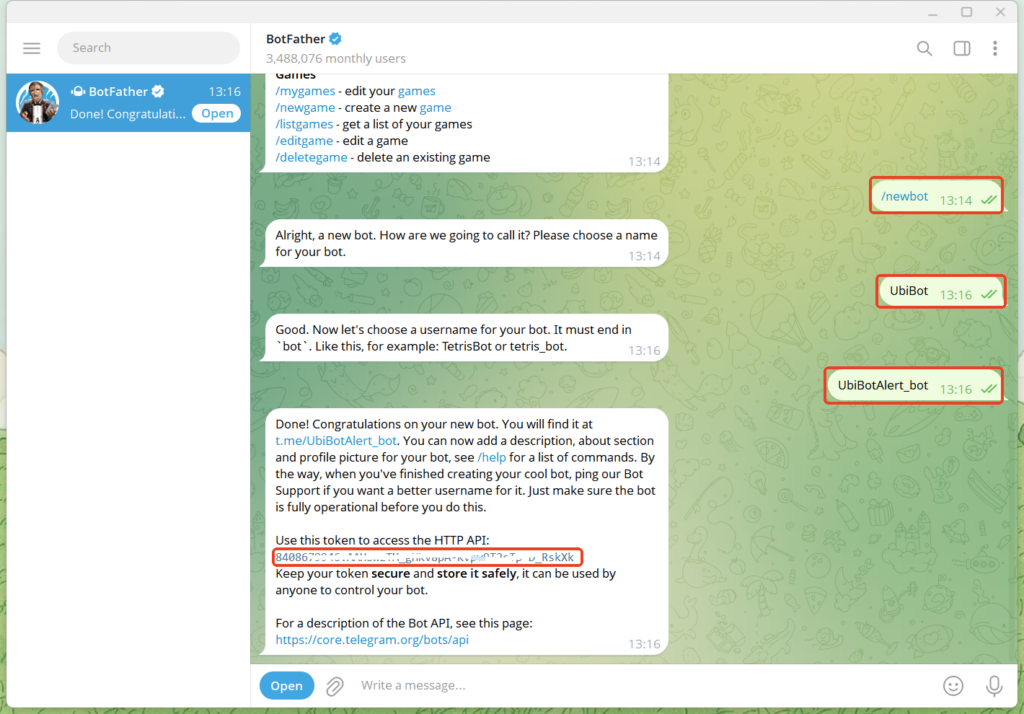
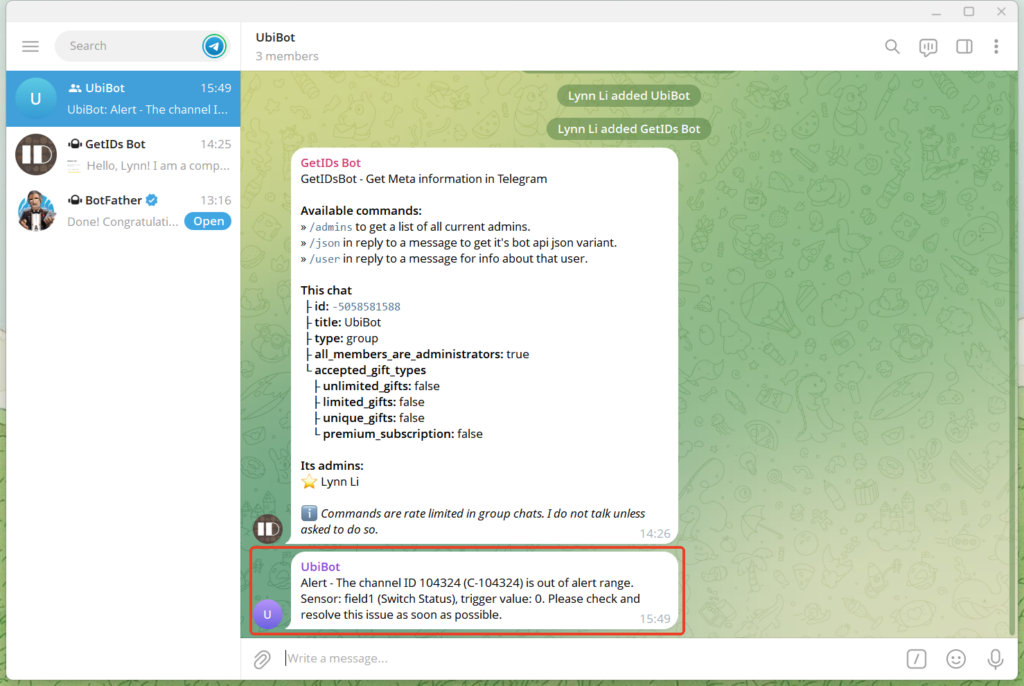
 Note: If the bot cannot be added, it may be due to privacy mode settings or group permission restrictions. Please follow the steps below to adjust the settings.

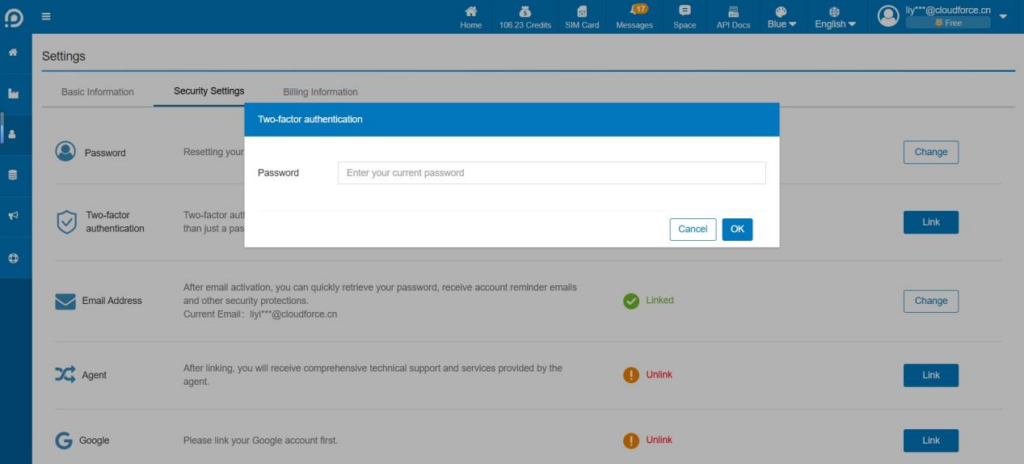
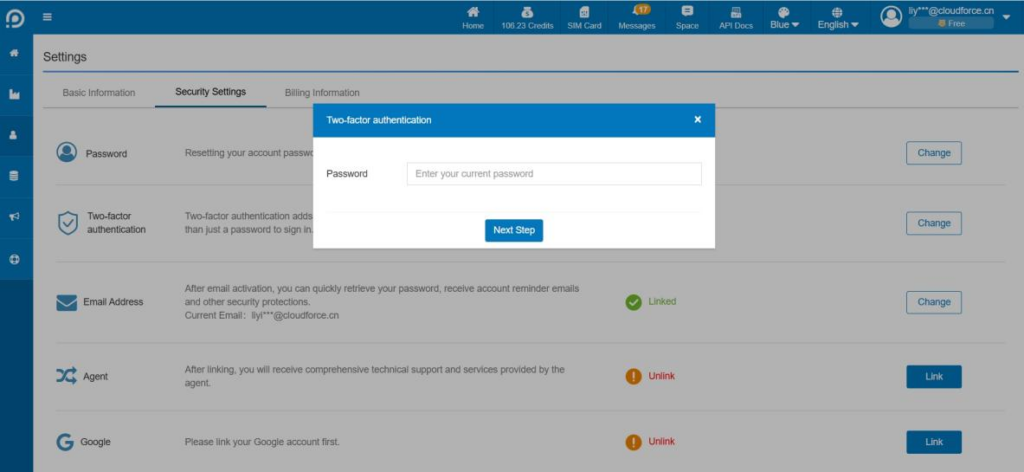
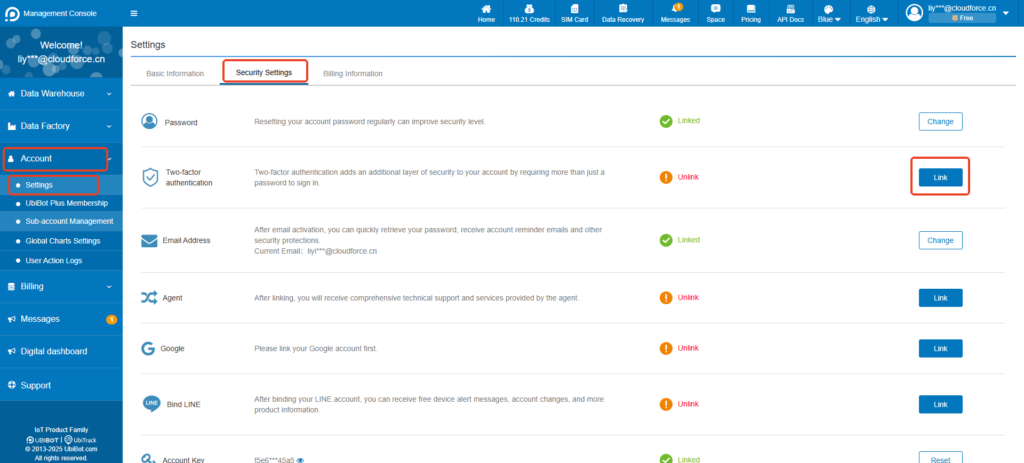 ② Enter your password.
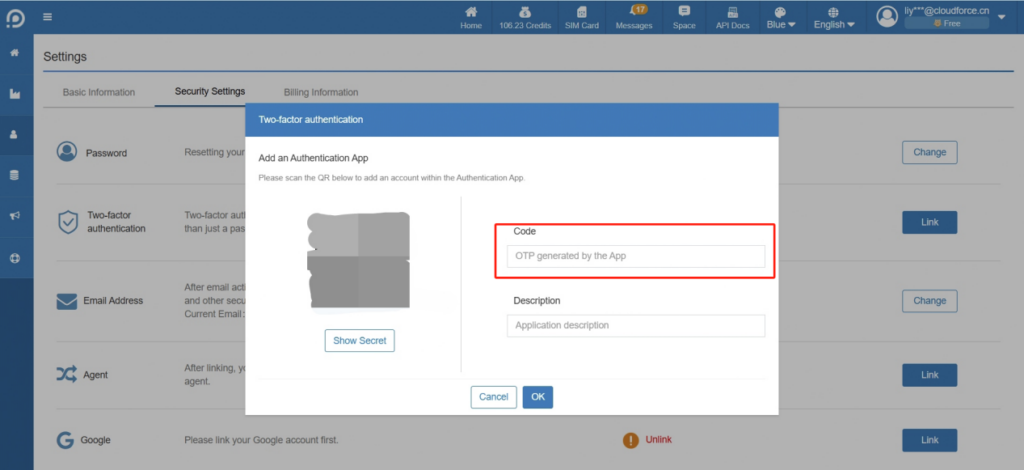
 ③ A QR code is generated, scan it via your OTP application. If your OTP application does not offer this option, click Show secret to display a code to enter into the OTP application.Your application then generates a one-time code. Enter this code in the field to the right of the QR code. You can also add a description for this authentication method.
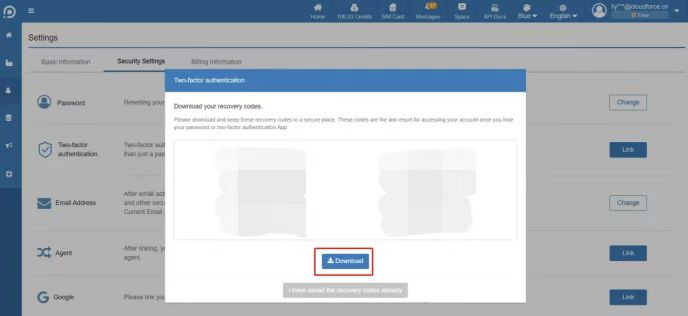
 ④ When you enable two-factor authentication for the first time, you will see 10 single-use recovery codes displayed in the Console. Please keep them safe.
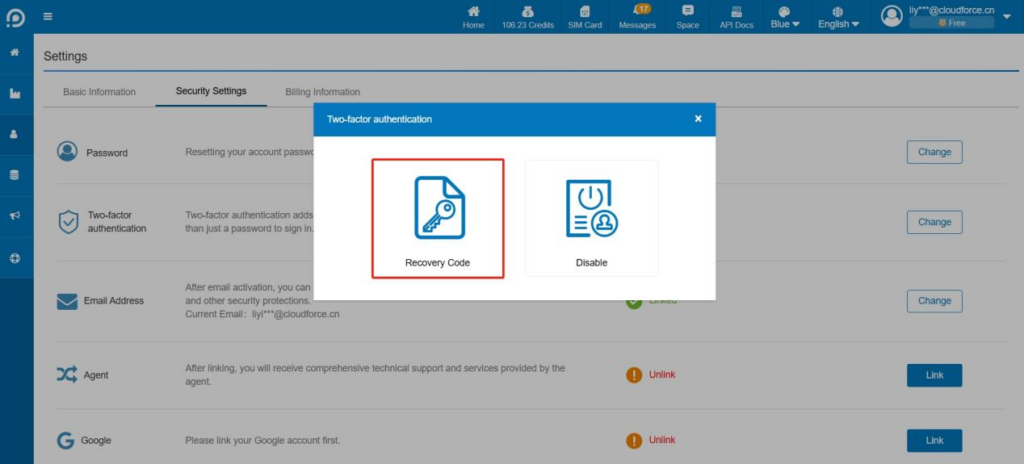
 ② Click Recovery Code.
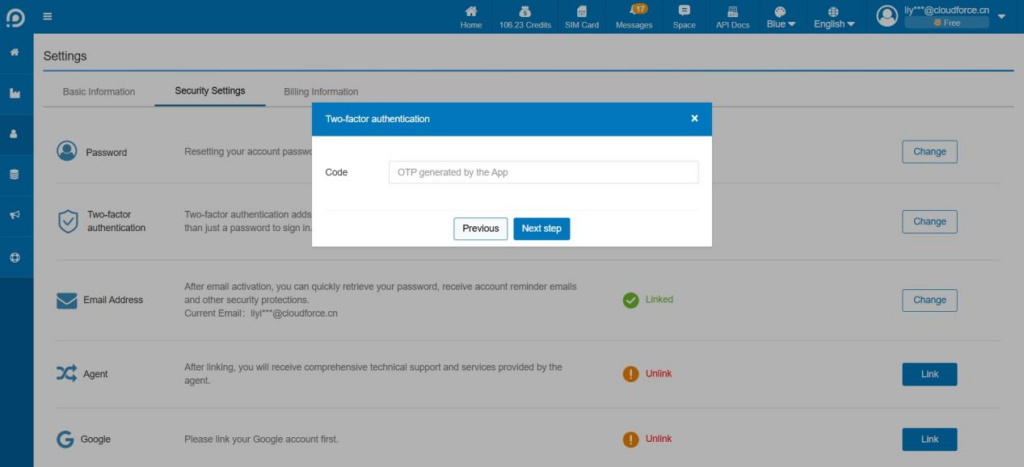
 ③ Enter the one-time code on your OTP App.
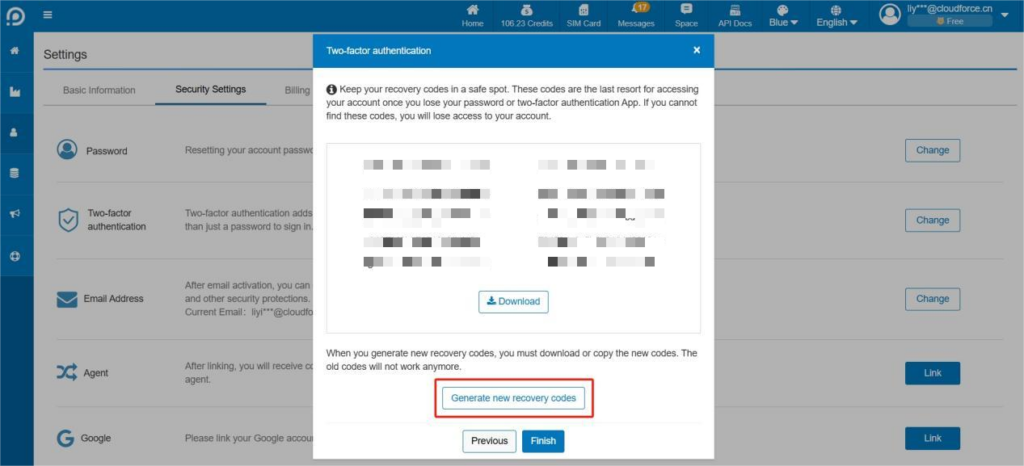
 ④ Now you can view and re-download or reset the recovery code. After reset, all the original recovery codes are invalidated.
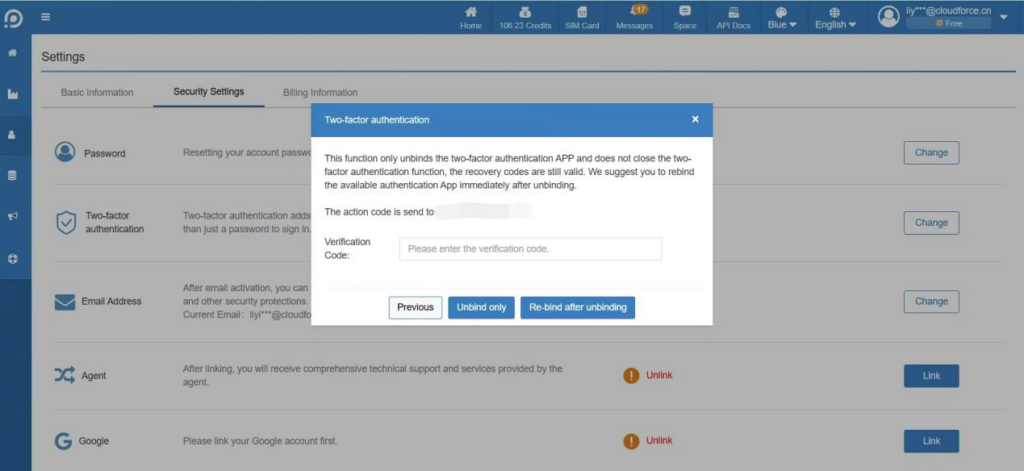
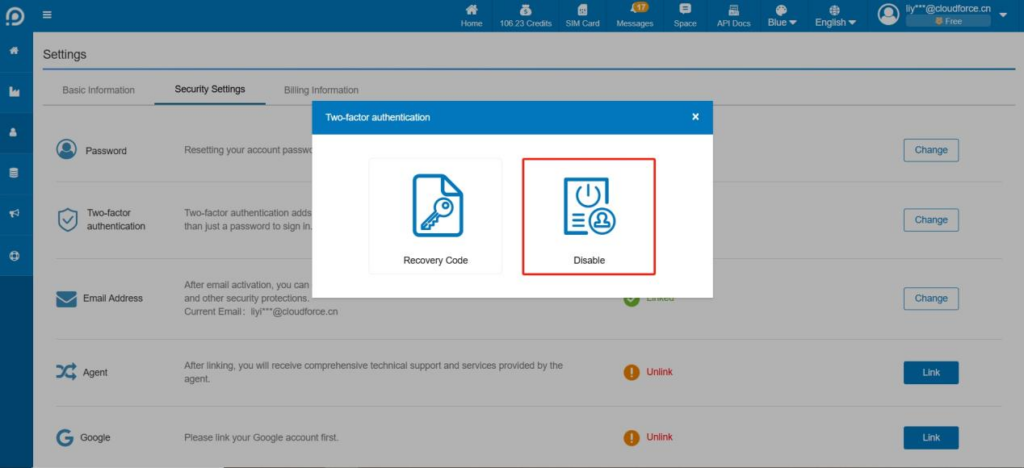 ② The console supports both Authentication App and Email.
 Authentication App: Enter the one-time code in the App to completely disable the two-factor authentication function. Two-factor authentication is no longer required after disabling.
 Email: Only unbind the Authentication APP, does not disable the two-factor authentication function, the backup code is still valid. It is recommended to relink the available authentication APP immediately after unlink.
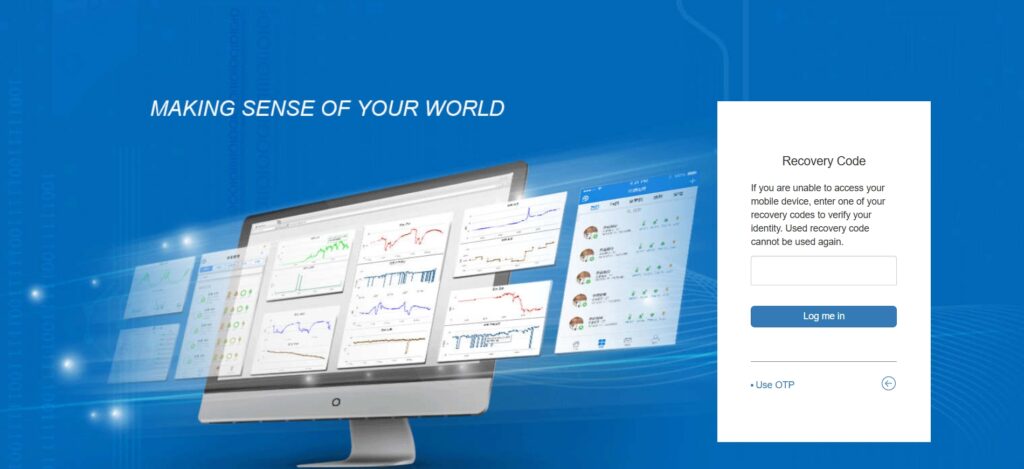
 Enter the one-time code within the Authentication App to complete the login. Recovery code can also be used to log in.


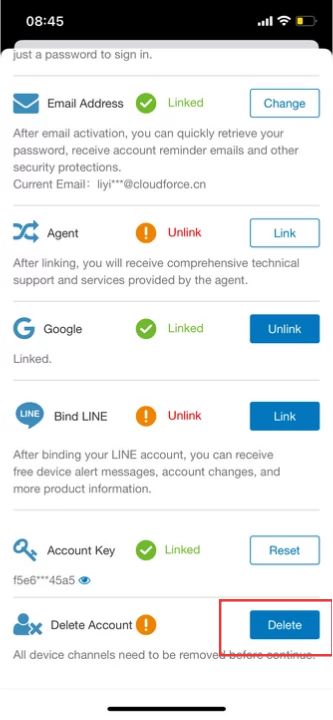
 2. Click [Delete Account].
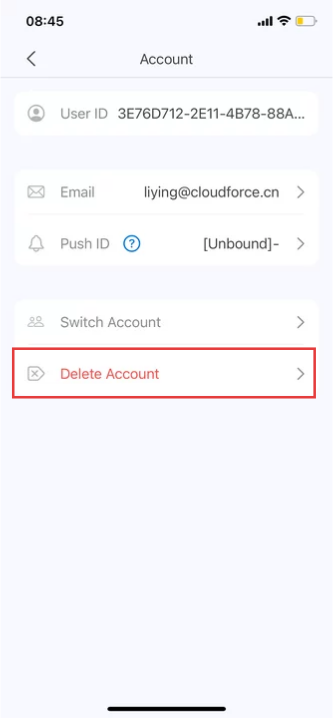 3. Click [Delete].
 4. Follow the prompts to obtain and enter the verification code, and then enter your password.
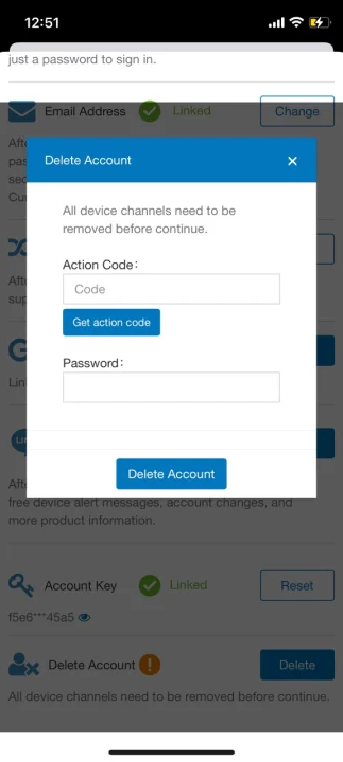 5. Once confirmed, we will immediately delete your account and all related data.
 2. Select trigger device, and set the trigger condition.
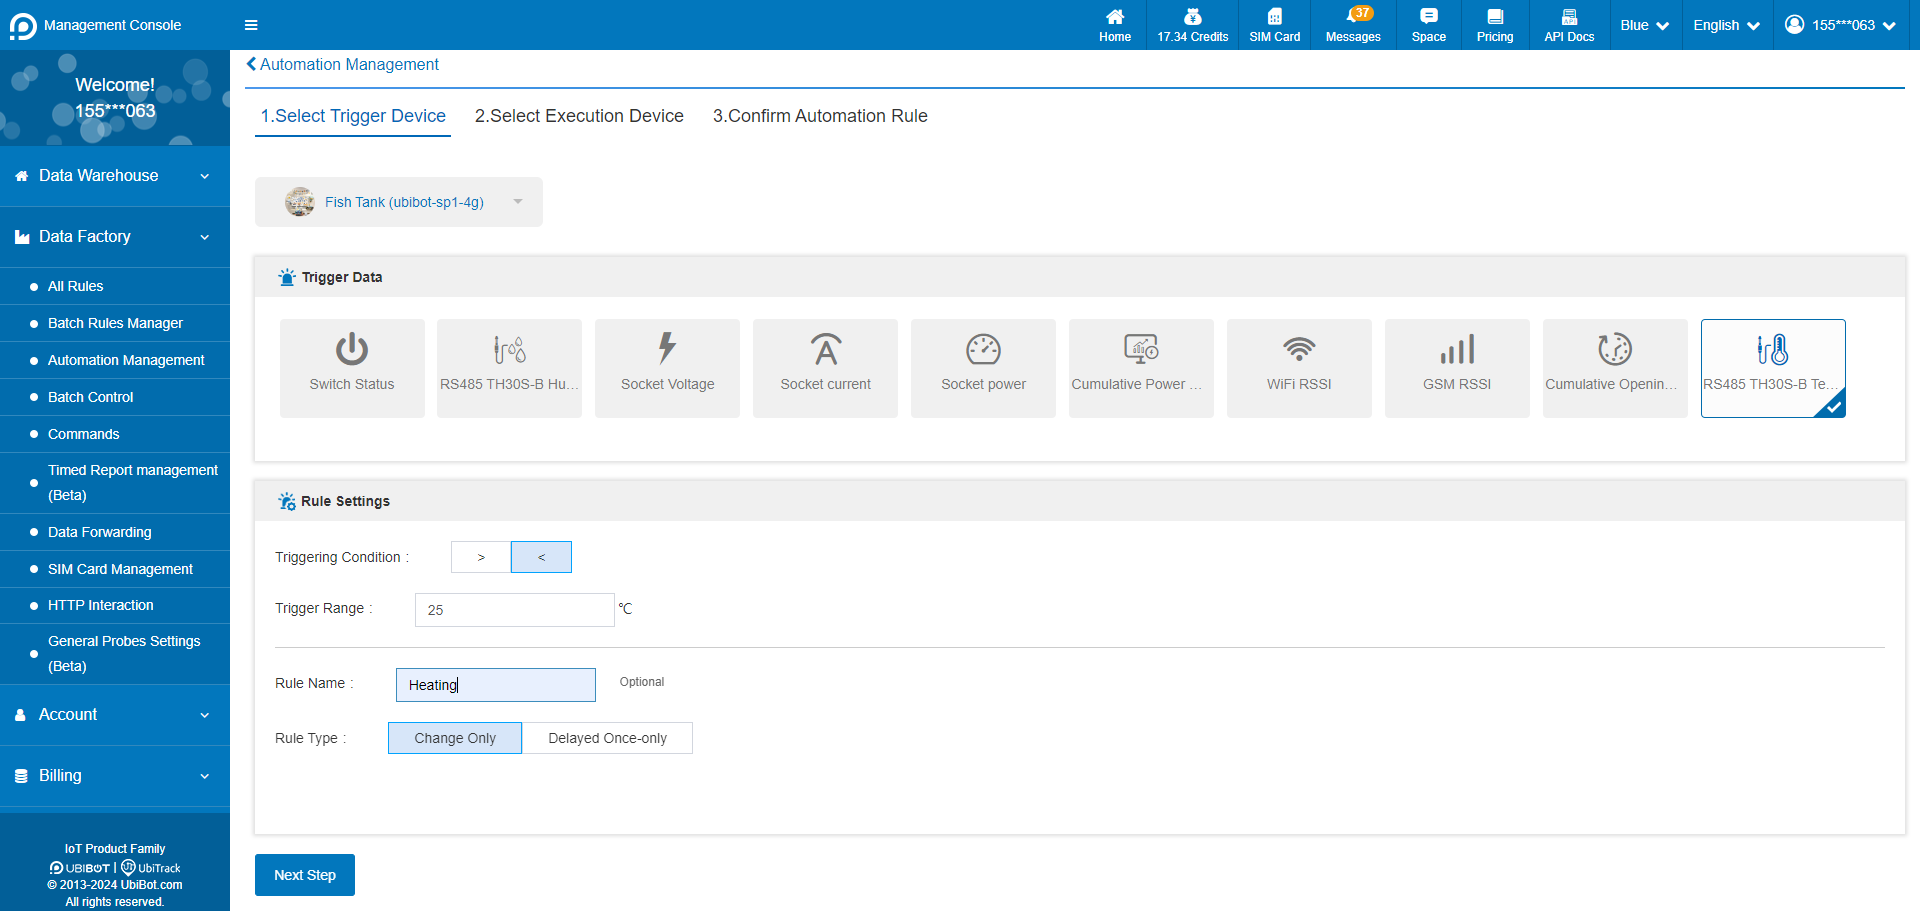
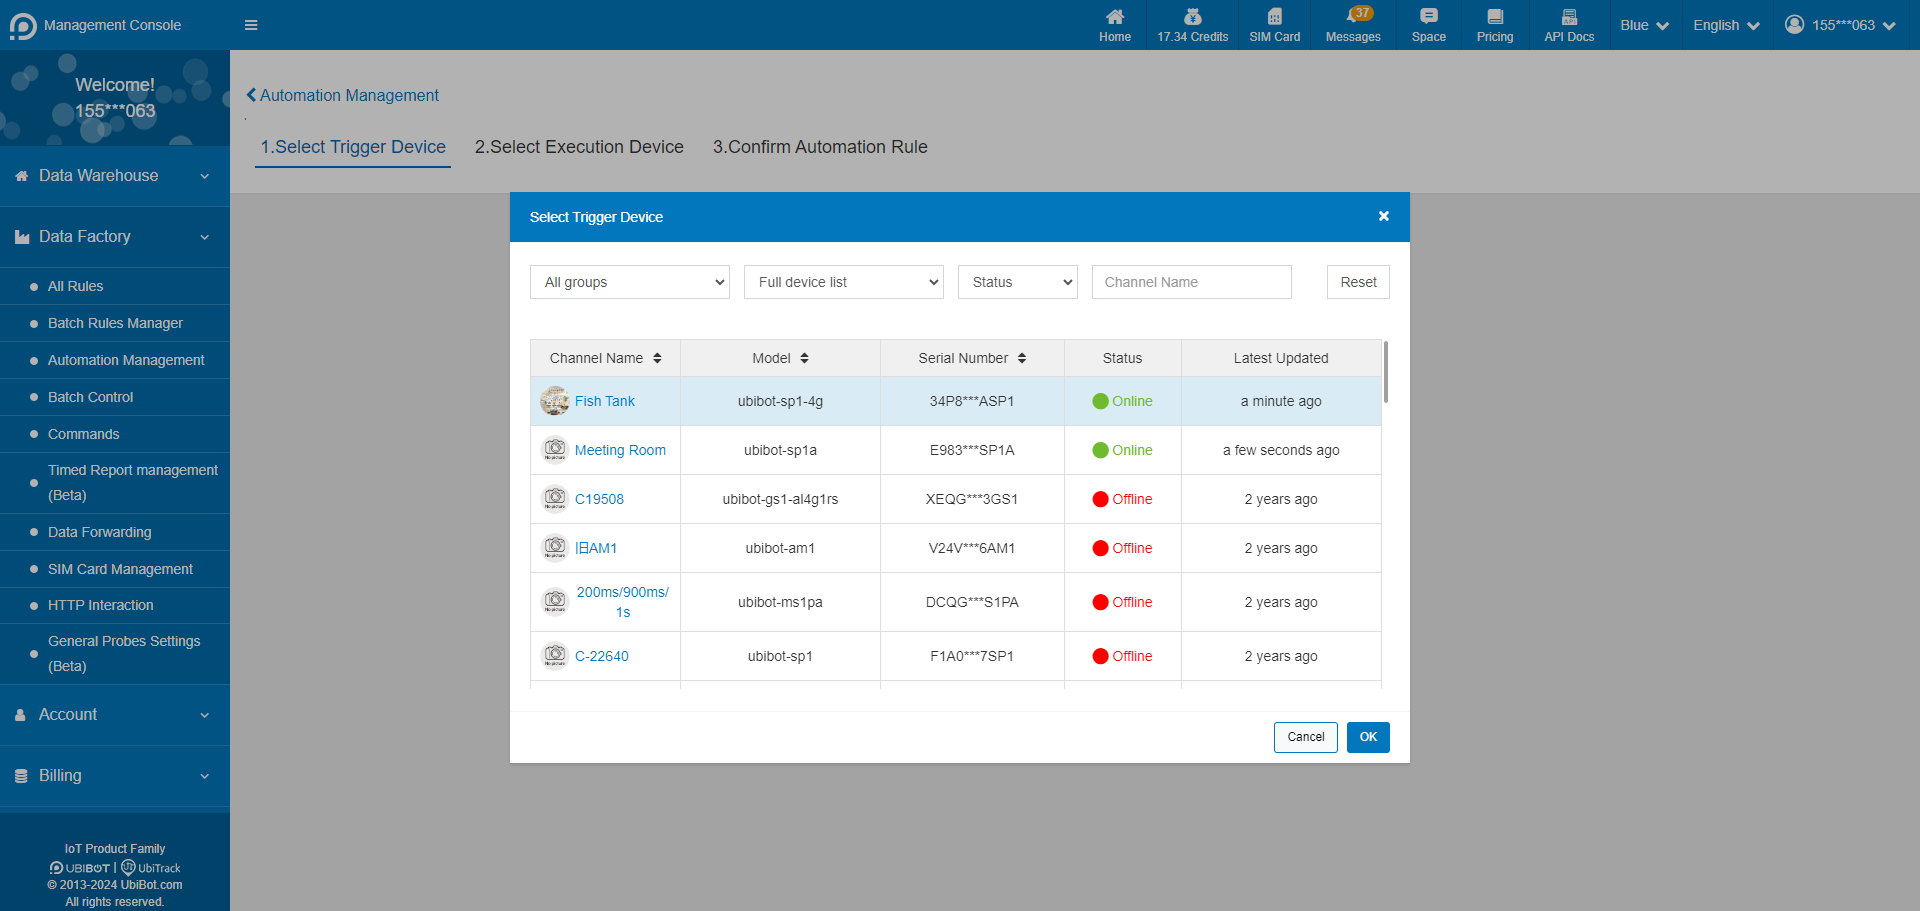
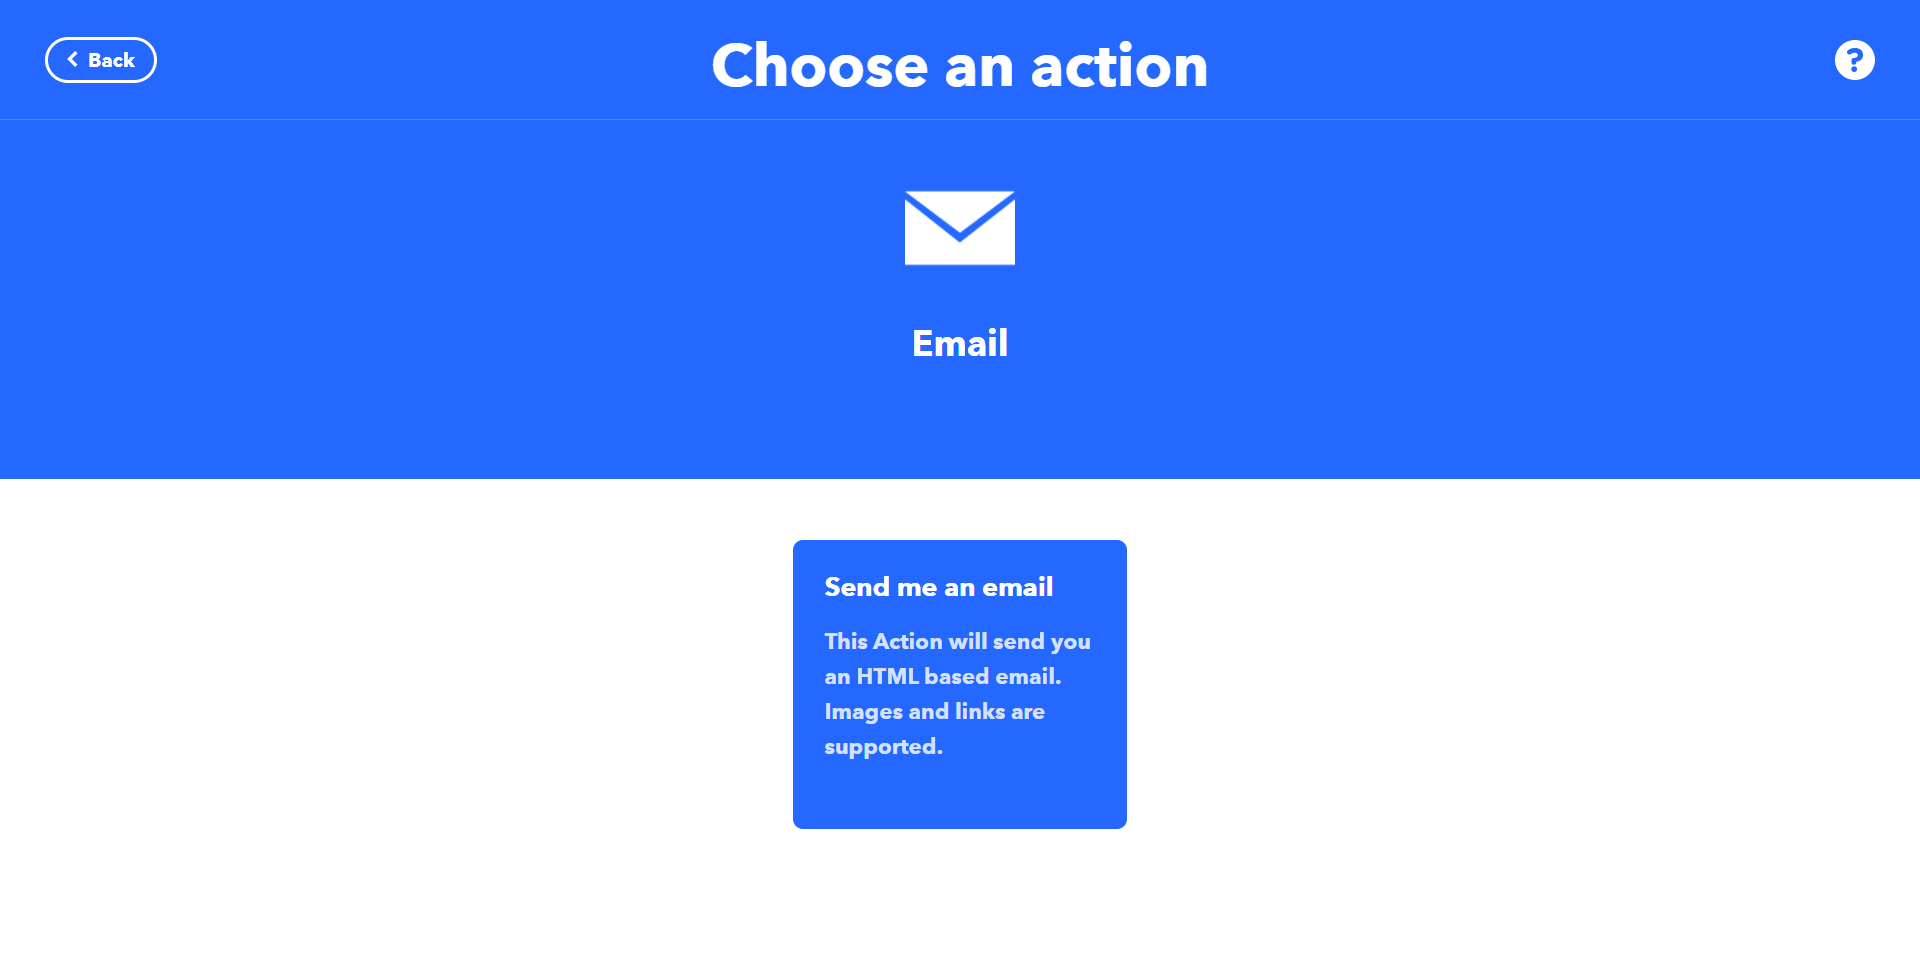
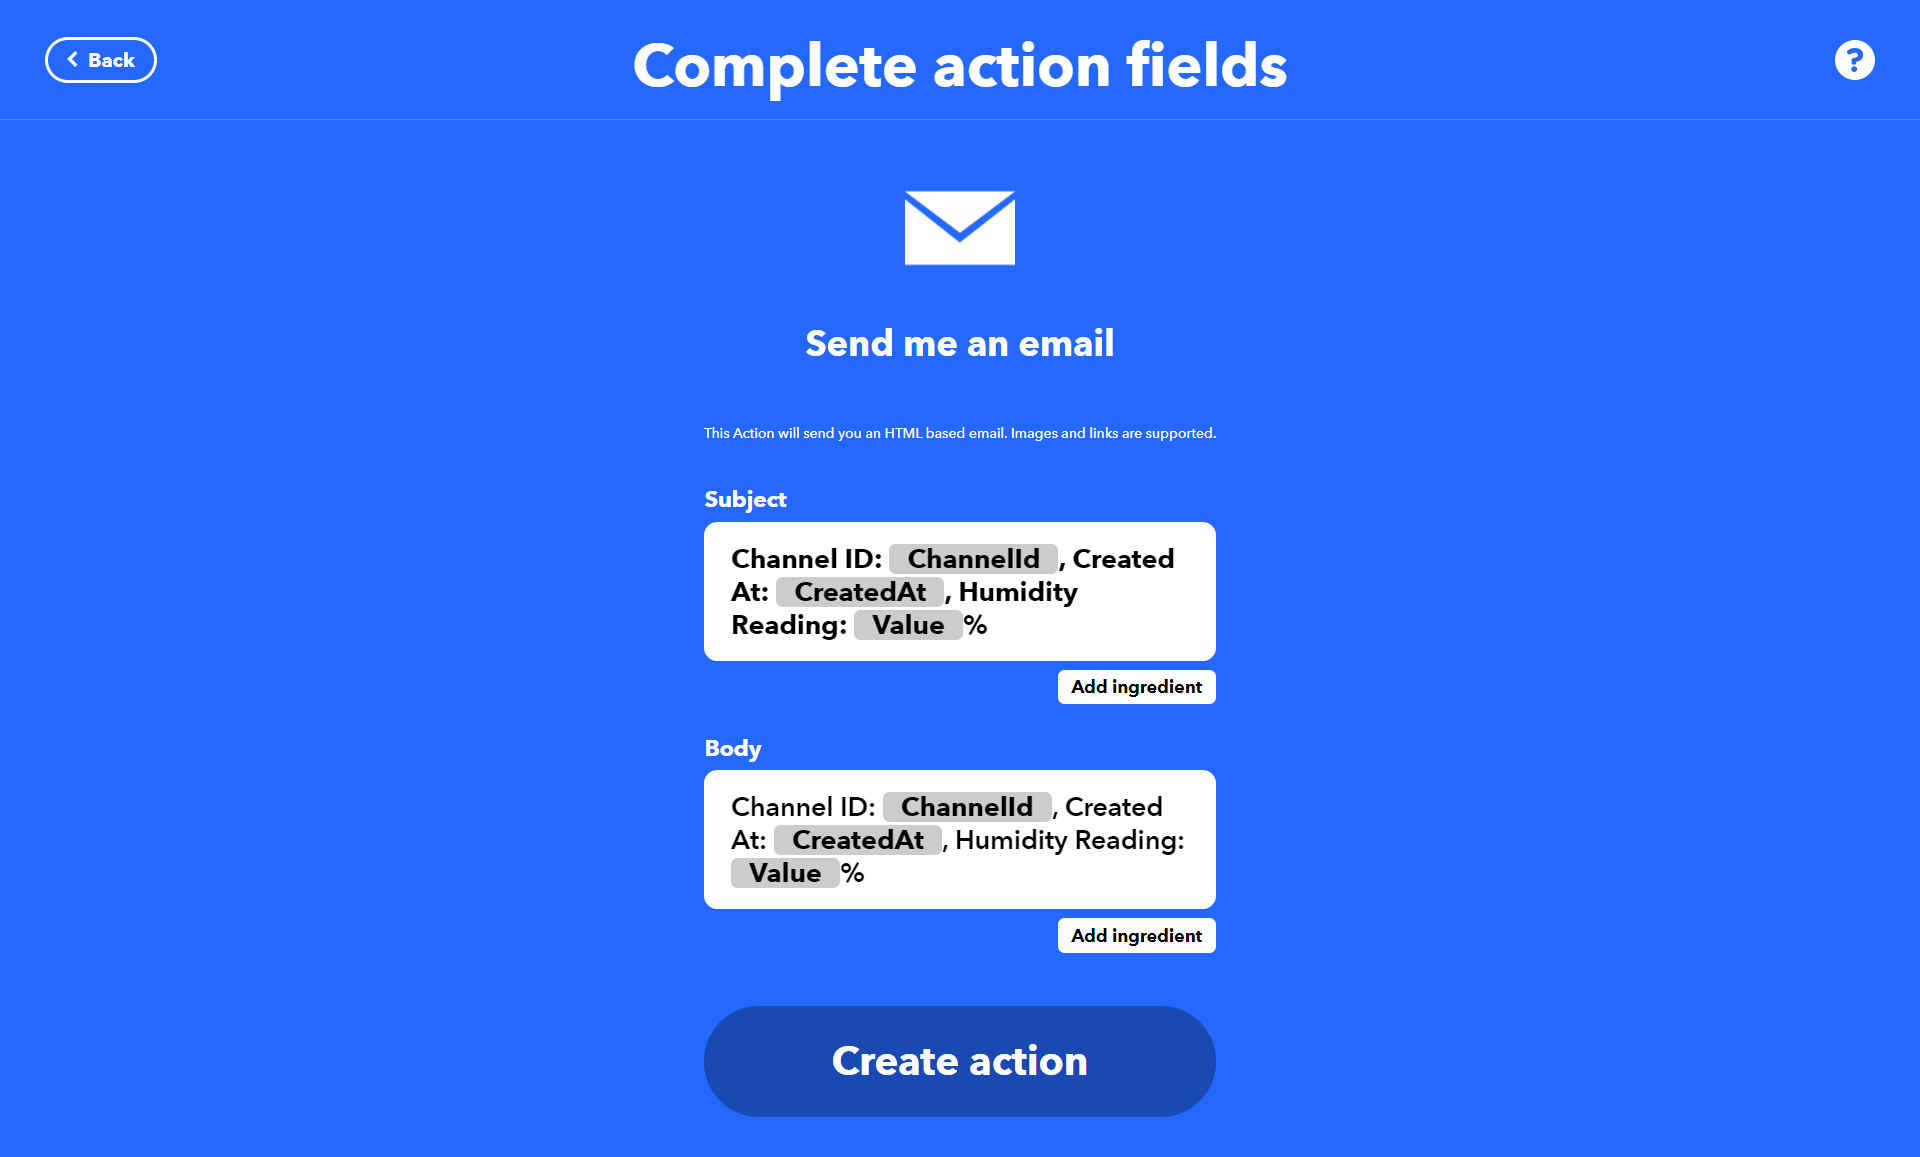
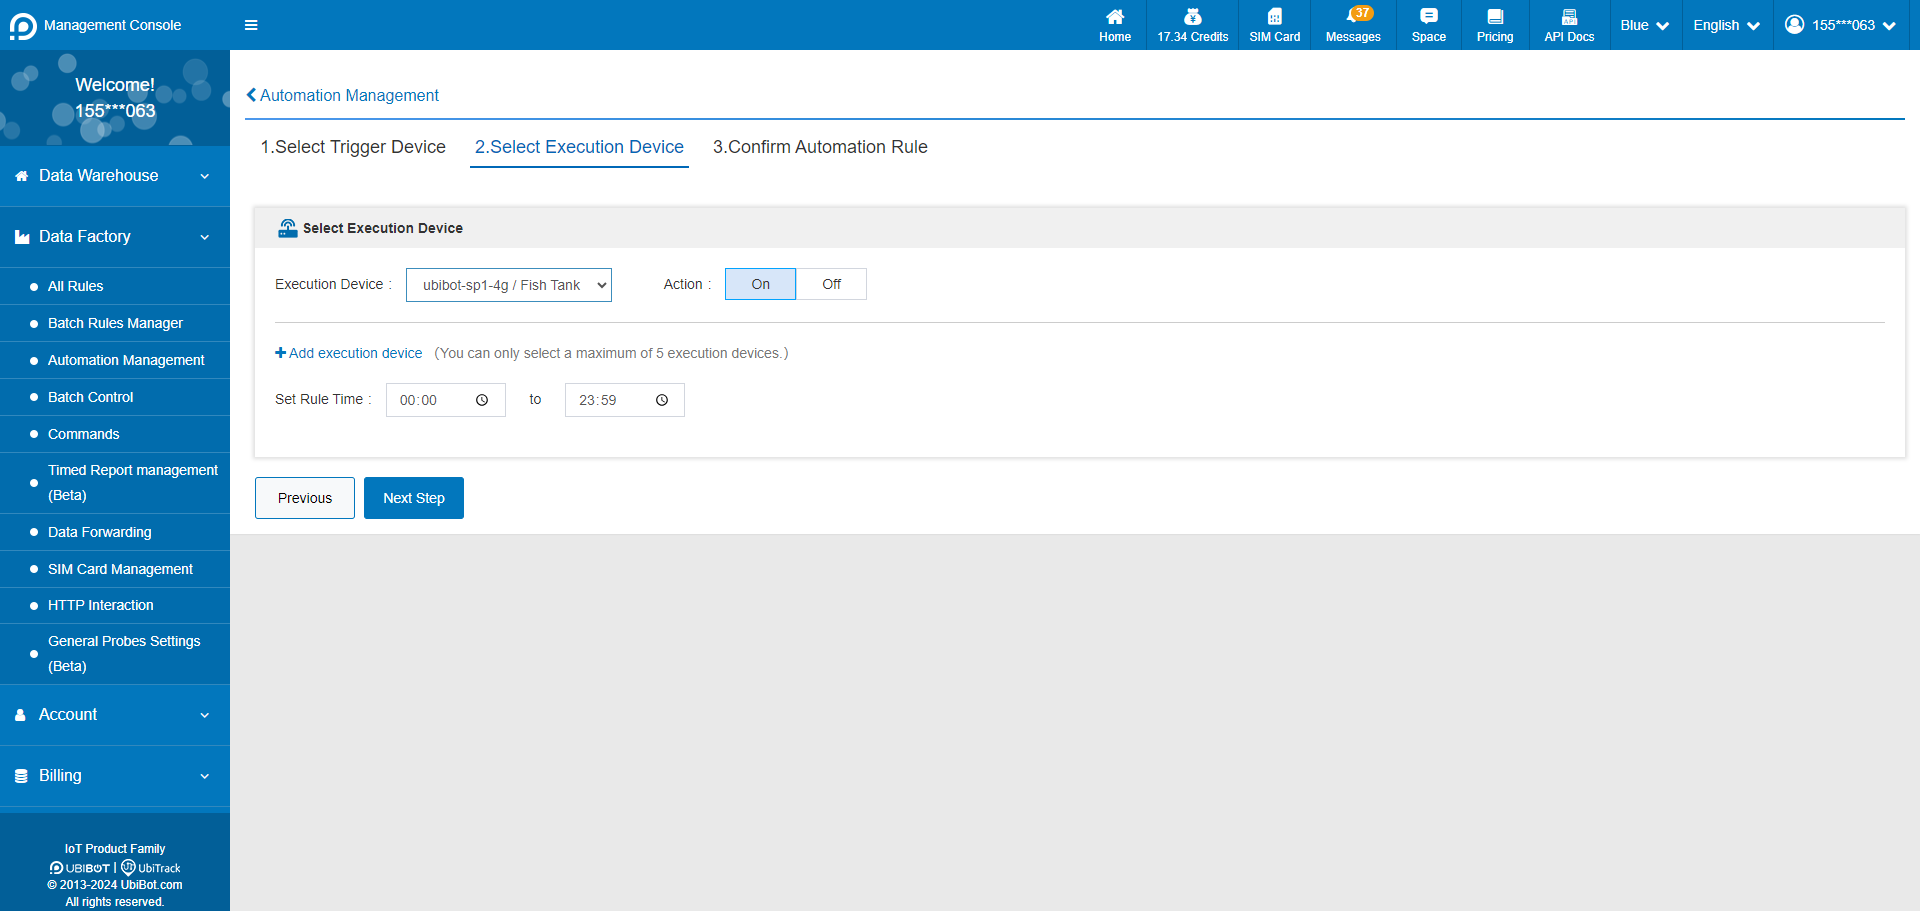
 3. Select the execution device and action. Execution devices only support intelligent control devices such as Smart Plug SP1 and Network Relay NR1, and up to 5 execution devices can be set at the same time.
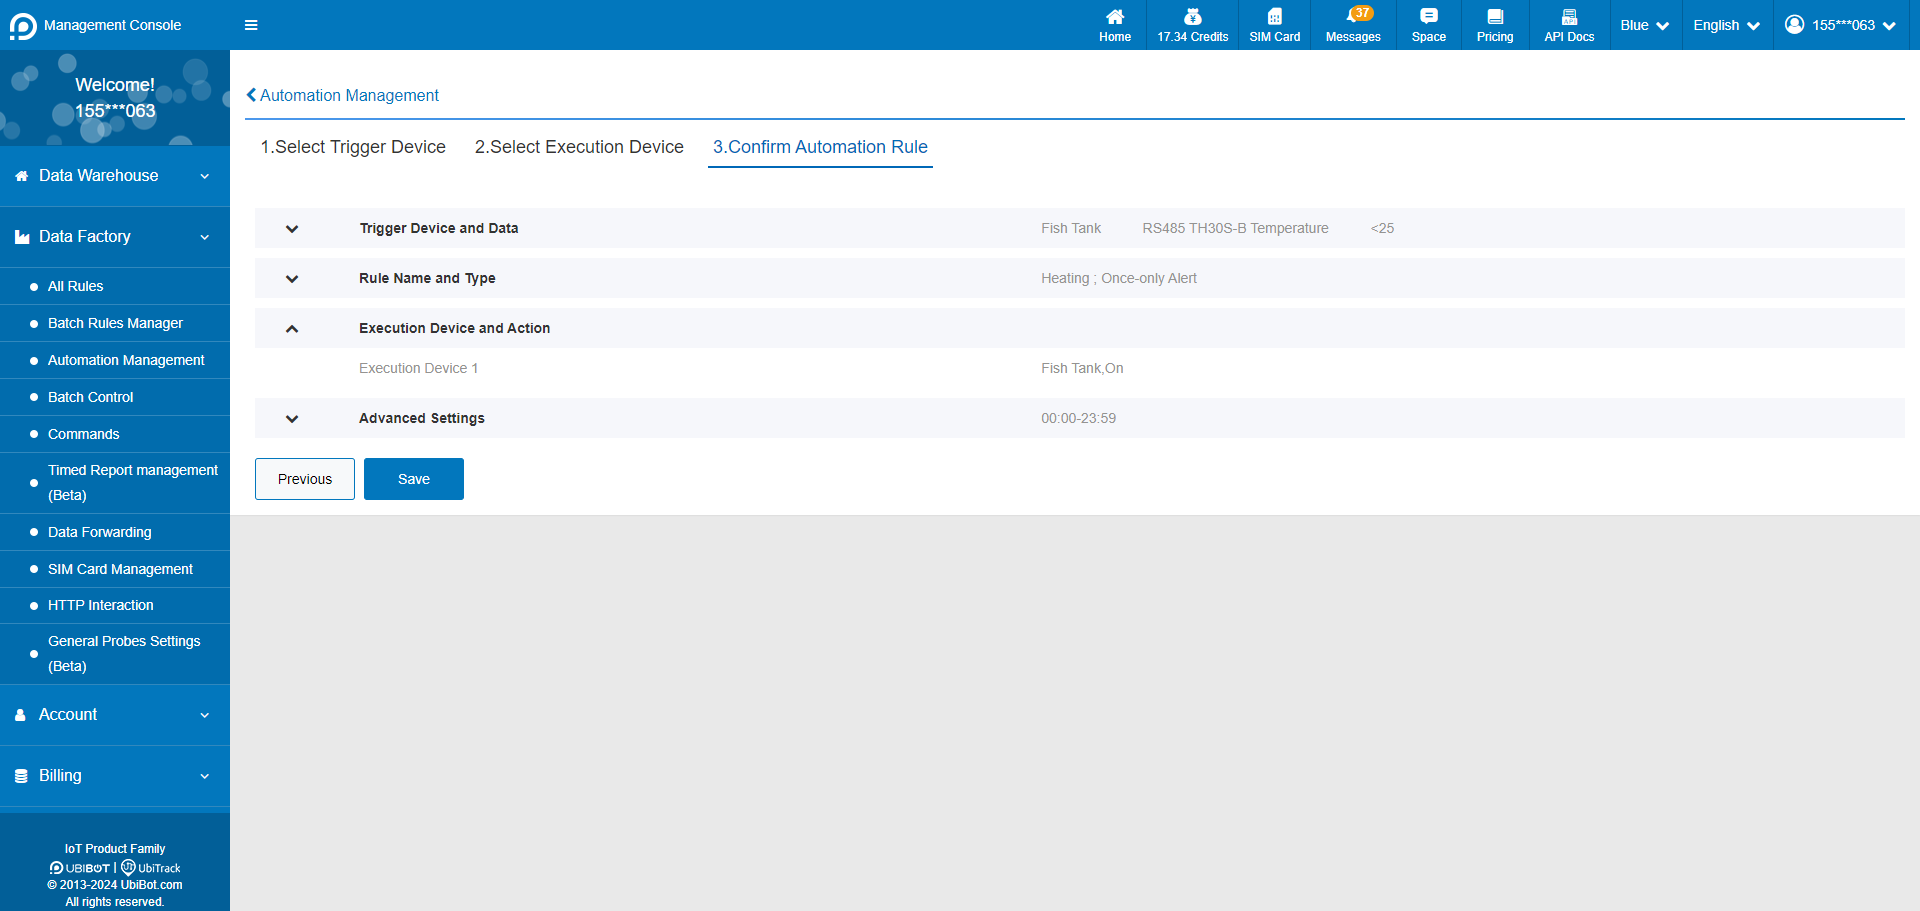
 4. Confirm the automation rule and save it.
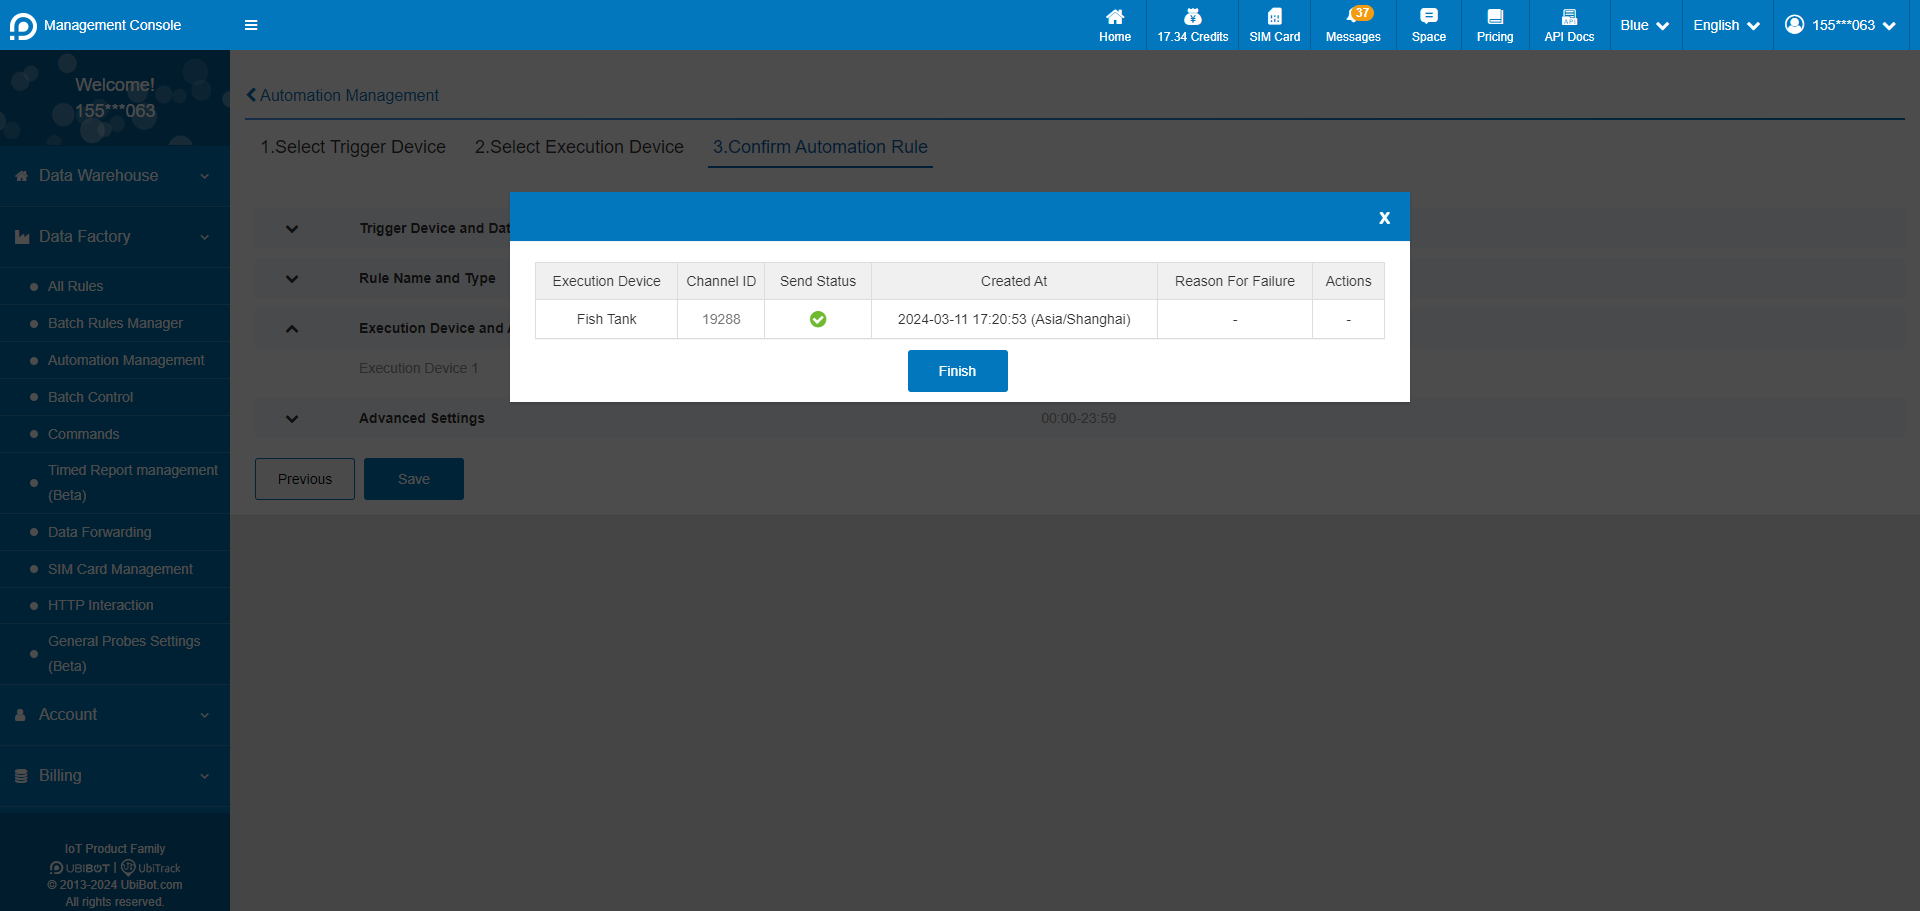
 5. Setup successful.
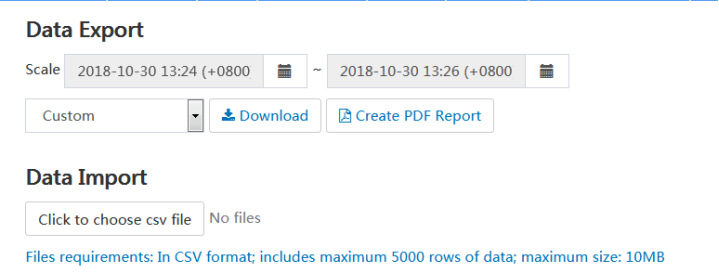
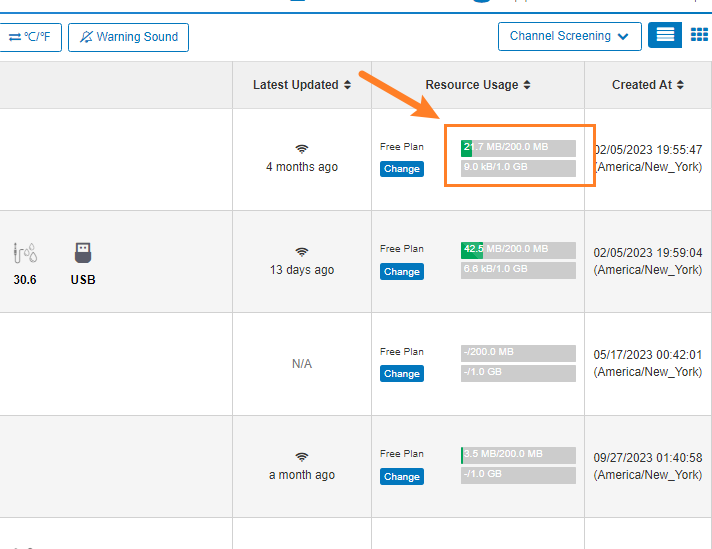 When the device's storage is full, it cannot record fresh data and may result in dropped connections. The previous data can be saved and then cleared as shown below.
 For mobile apps, you can operate as below.
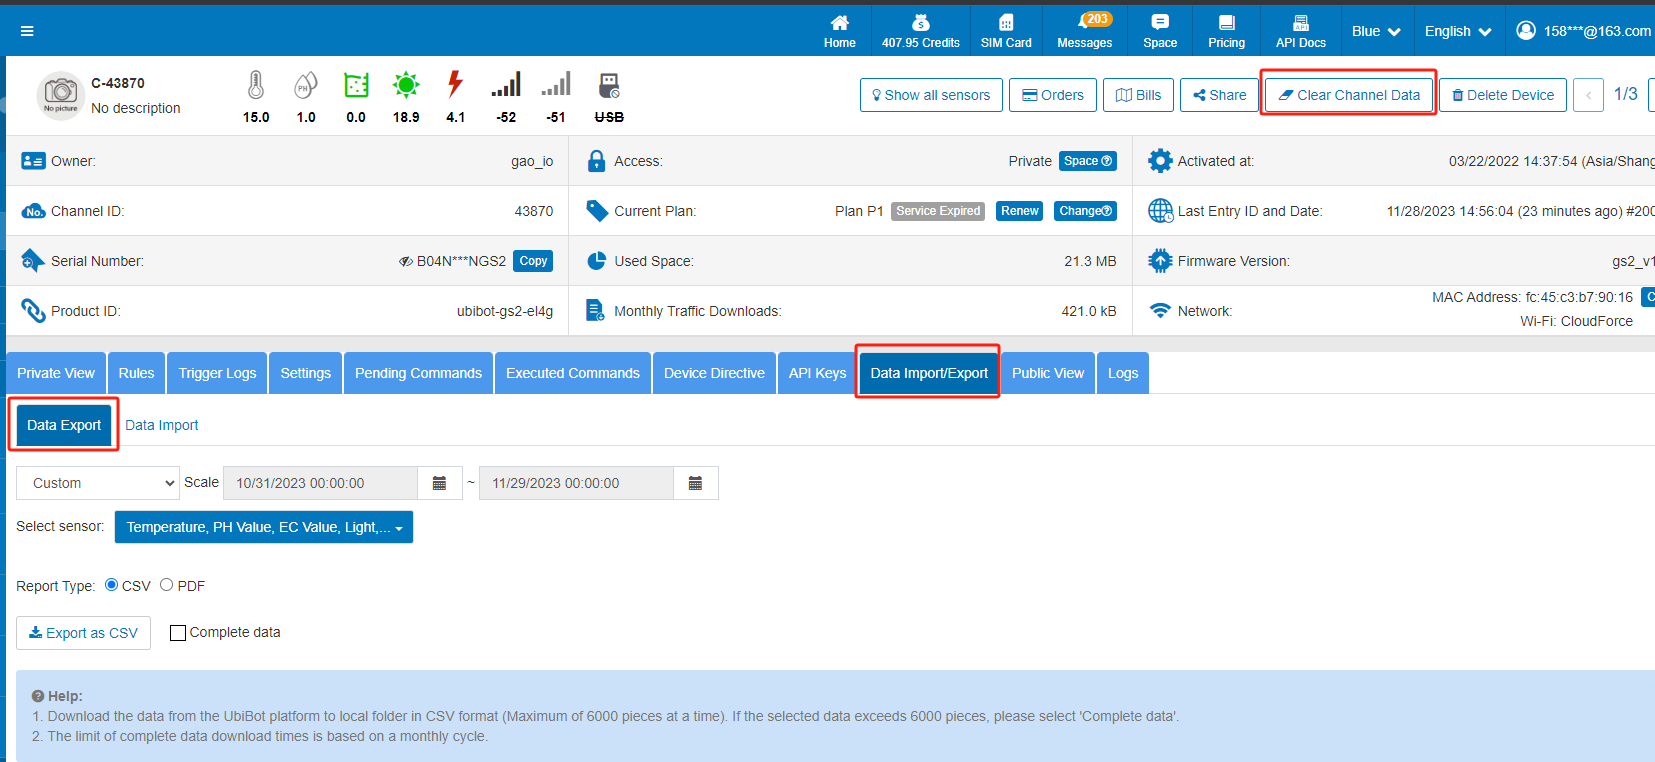
 Important : the action will delete all the data, please DO download the previous data and save it!
 where
where