Smart Sensing
Wireless Smart Sensor WS1
Wireless Smart Sensor WS1 Pro
Wireless Smart Multi-Sensor GS1
Wireless Smart Multi-Sensor GS2

Wireless Motion Sensor MS1
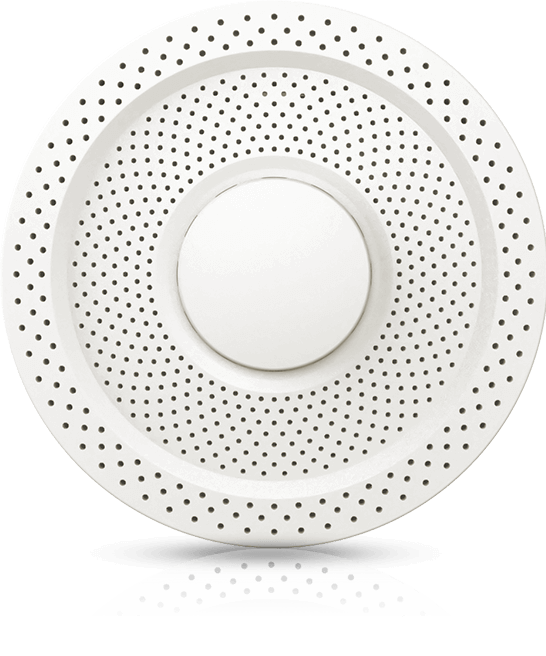
Air Quality Sensor AQS1
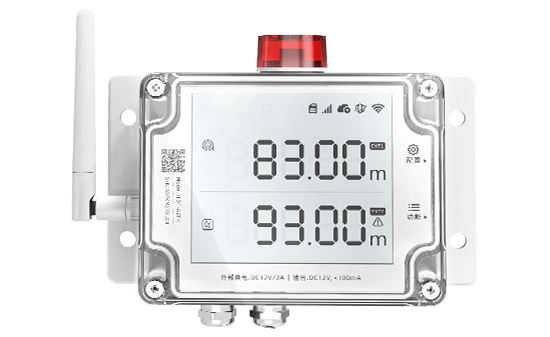
Smart Leak Detector LD1
Smart Watch HW1

Digital Power Line DPL1
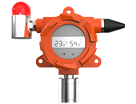
Industrial-grade Temperature and Humidity Sensor THS-NEX

Wireless Temperature & Humidity Sensor WS4
Smart Control
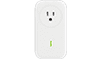
Wireless Smart Plug SP1
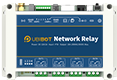
Network Relay NR1

Metering Network Relay NR2
Smart Video
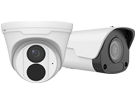
IP Camera IPC
Vision AI Box VA1 / VE1
LoRa Gateway
LoRa Gateway GW1
LoRa Outdoor Gateway GW1-O
LoRa Node

LoRa Data Collector DC1-L-1RS
Temperature and Humidity Sensor DC1-L-TH
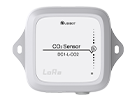
LoRa CO2 Sensor DC1-L-CO2
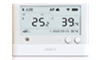
LoRa Sensor WS1 Pro-L
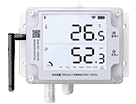
LoRa Smart Sensor GS1-L
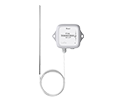
PT 100 Temperature Sensor DC1-L-PT
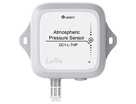
Atmospheric Pressure Sensor DC1-L-THP
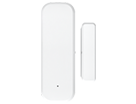
LoRa Magnetic Contact Sensor DC1-DM
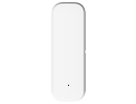
LoRa Temperature & Humidity Sensor DC1-TH
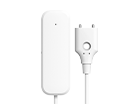
LoRa Water Leak Sensor DC1-LD

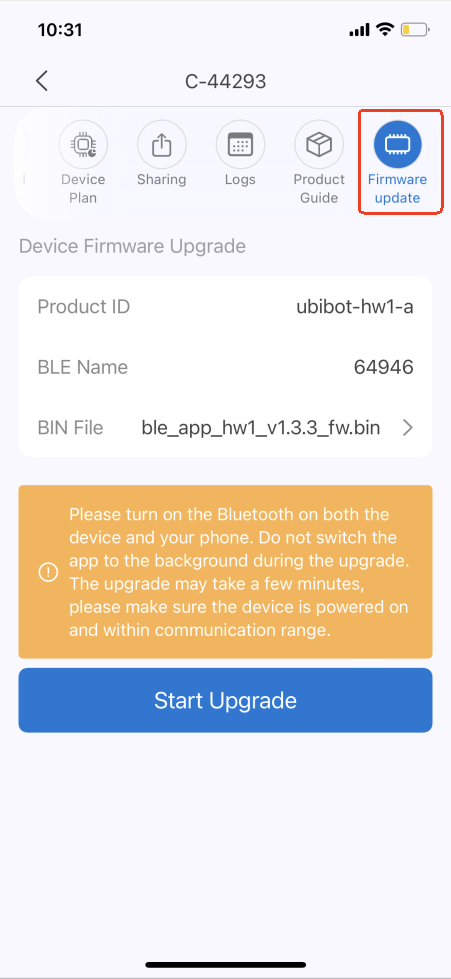
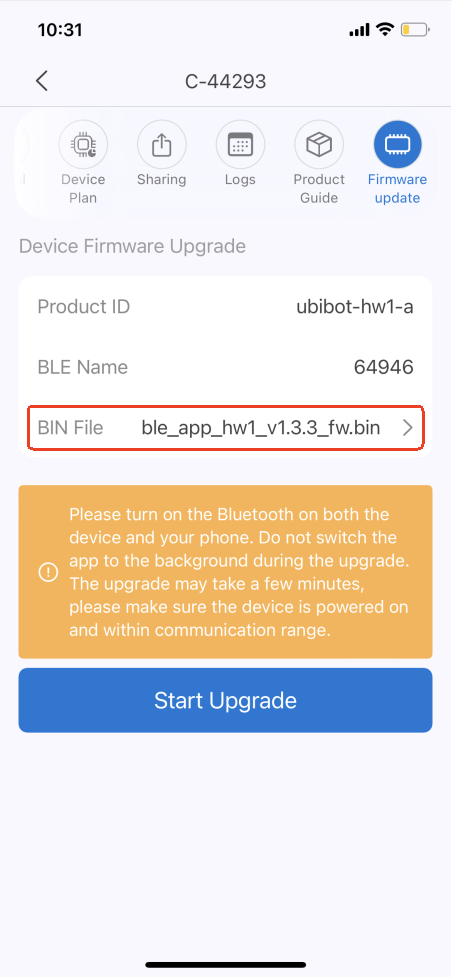
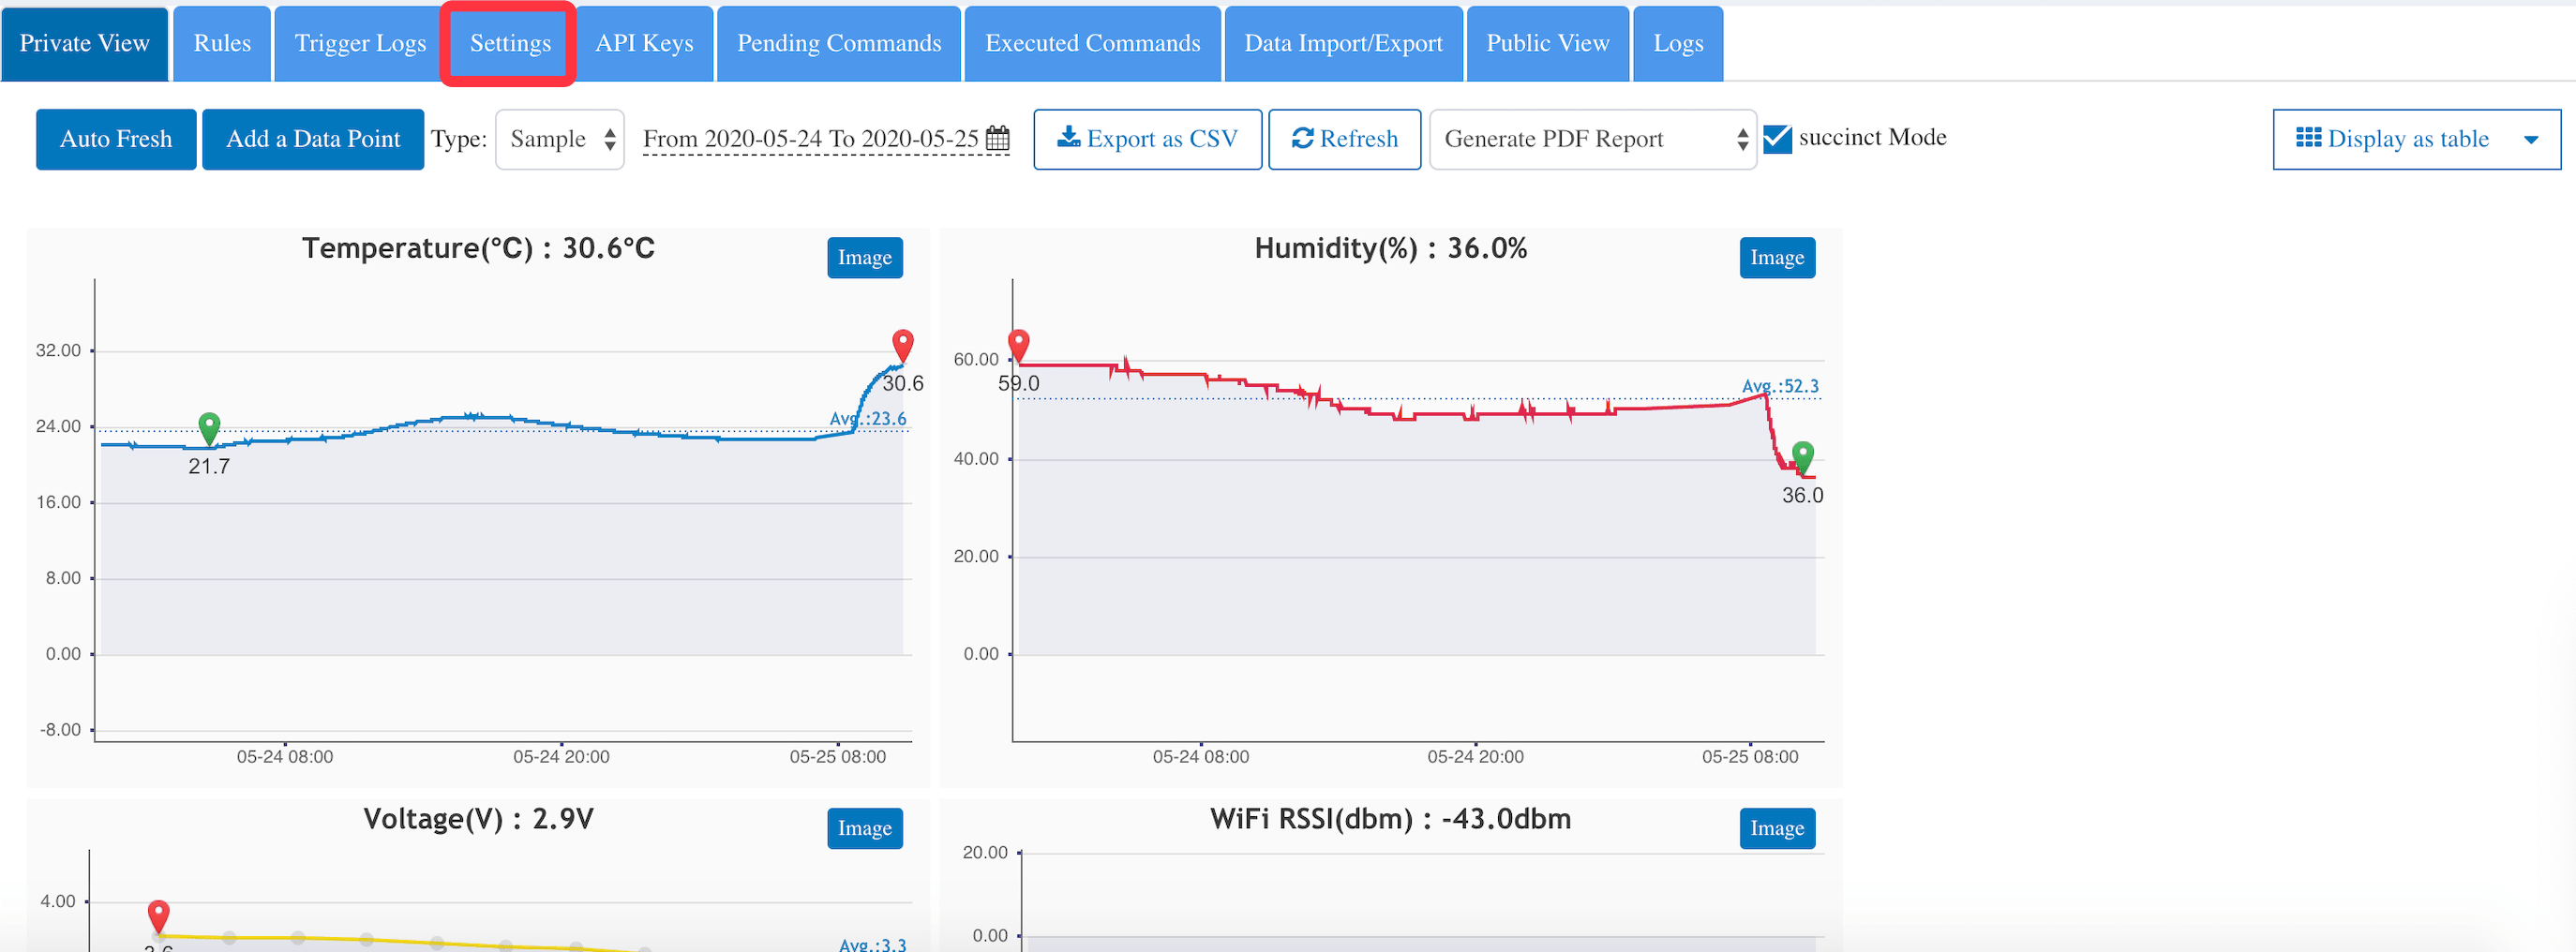
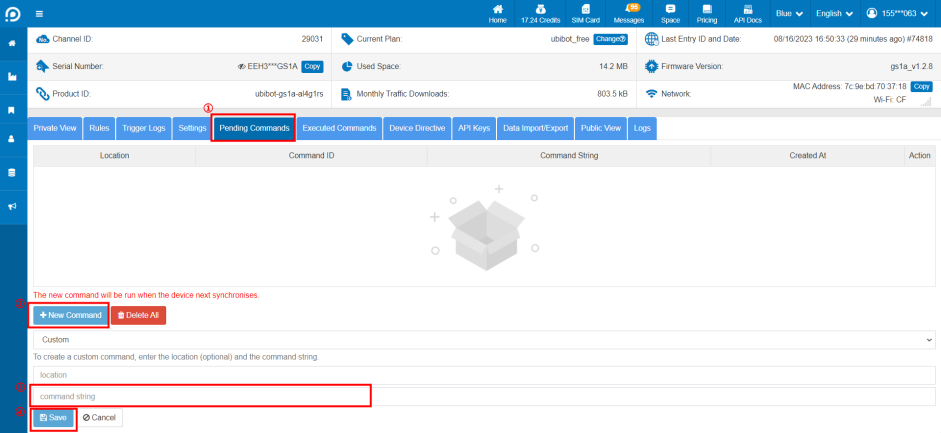
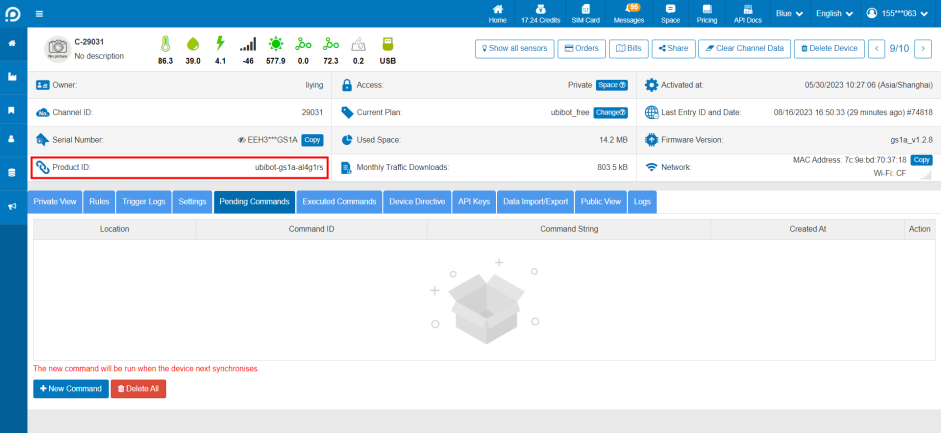 Click [Pending Commands] - [New Command], enter the upgrade instruction at the command string and click Save. Please confirm the upgrade instruction with the after-sales staff.
 After saving, the device will execute the command and complete the upgrade in the next sync cycle, please check the device firmware version and confirm it in time.
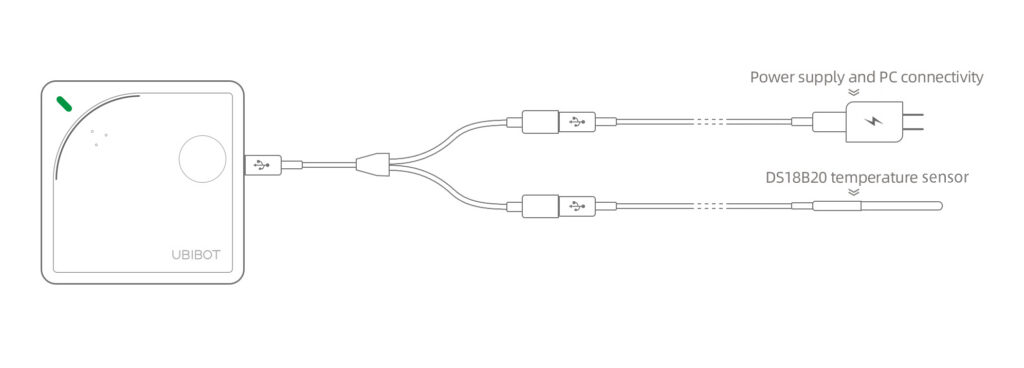 Using WS1 Pro device:
This device supports external temperature sensor, Air temperature & humidity sensor, Soil temperature and moisture sensor, PT100 temperature sensor, and wind speed sensor.
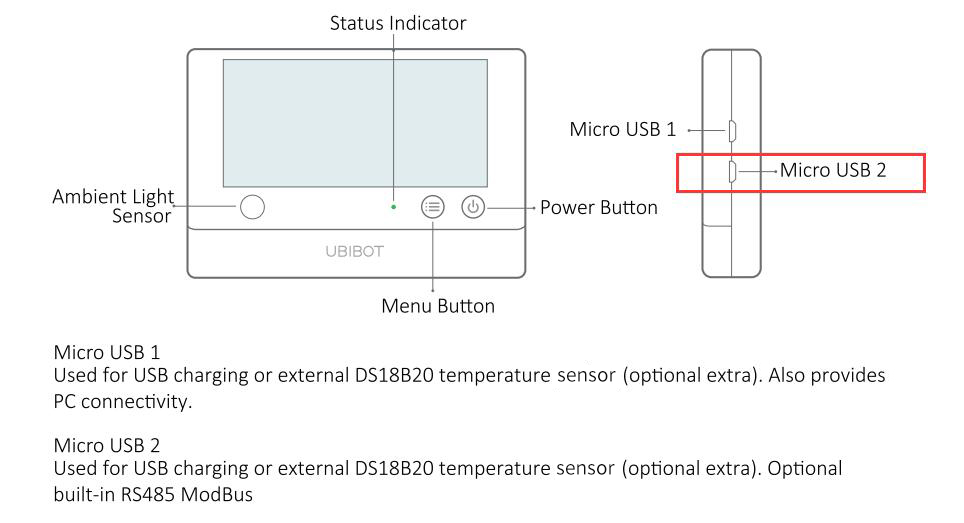
It has two USB ports, of which the lower one is embedded with RS485 interface. Except the temperature sensor, the others both need to be connected to this lower USB port. While, you can use temperature sensor on either of the USB port. When you need to power the device via Micro USB and you want to connect more than two sensors at the same time, please remember, the ends of the splitter must be connected with one power supply and one sensor, or one temperature sensor and one RS485 sensor. Two same sensors are not supported on one port.
Using WS1 Pro device:
This device supports external temperature sensor, Air temperature & humidity sensor, Soil temperature and moisture sensor, PT100 temperature sensor, and wind speed sensor.
It has two USB ports, of which the lower one is embedded with RS485 interface. Except the temperature sensor, the others both need to be connected to this lower USB port. While, you can use temperature sensor on either of the USB port. When you need to power the device via Micro USB and you want to connect more than two sensors at the same time, please remember, the ends of the splitter must be connected with one power supply and one sensor, or one temperature sensor and one RS485 sensor. Two same sensors are not supported on one port.
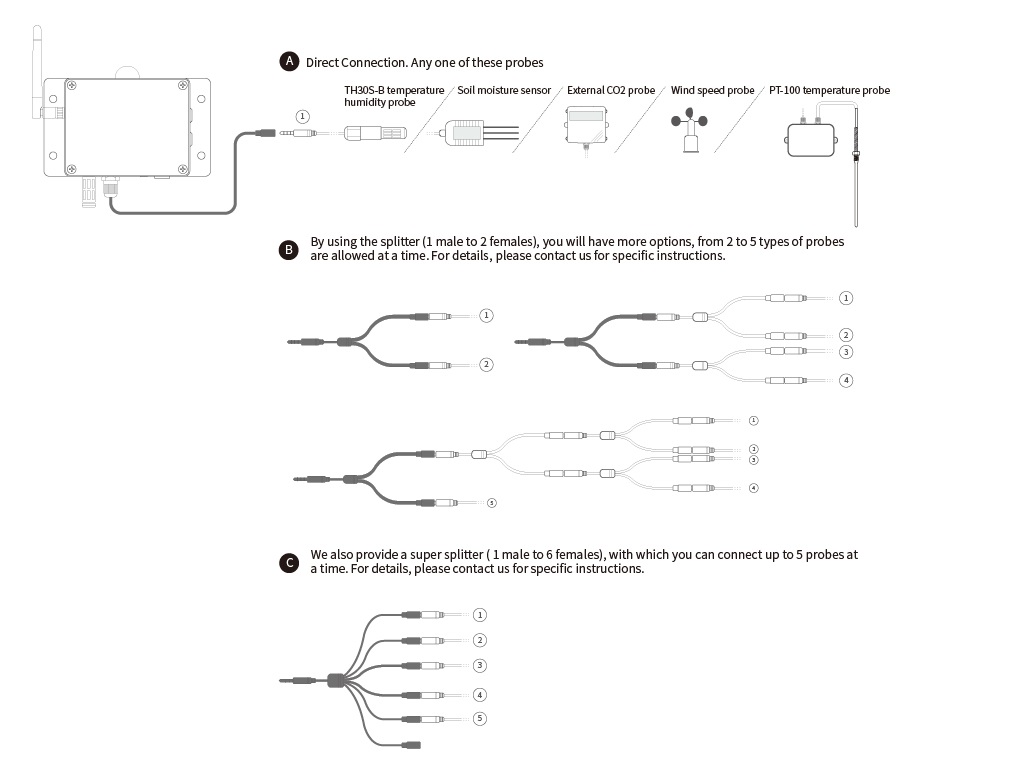
 Using GS1 device:
The GS1 device is built with RS485 interface and audio jack. It supports all of the 6 types of Ubibot sensors , such as TH30S-B temperature humidity sensor, Soil moisture sensor, PT-100 temperature sensor, CO2 sensor, wind speed sensor, external light sensor.
If you only need one type sensor, you can connect it to the device directly. If you need more than one type, our splitters will allow you to attach multiple sensor simultaneously. Please see the following cutline for reference.
Please note, only one piece of sensor of each type is supported. You can not attach two or more of the same sensors at a time. For details, please contact us for specific instructions.
Using GS1 device:
The GS1 device is built with RS485 interface and audio jack. It supports all of the 6 types of Ubibot sensors , such as TH30S-B temperature humidity sensor, Soil moisture sensor, PT-100 temperature sensor, CO2 sensor, wind speed sensor, external light sensor.
If you only need one type sensor, you can connect it to the device directly. If you need more than one type, our splitters will allow you to attach multiple sensor simultaneously. Please see the following cutline for reference.
Please note, only one piece of sensor of each type is supported. You can not attach two or more of the same sensors at a time. For details, please contact us for specific instructions.
 *Please note, the sensors are under one year limited warranty since the purchase date. For details, please click
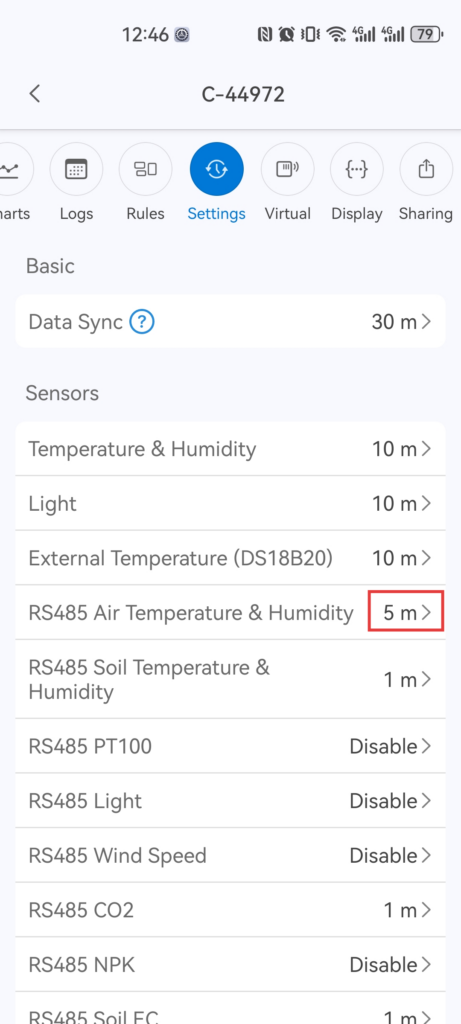
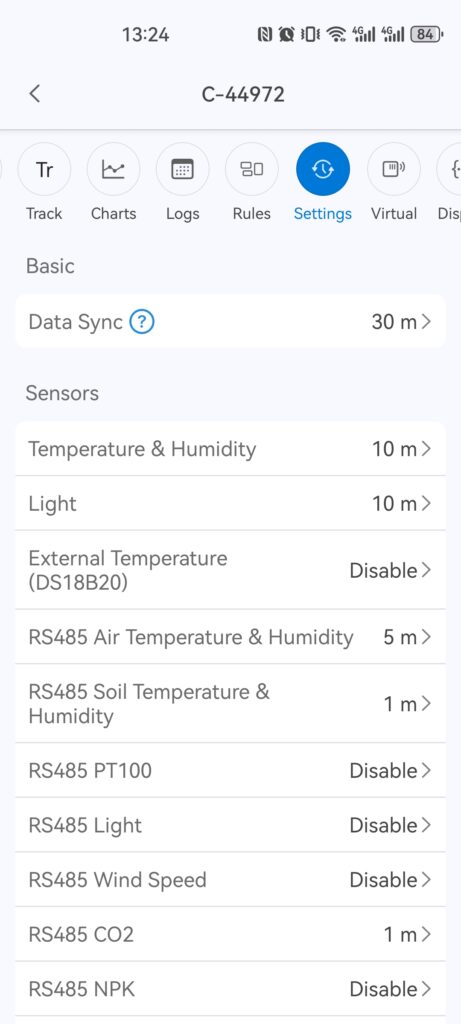
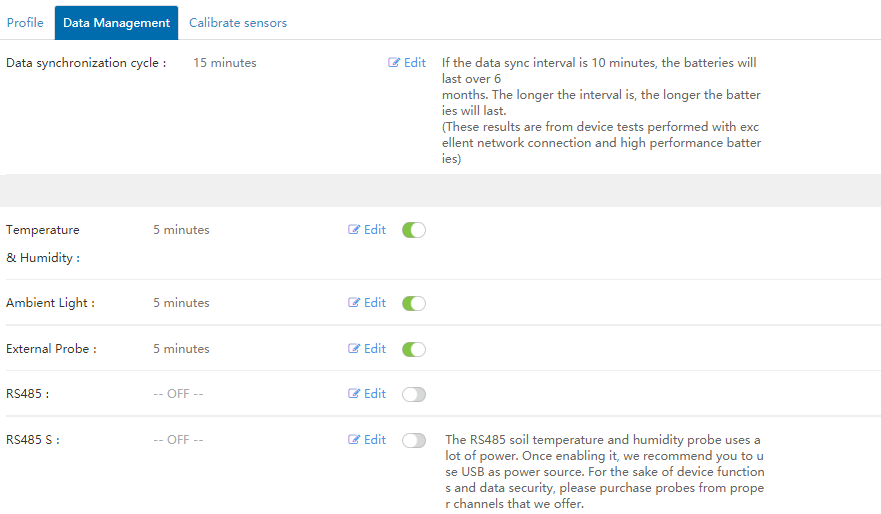
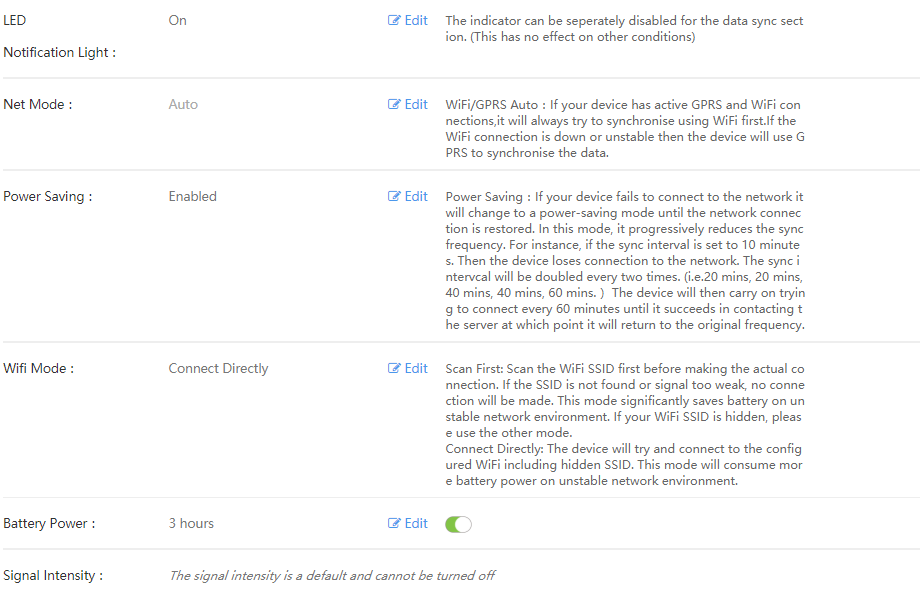
 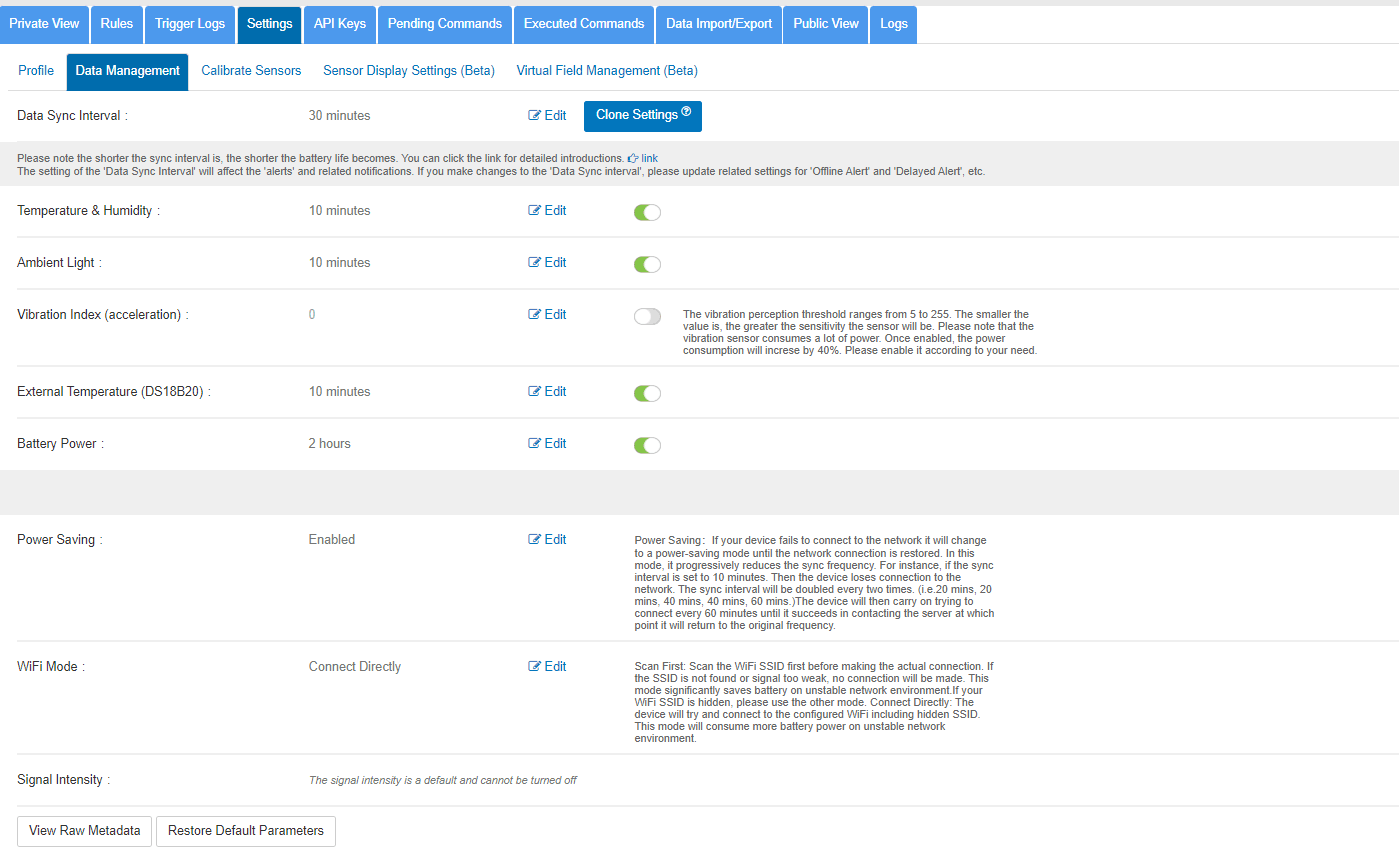 The screenshot below is the default settings of the UbiBot platform for WS1 Pro:
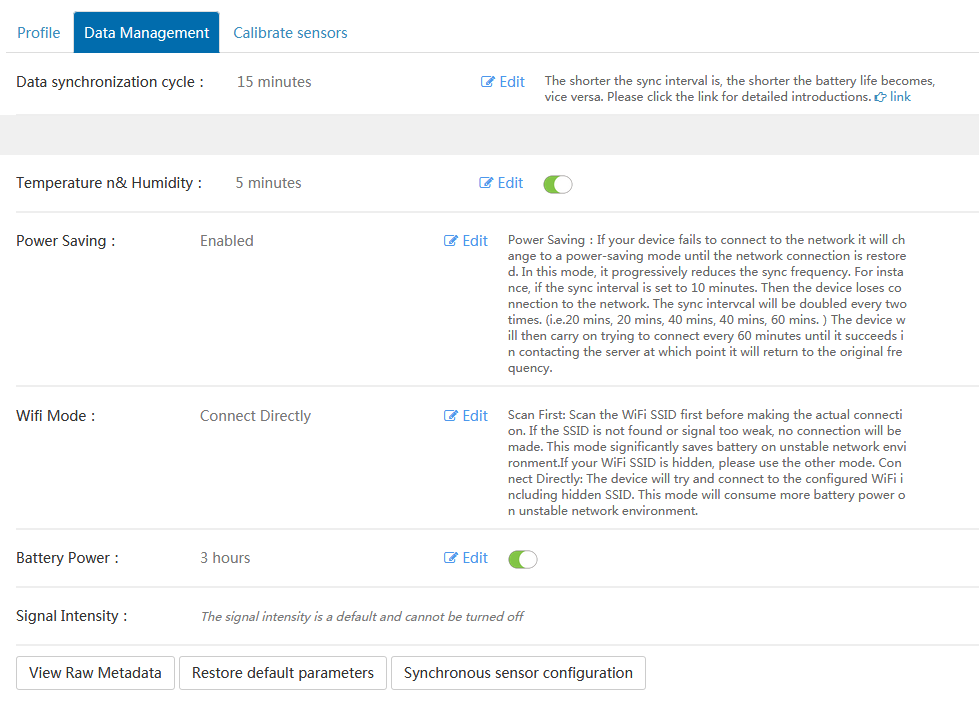
 The screenshot below is the default settings of the UbiBot platform for GS1:
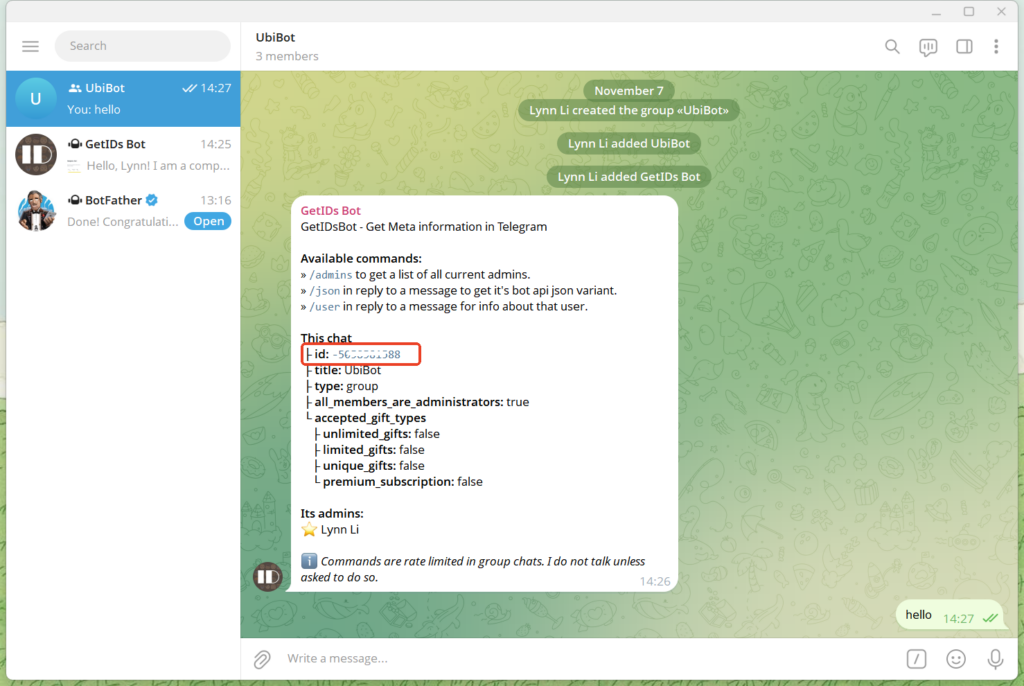
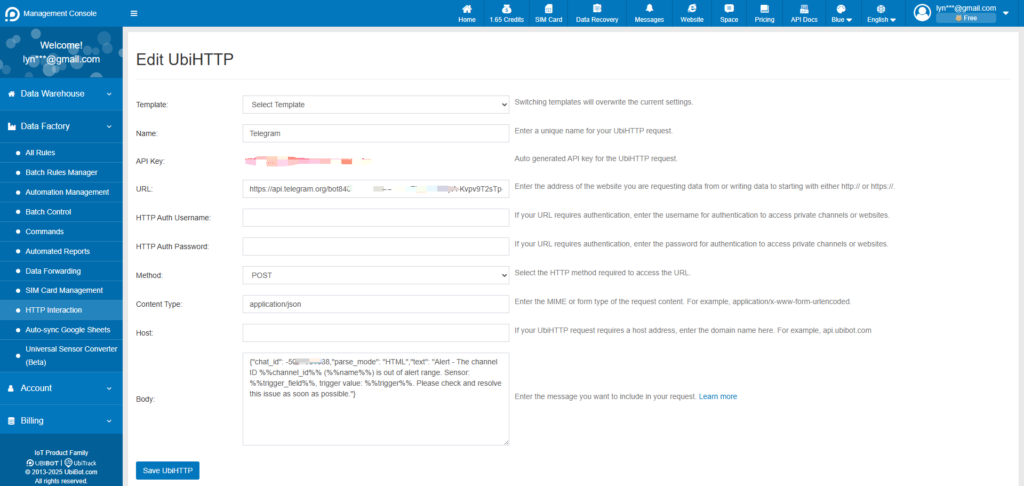
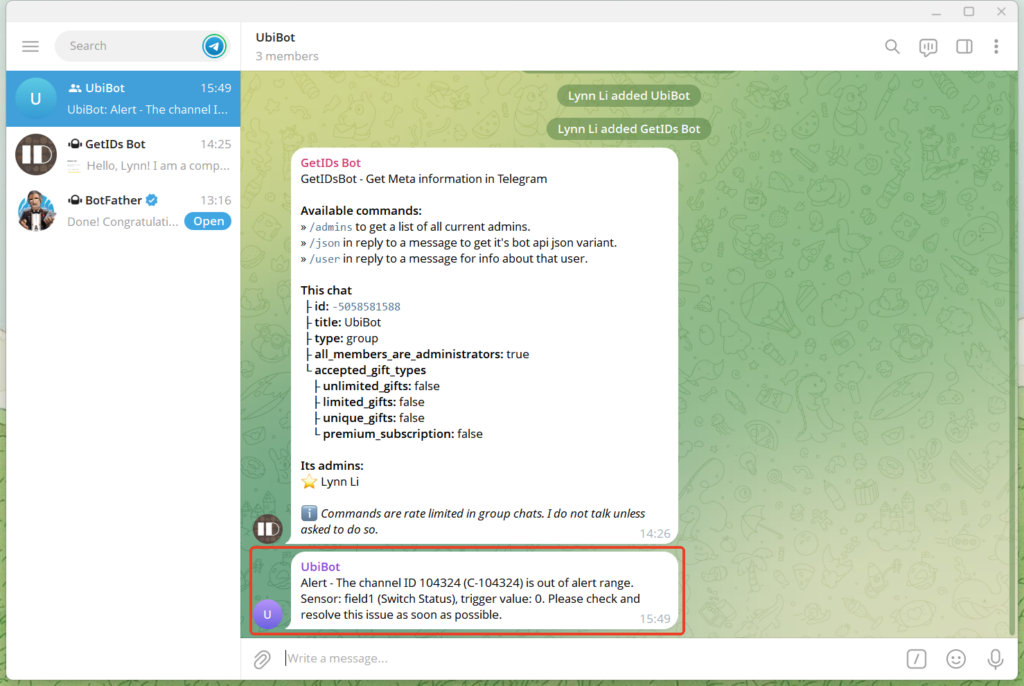
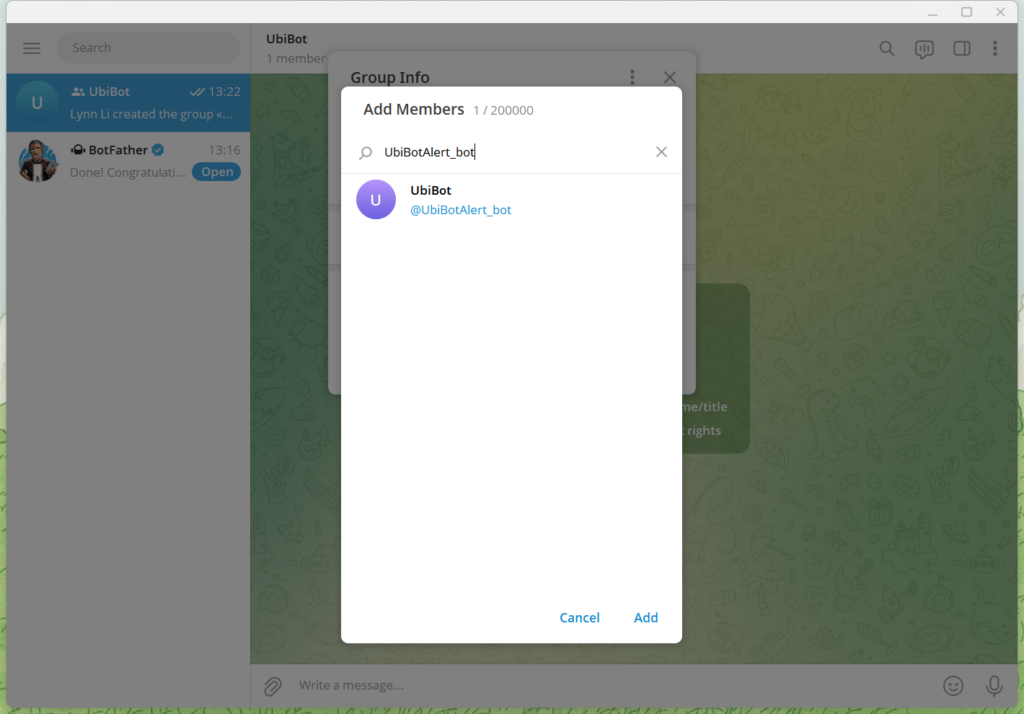 Note: If the bot cannot be added, it may be due to privacy mode settings or group permission restrictions. Please follow the steps below to adjust the settings.
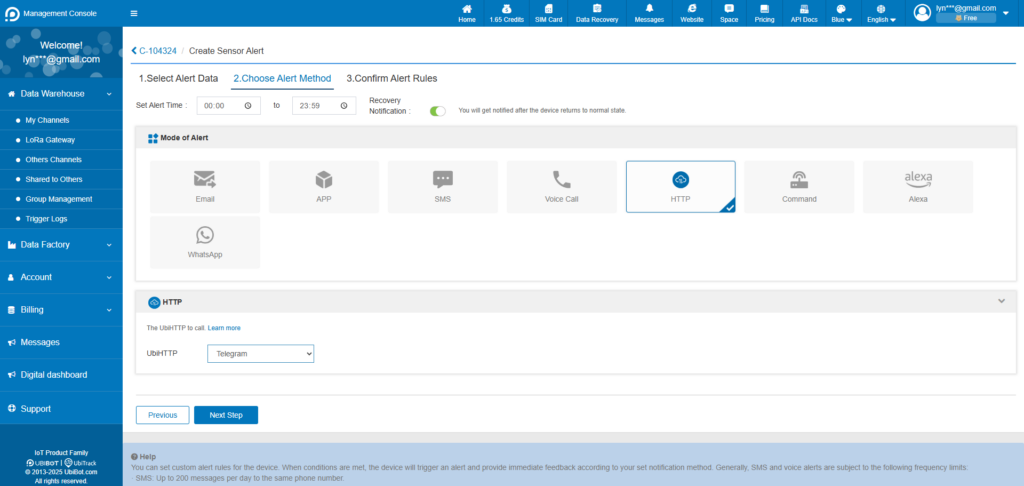
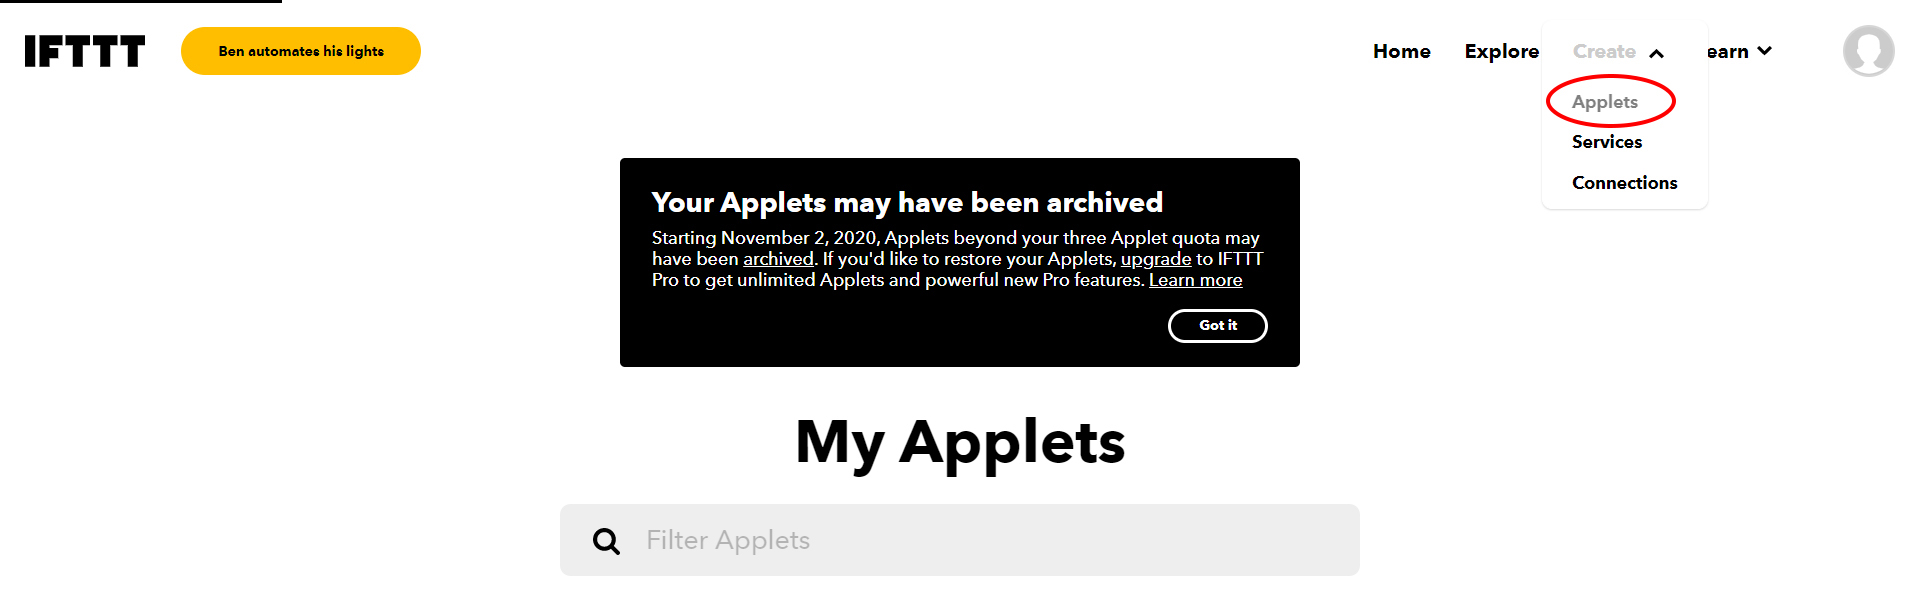
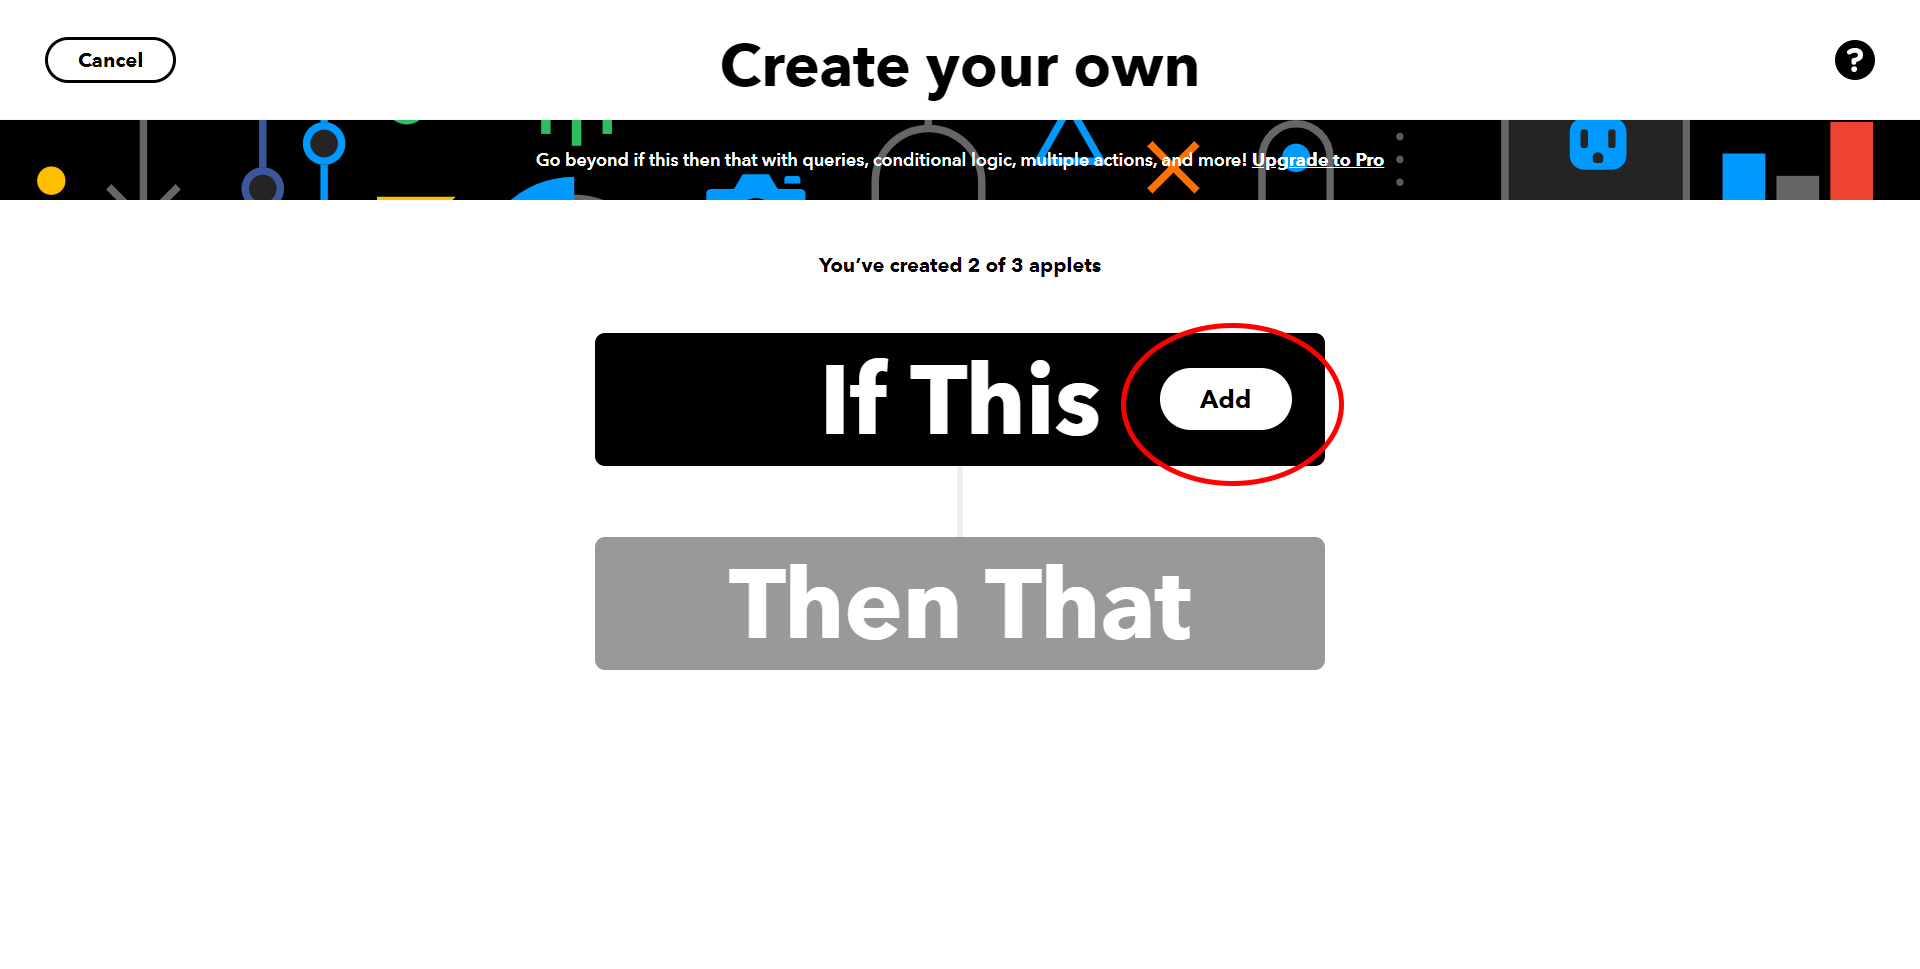
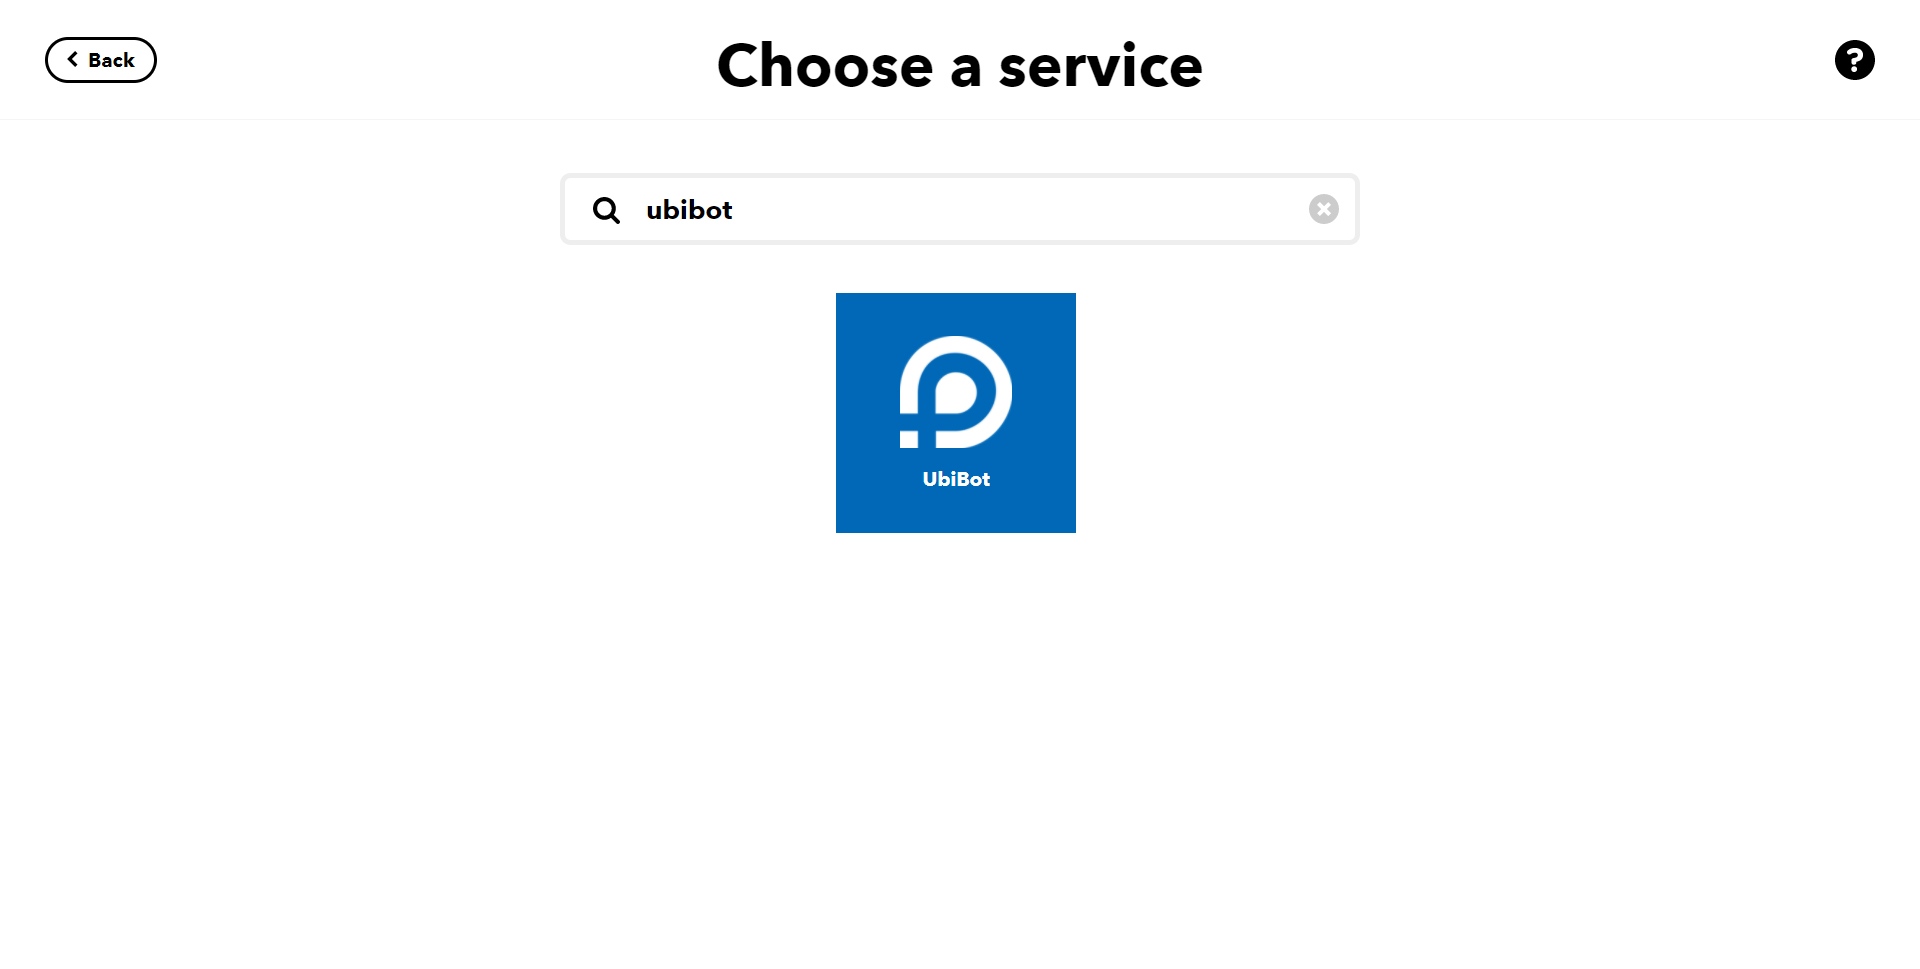
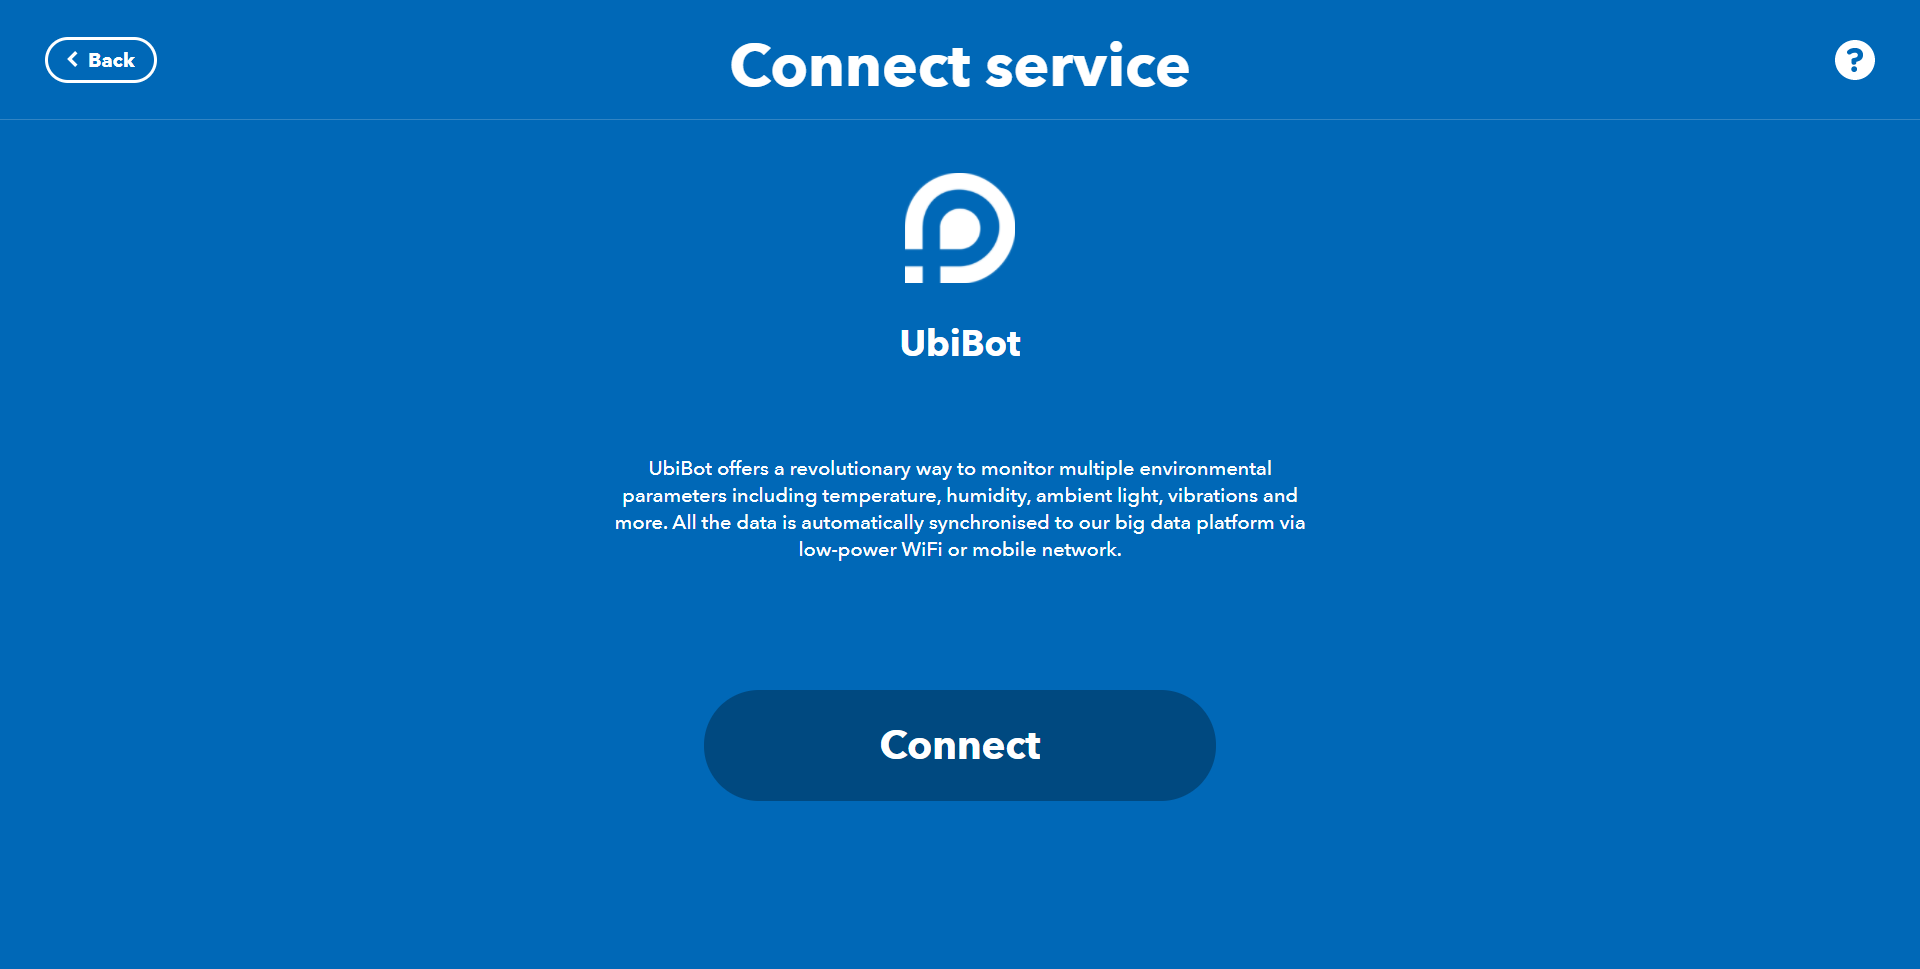
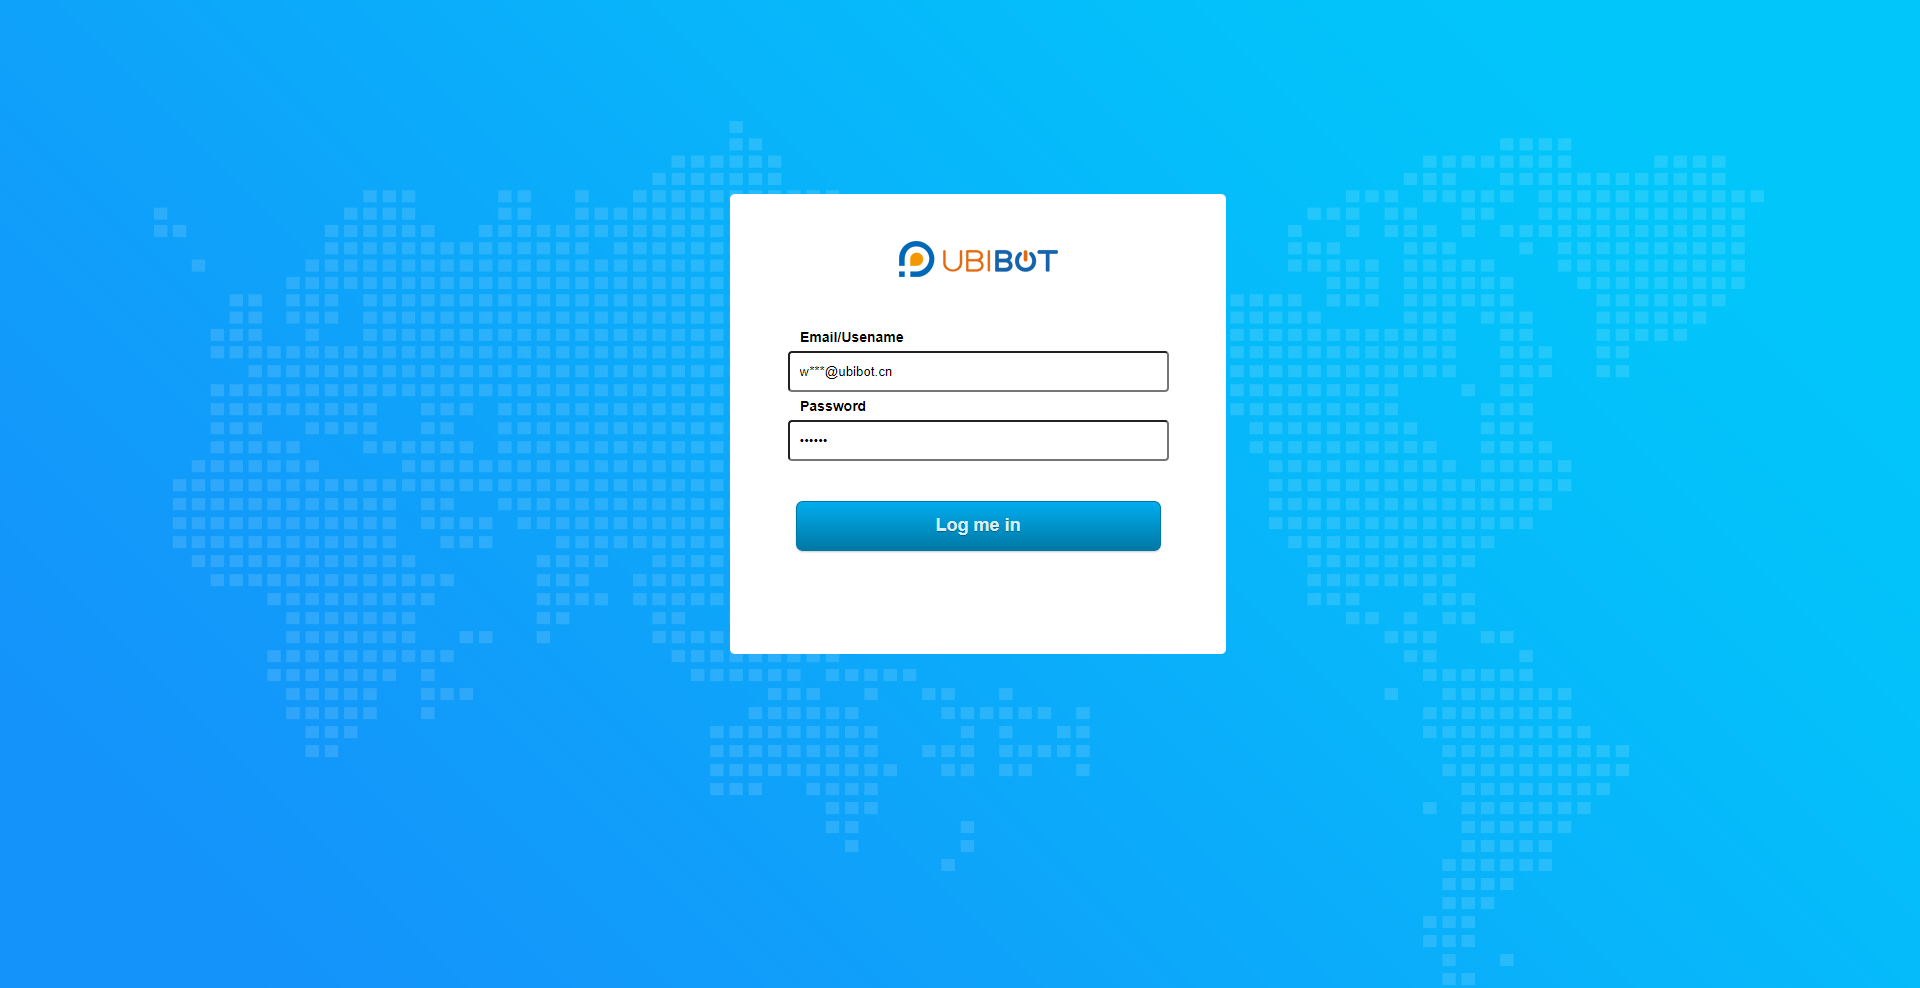
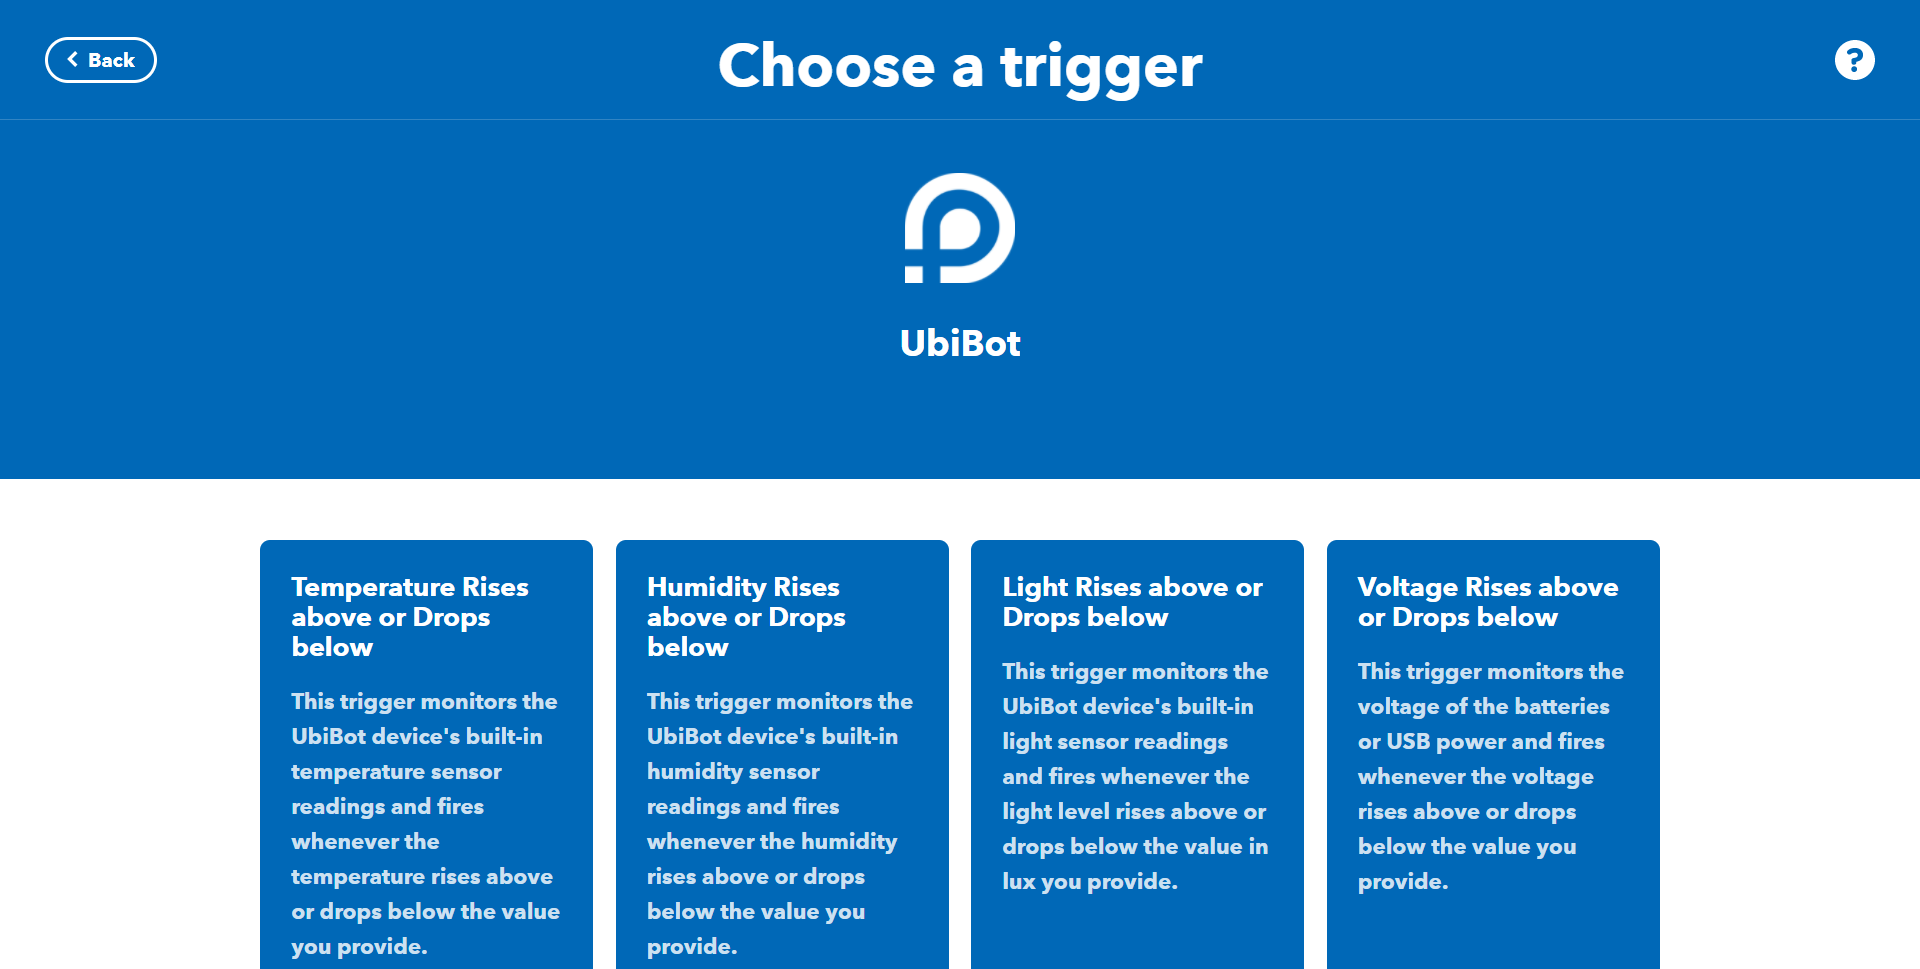
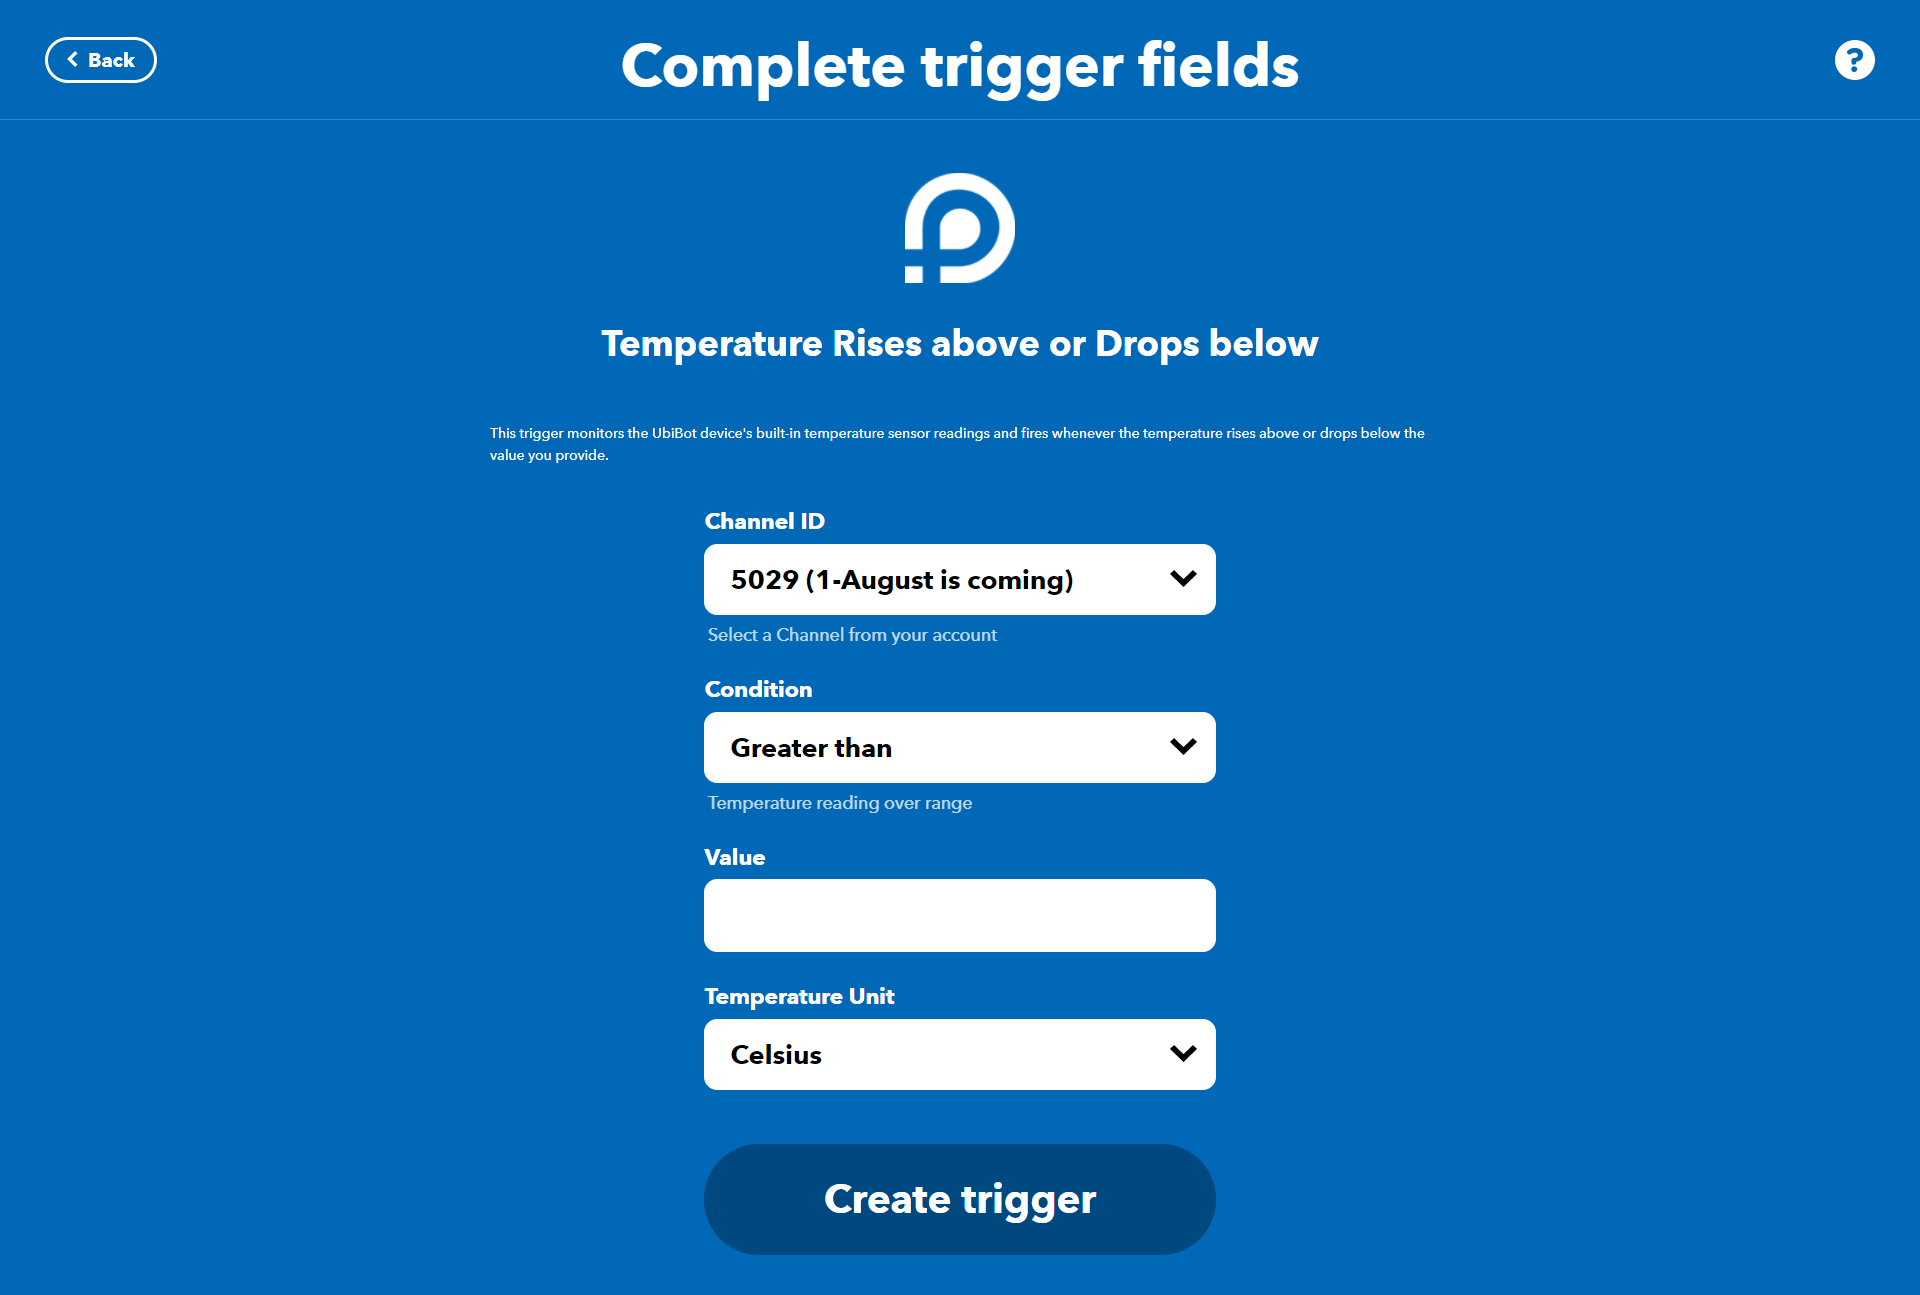
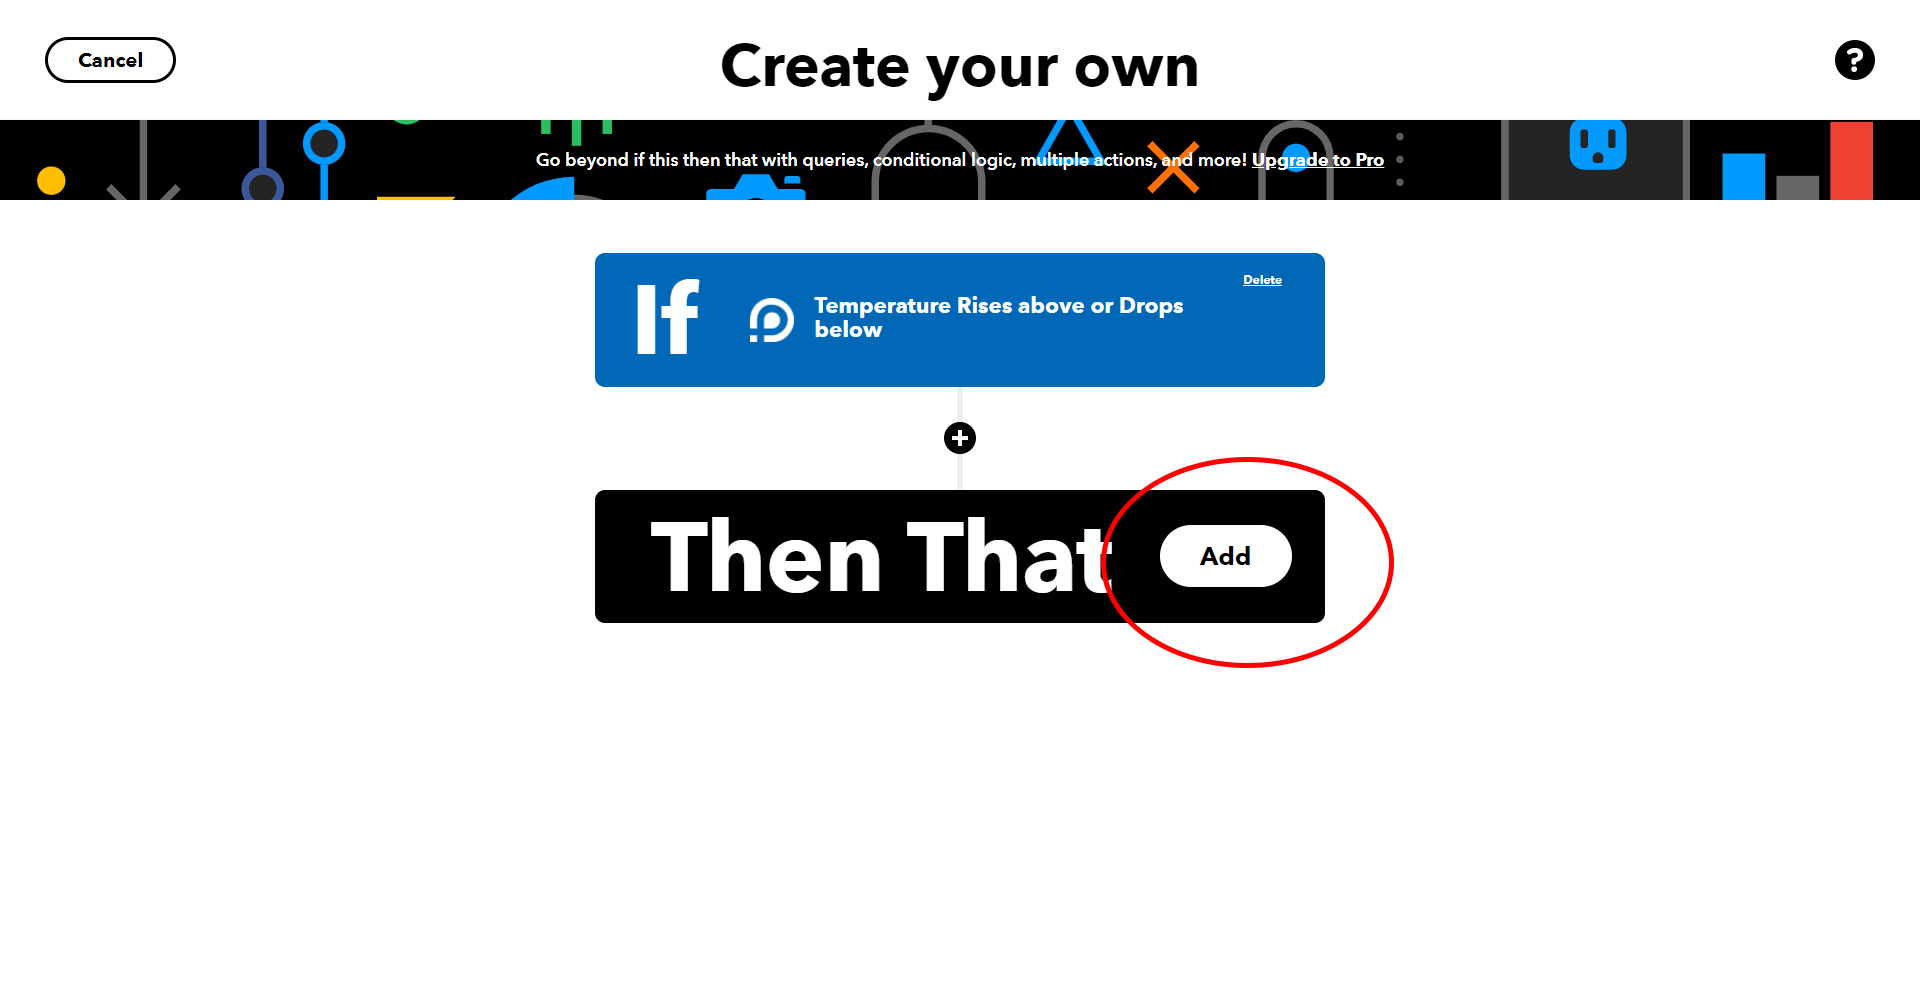
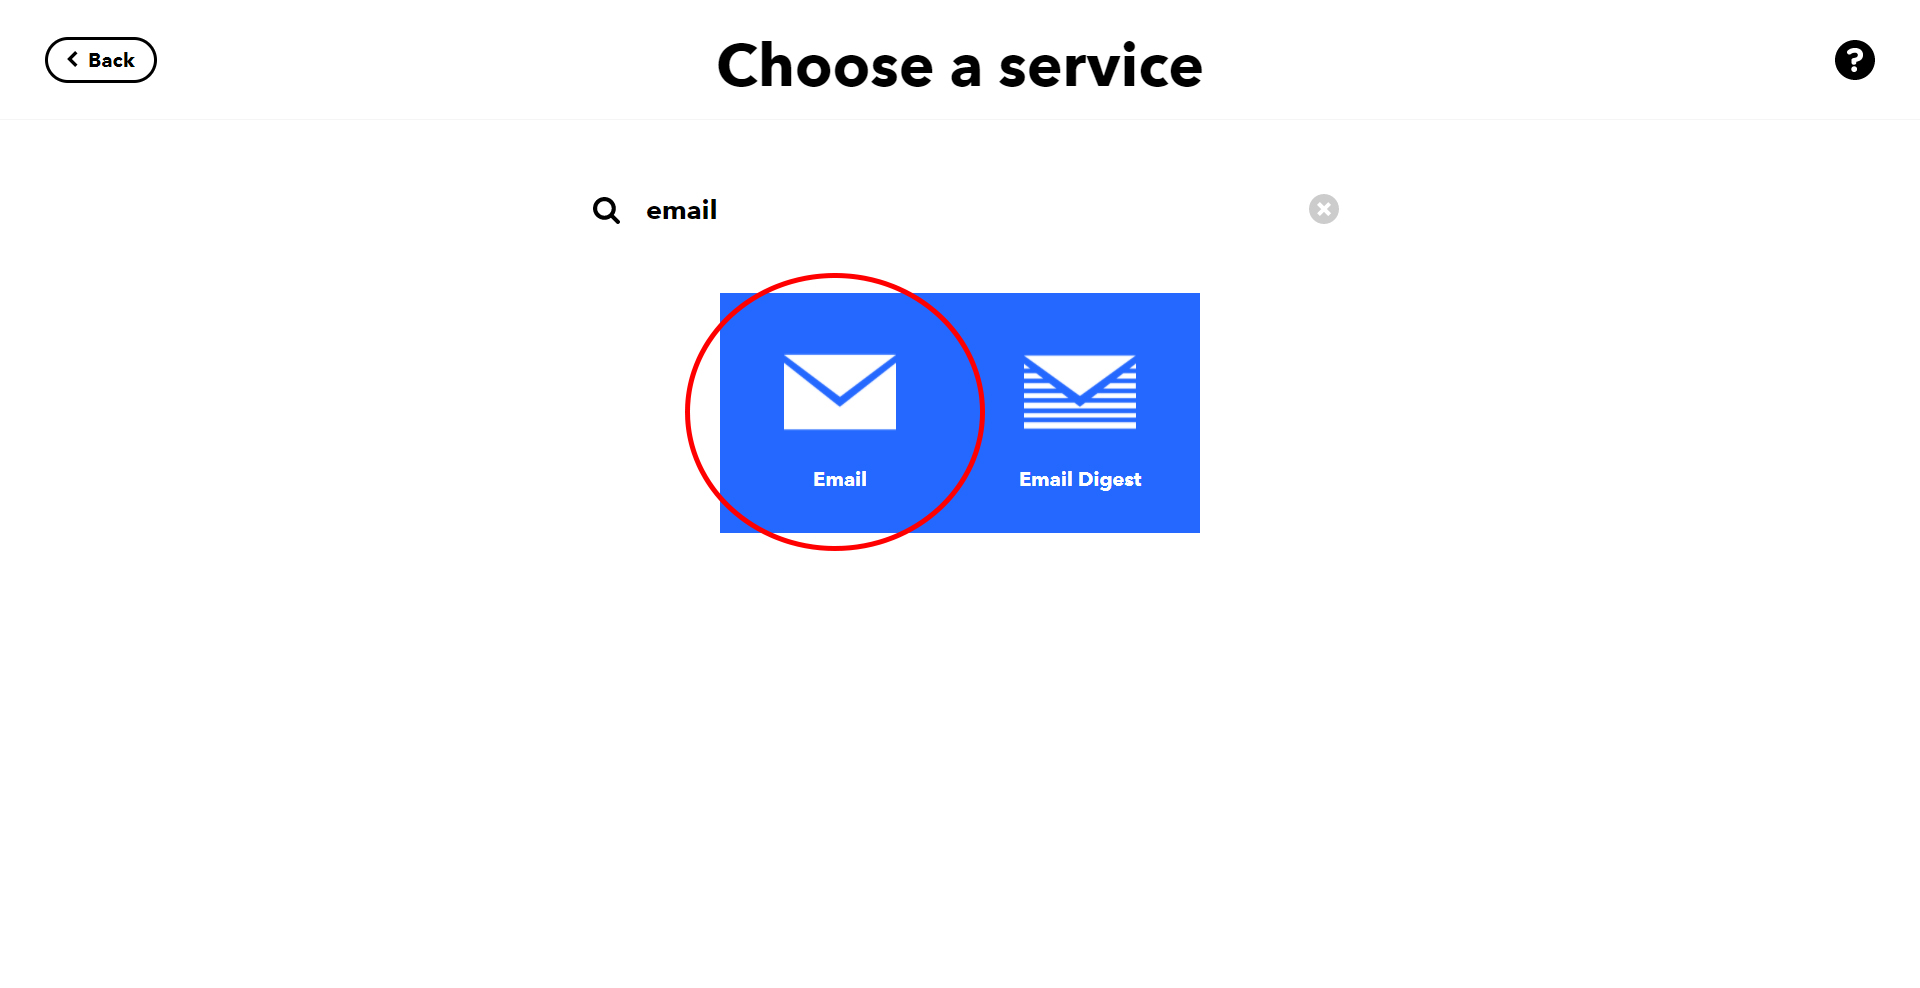
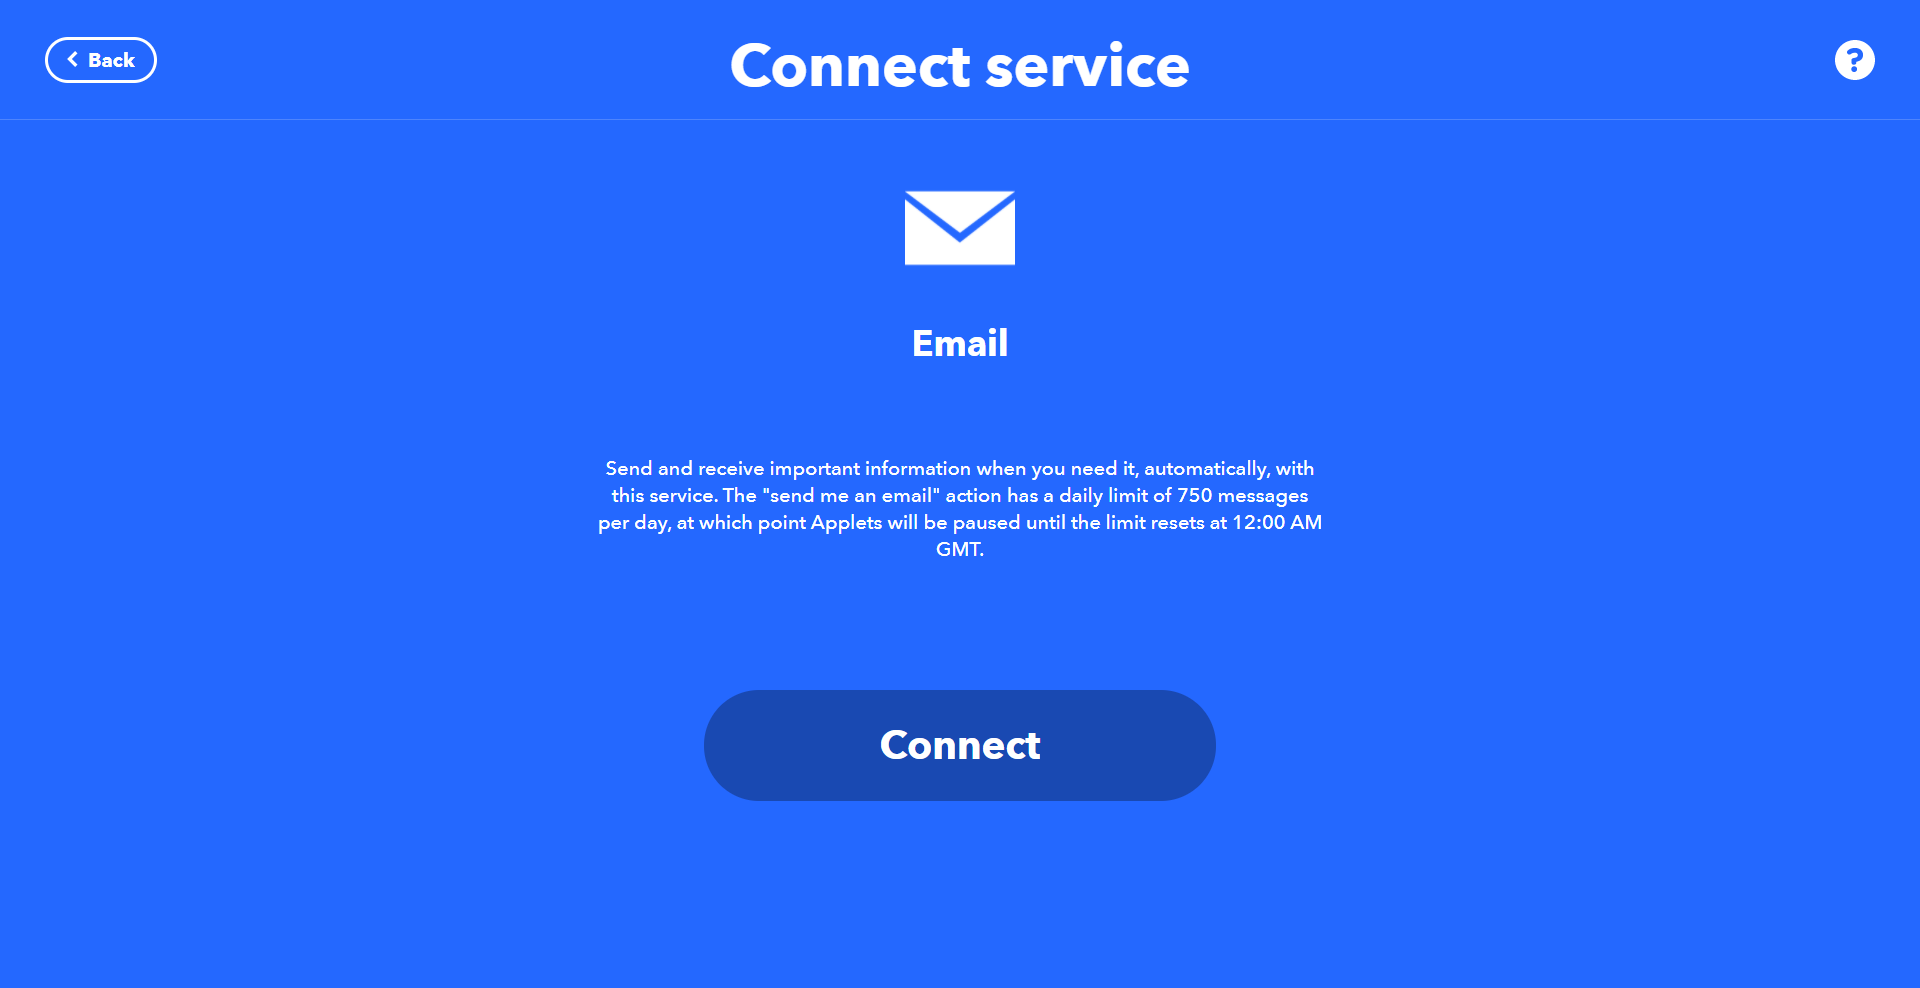
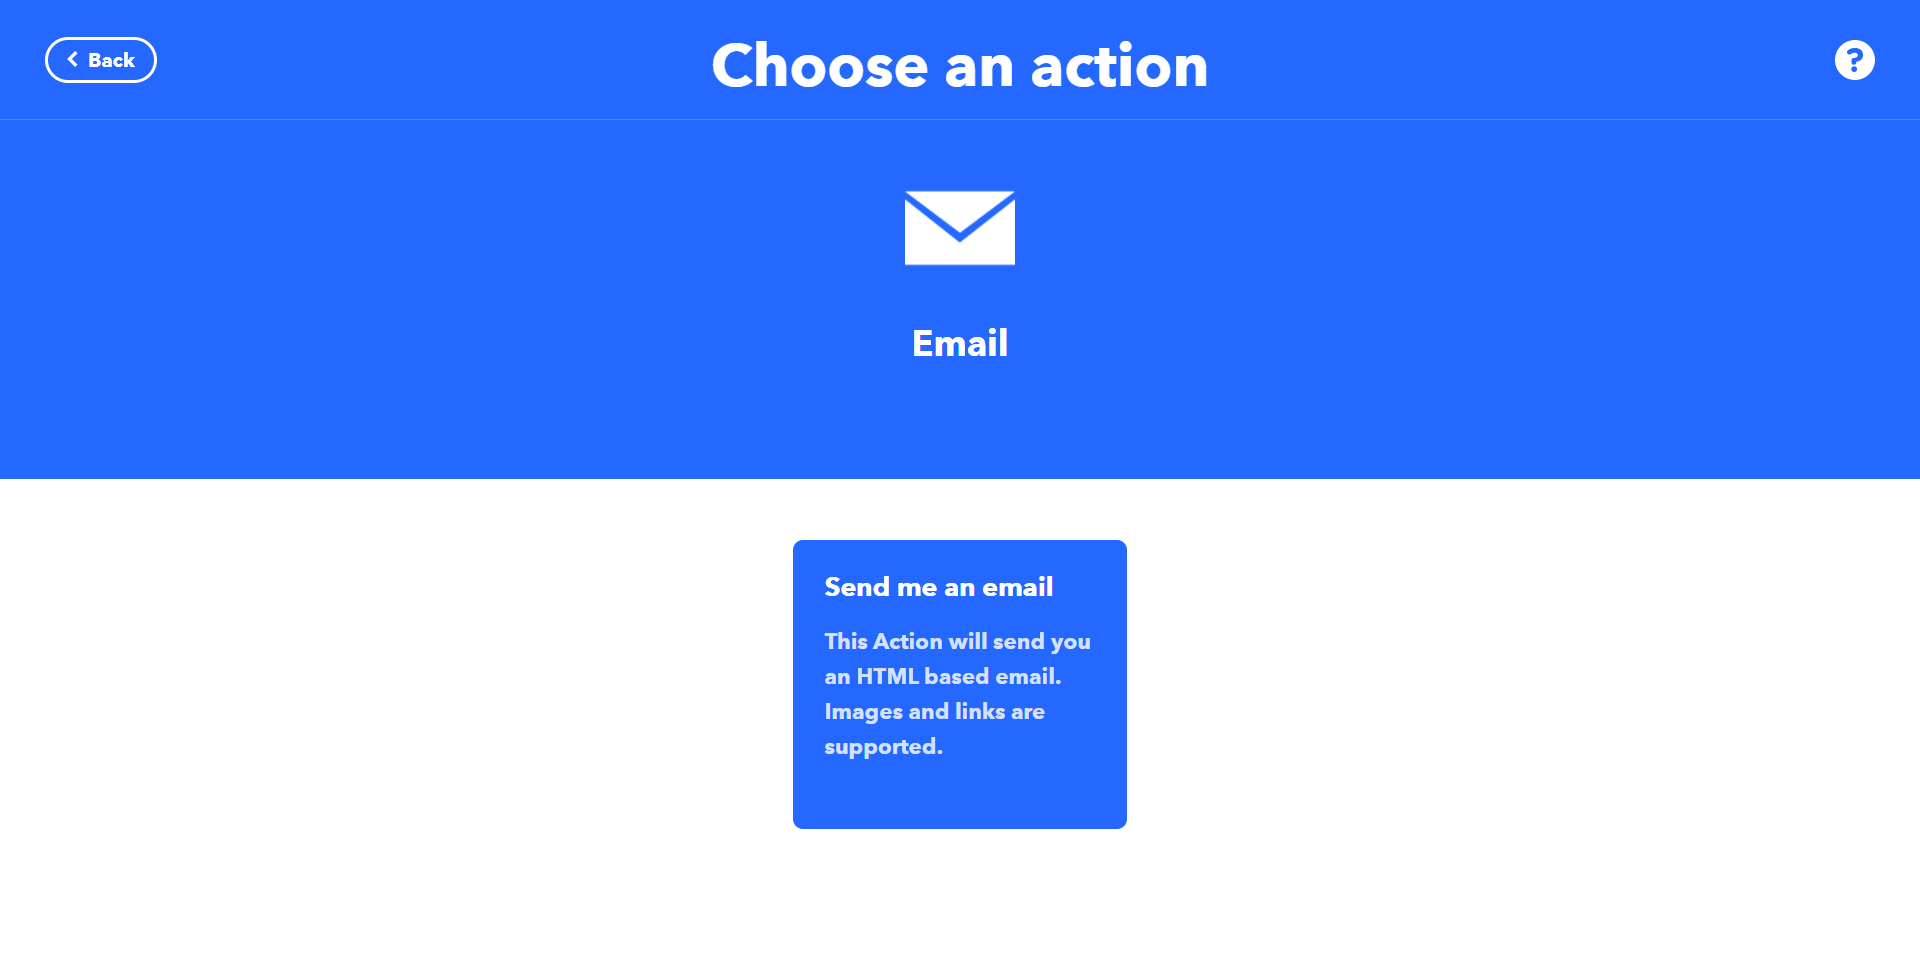
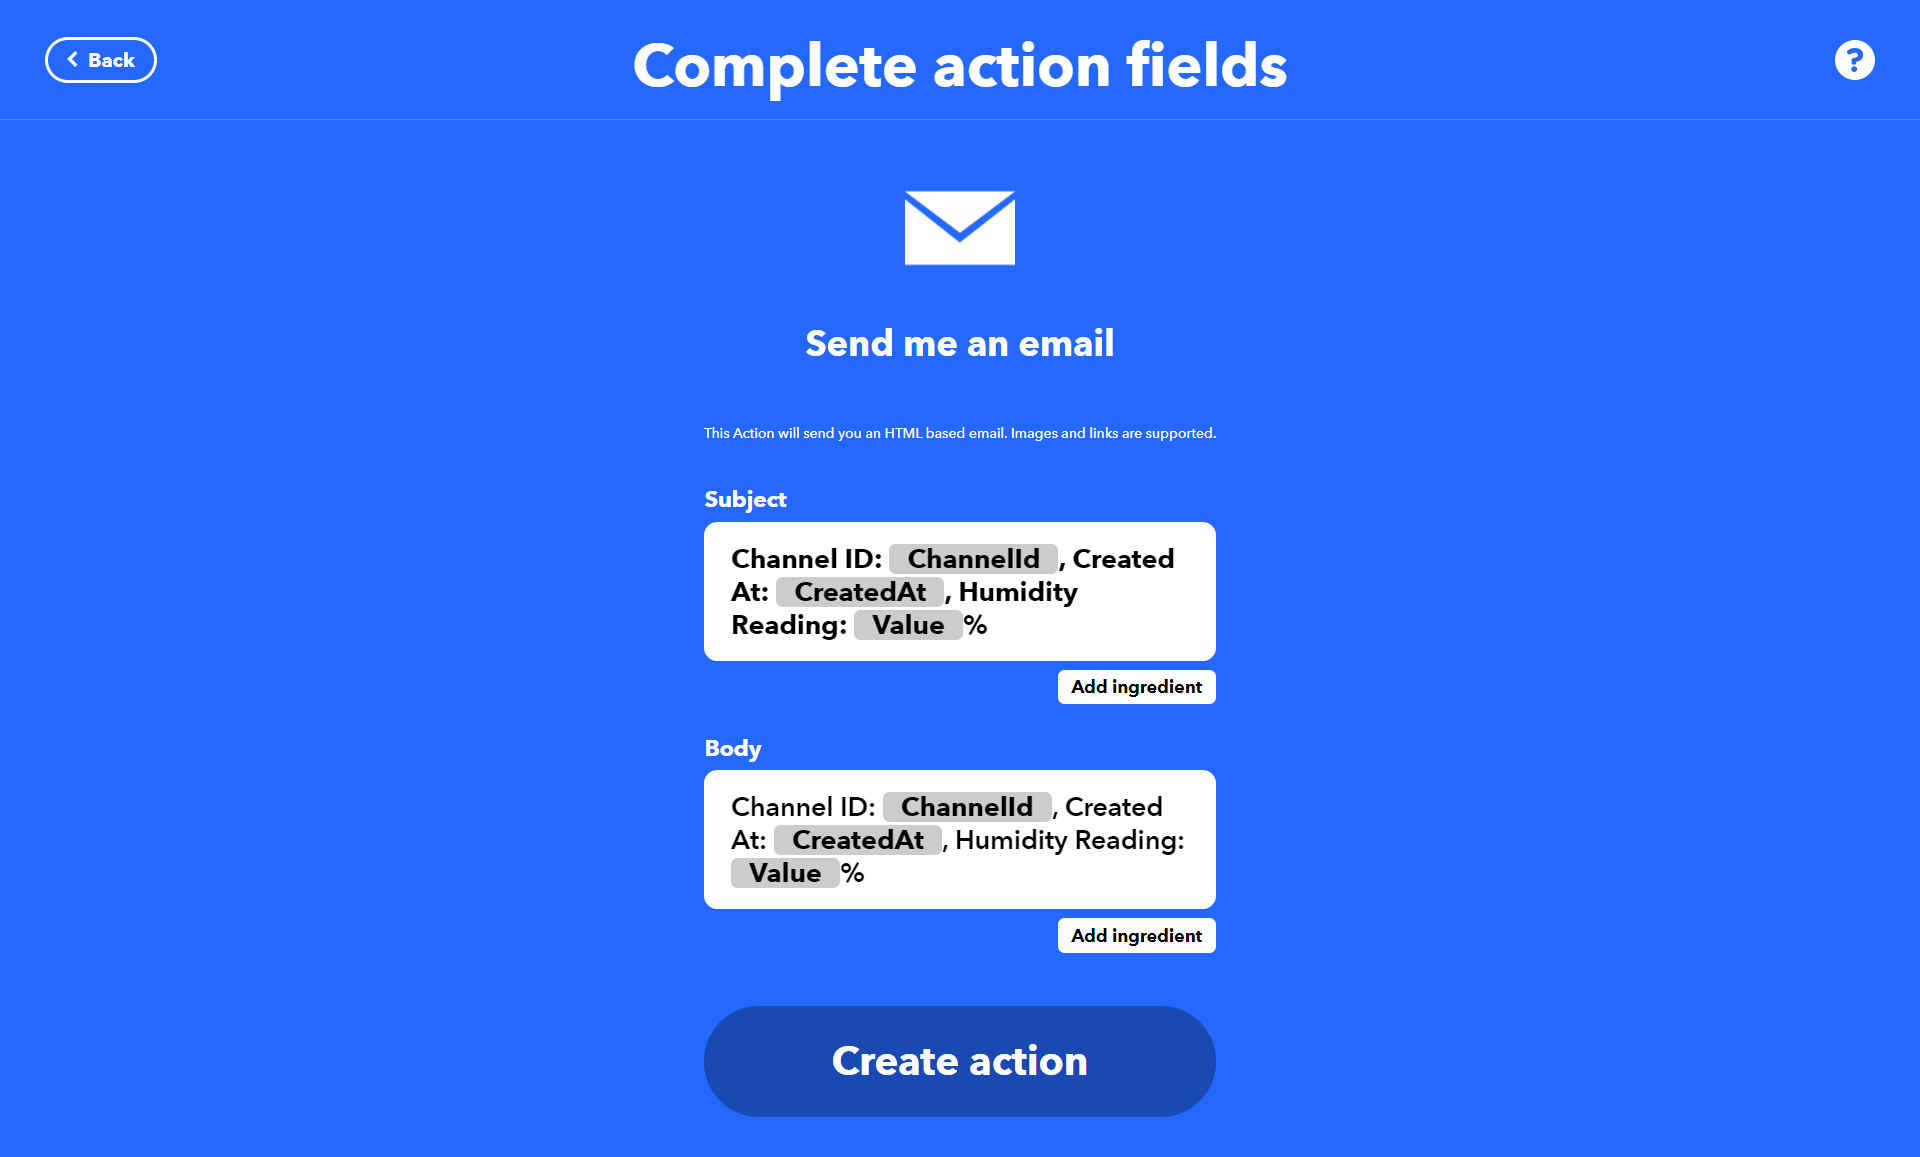
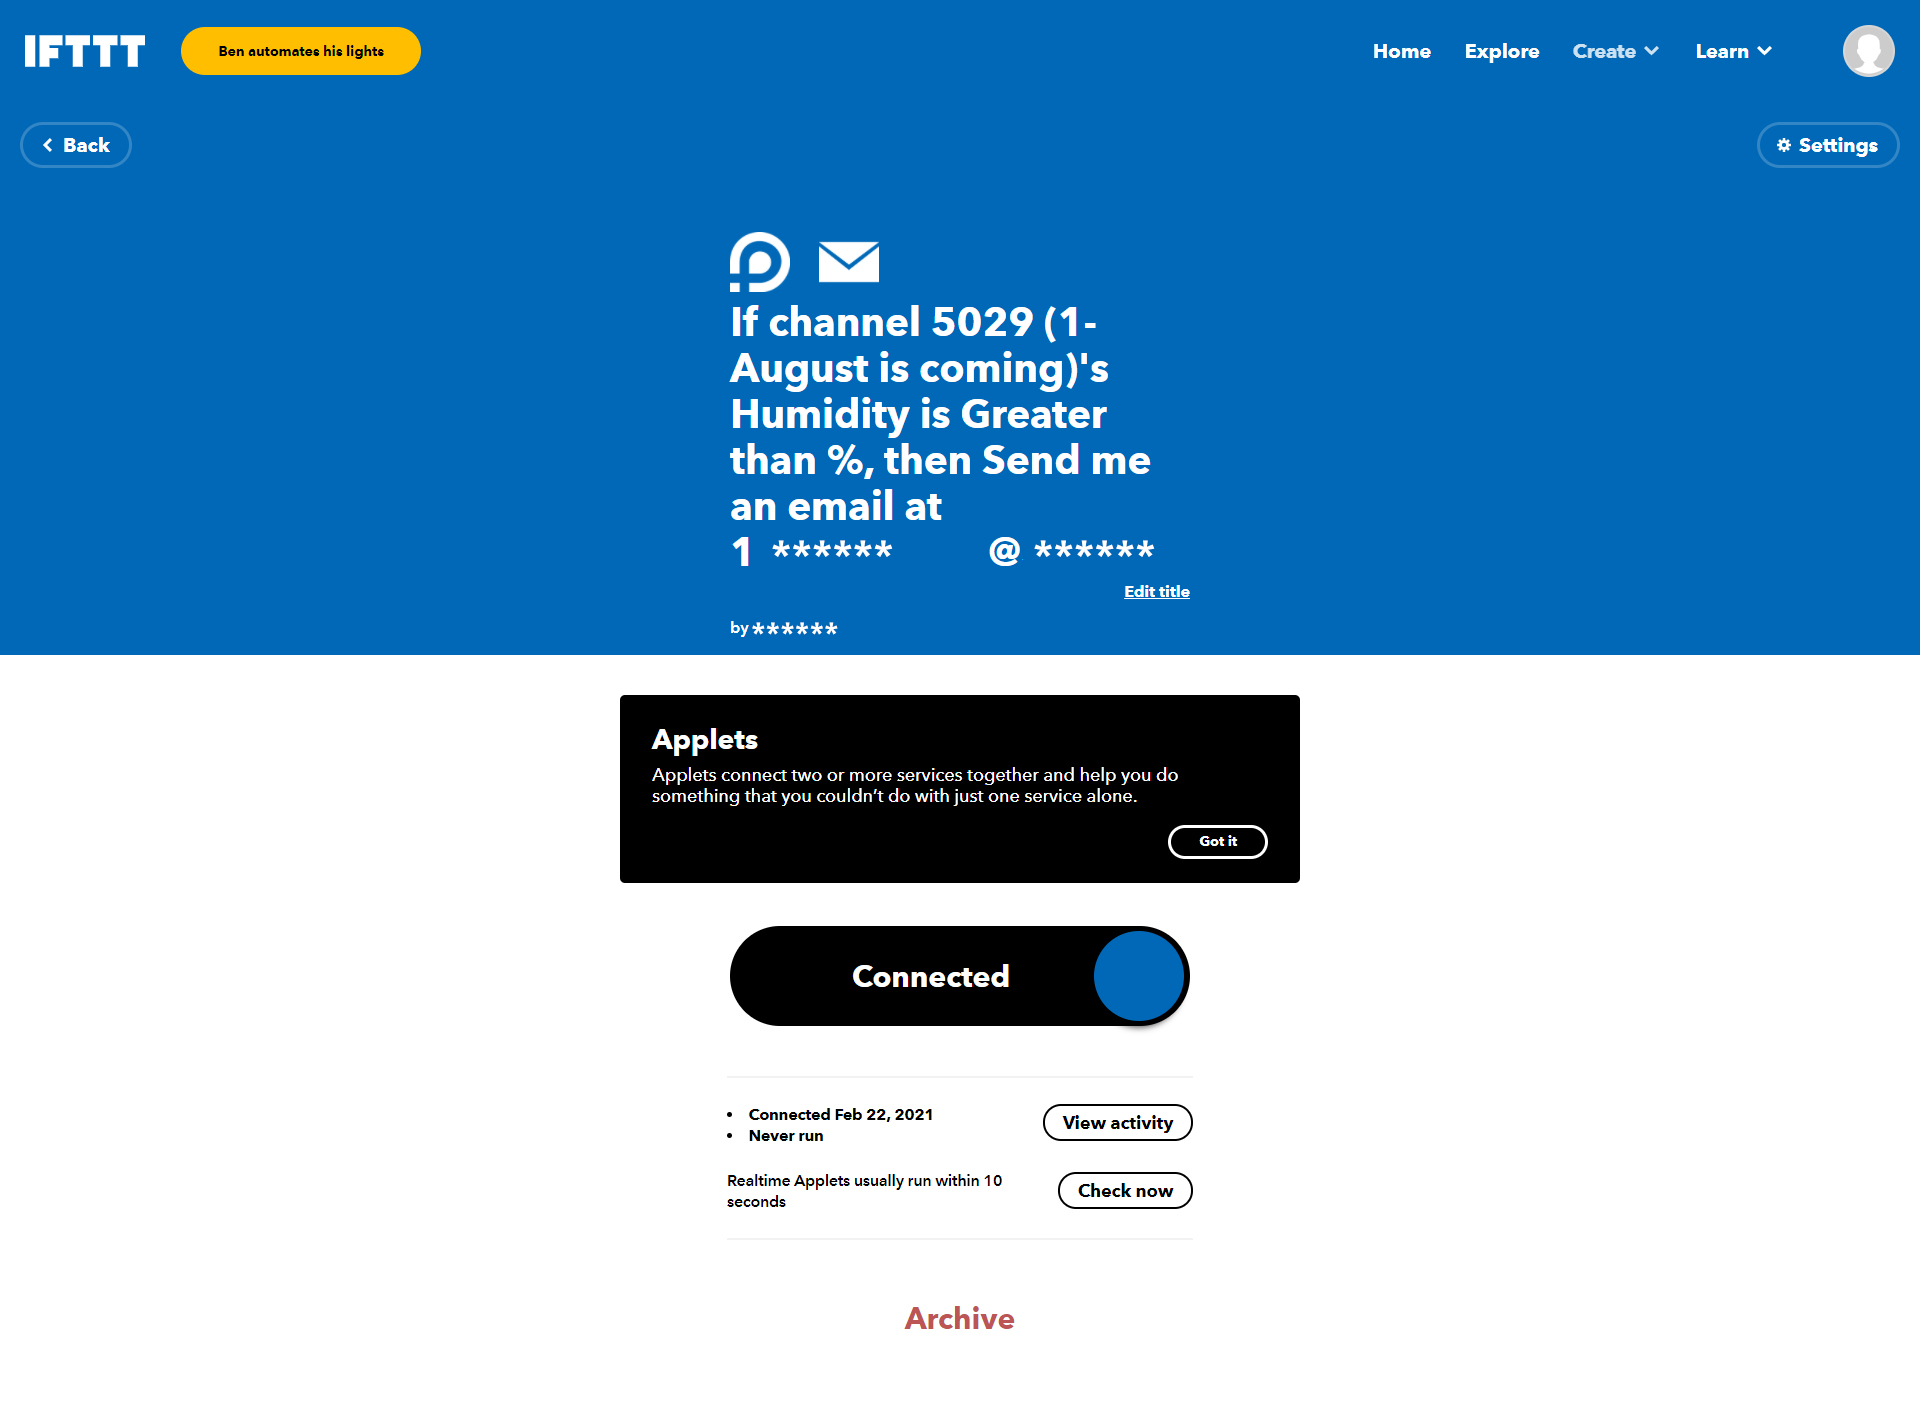
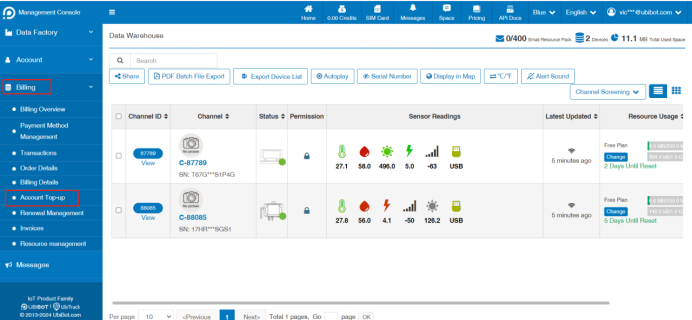
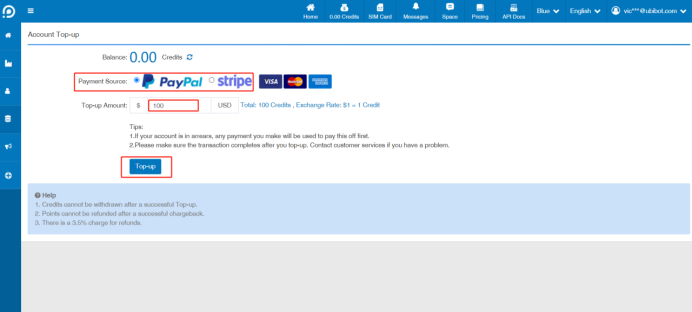
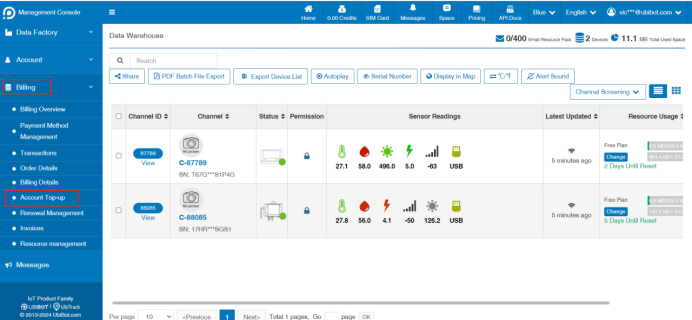
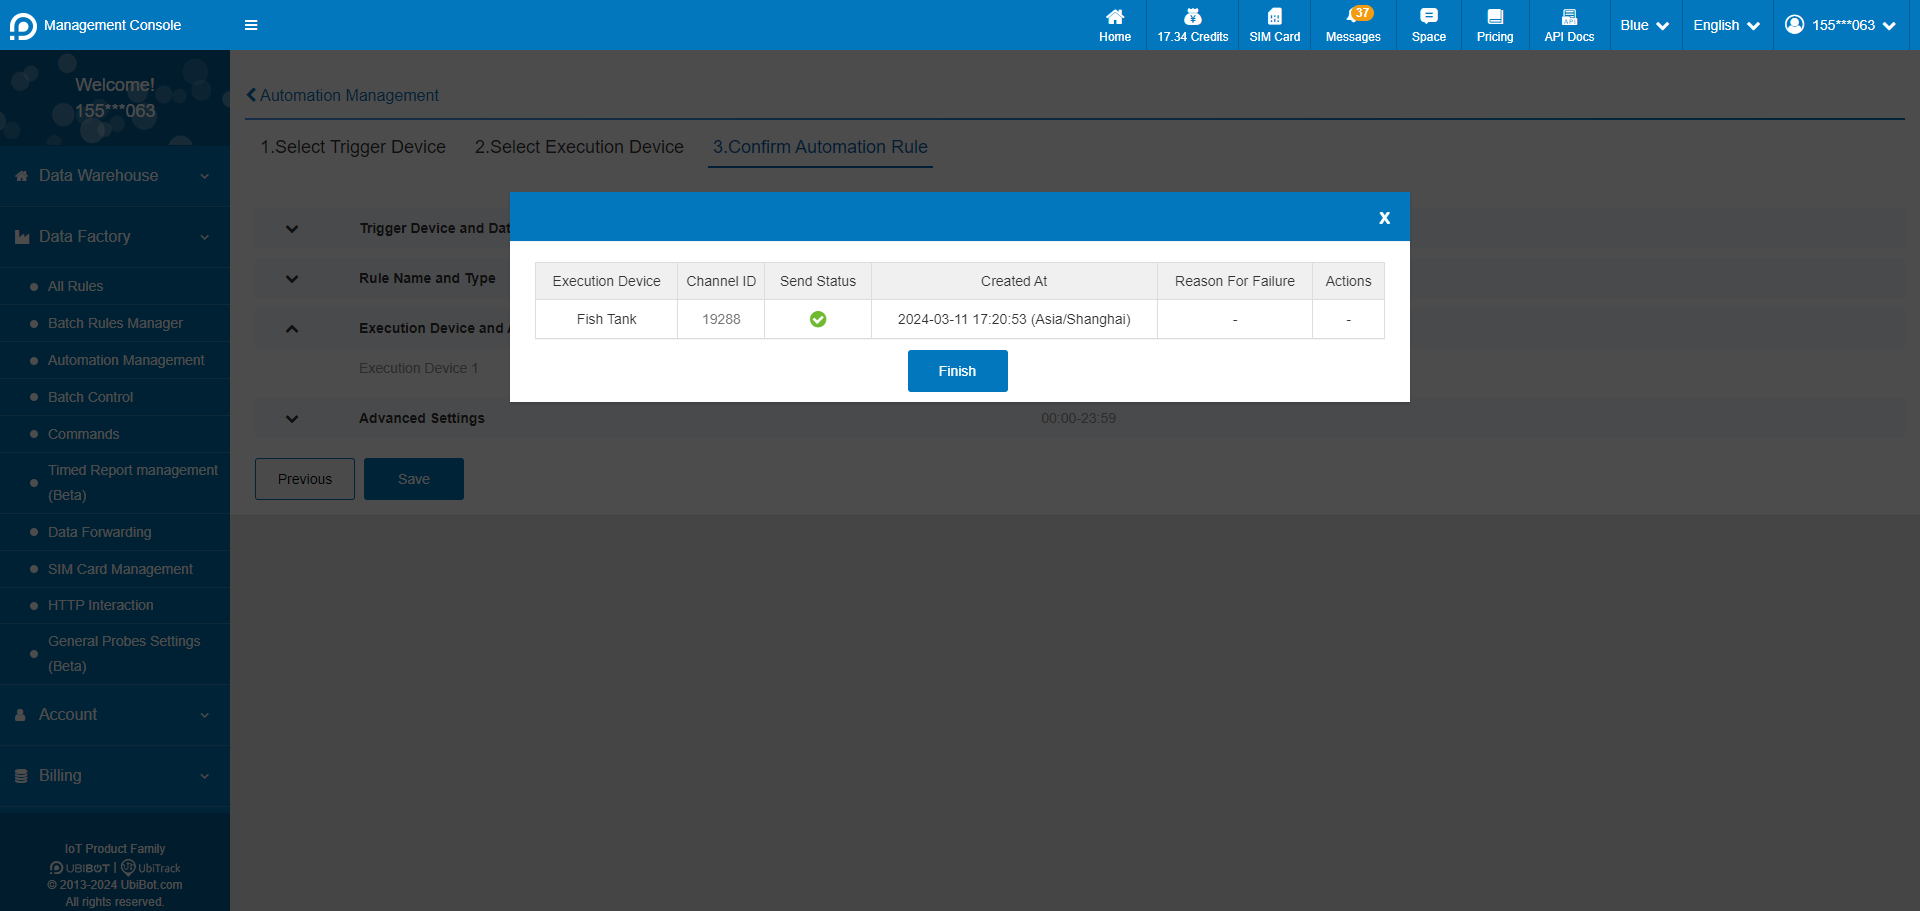
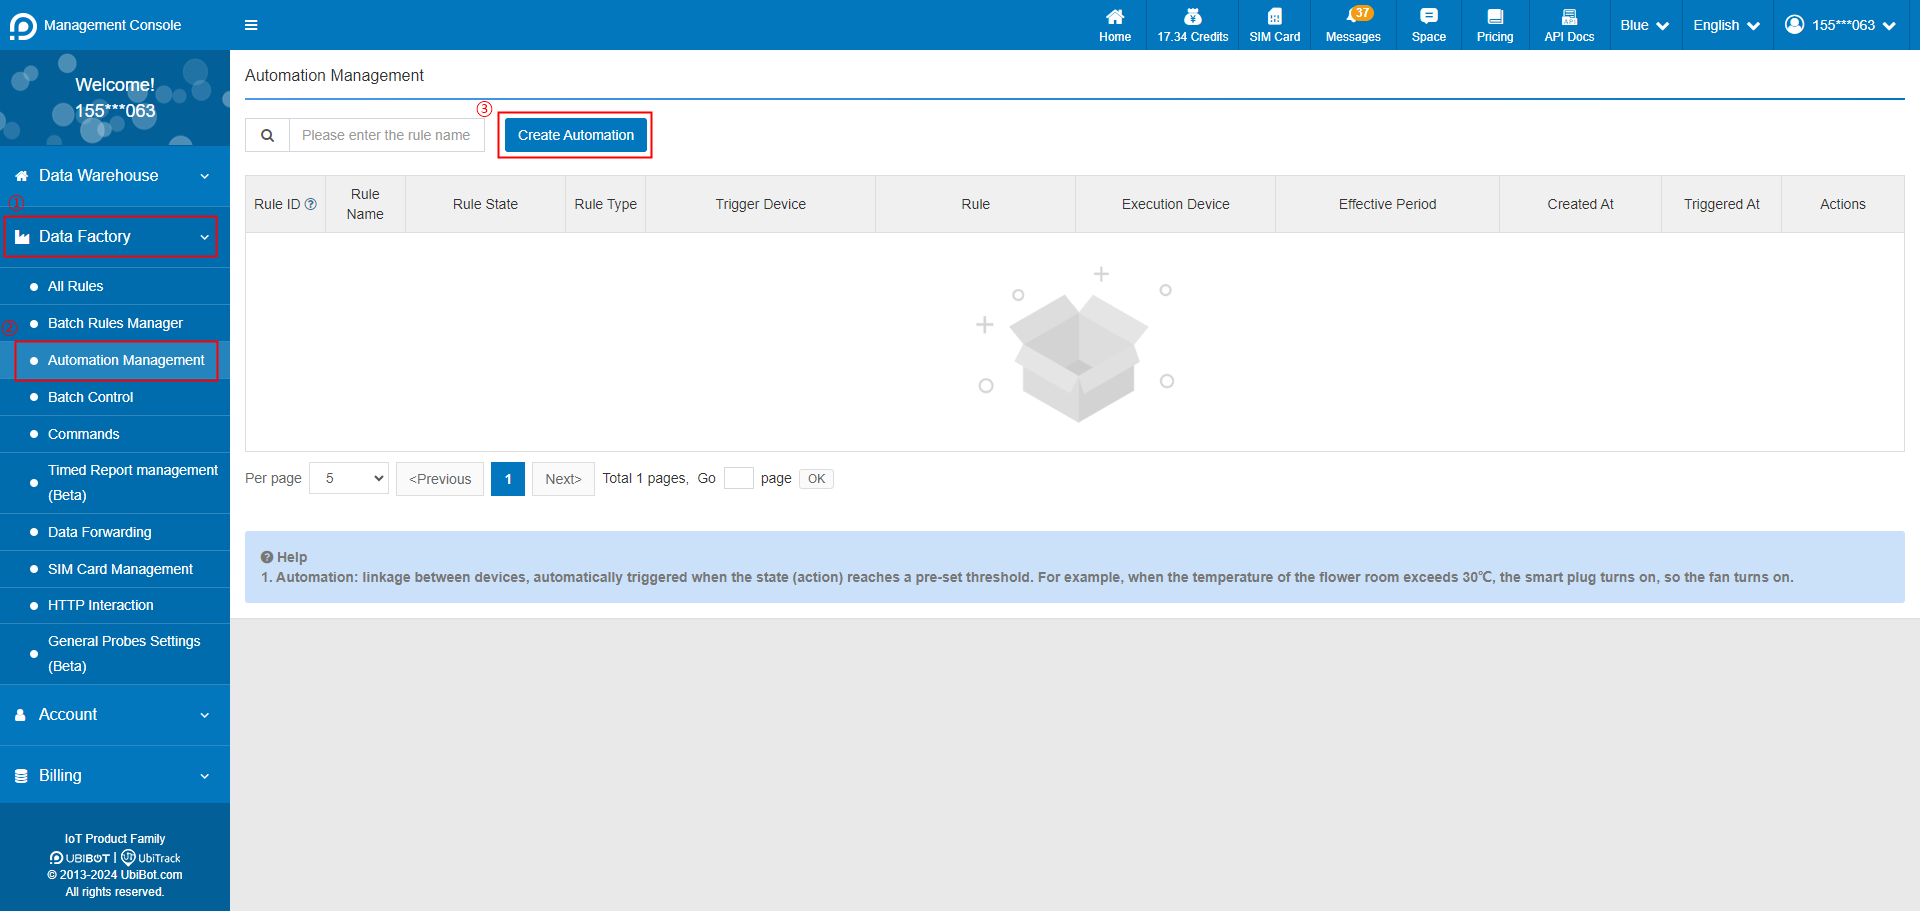 2. Select trigger device, and set the trigger condition.
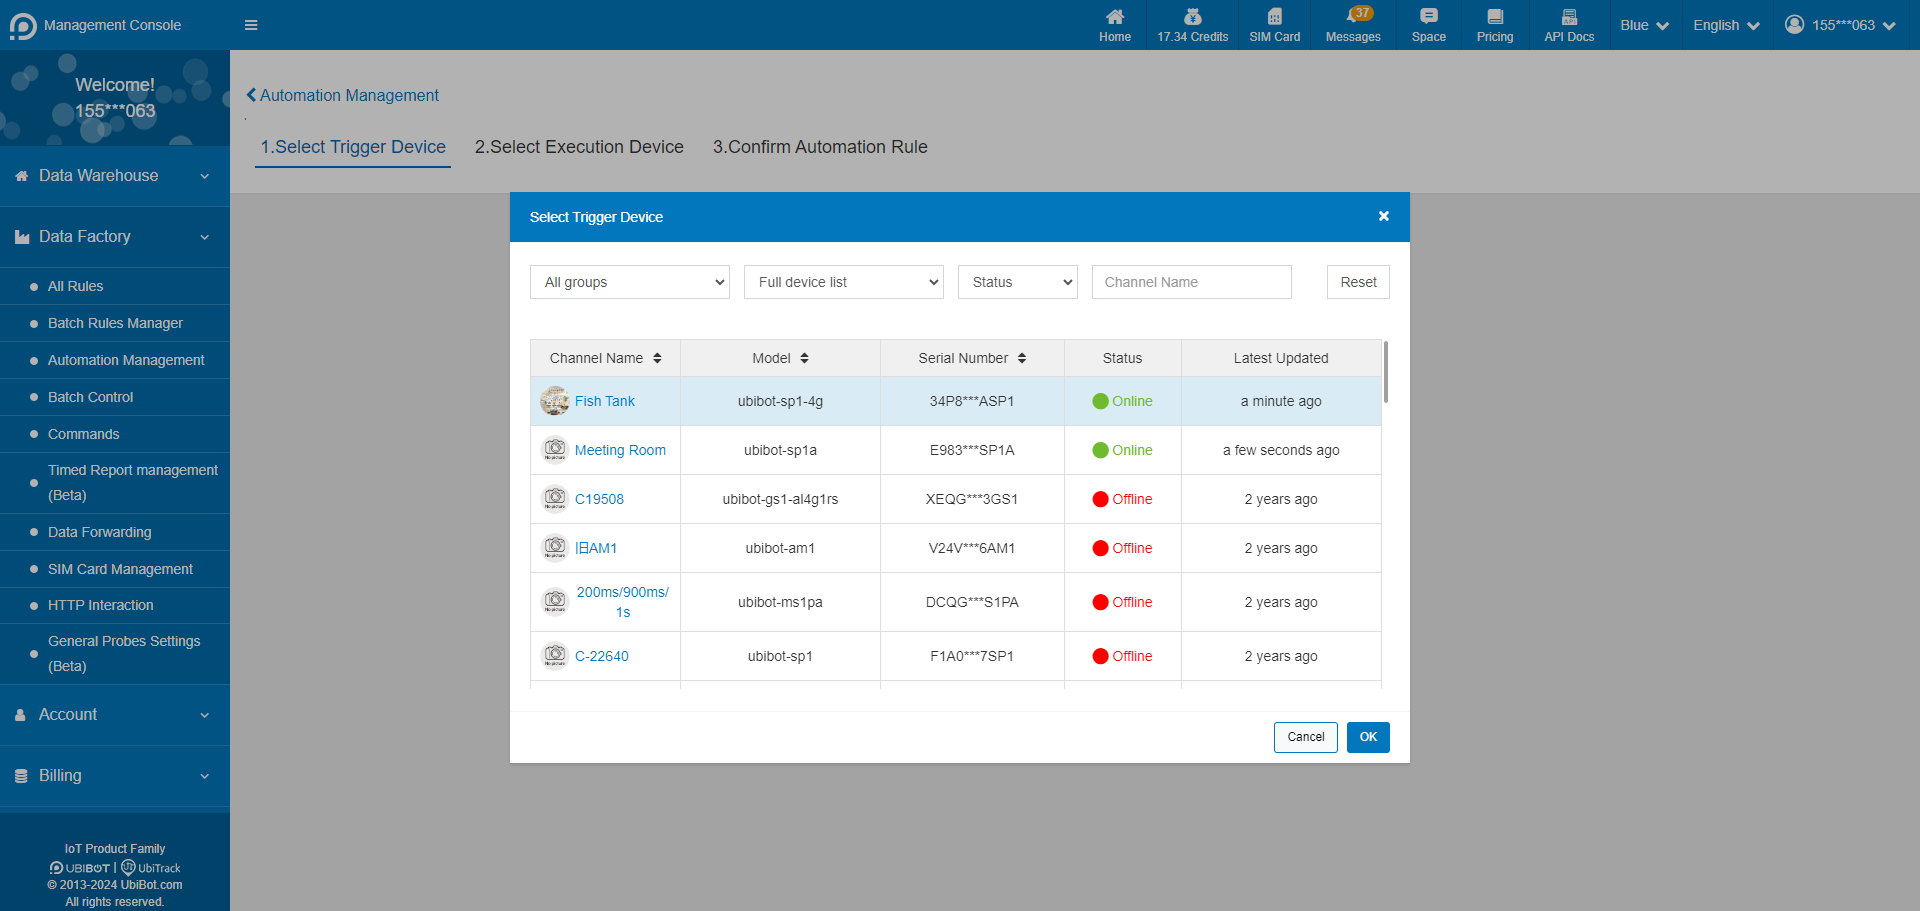
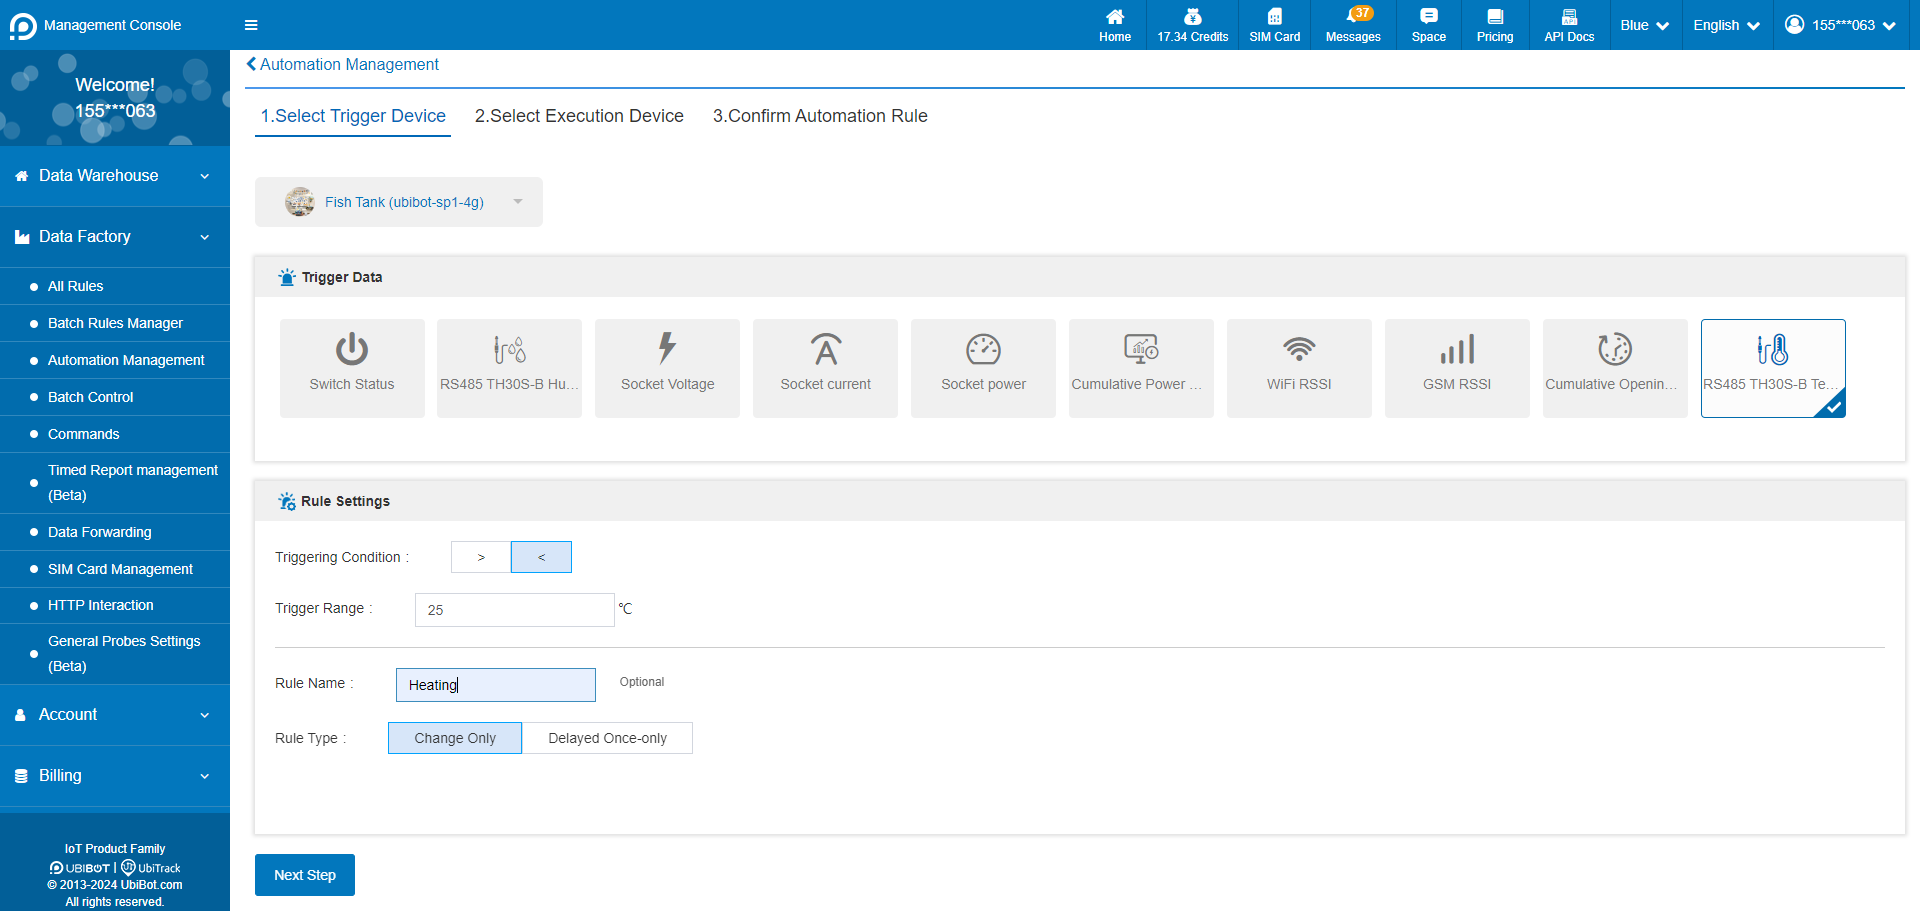 3. Select the execution device and action. Execution devices only support intelligent control devices such as Smart Plug SP1 and Network Relay NR1, and up to 5 execution devices can be set at the same time.
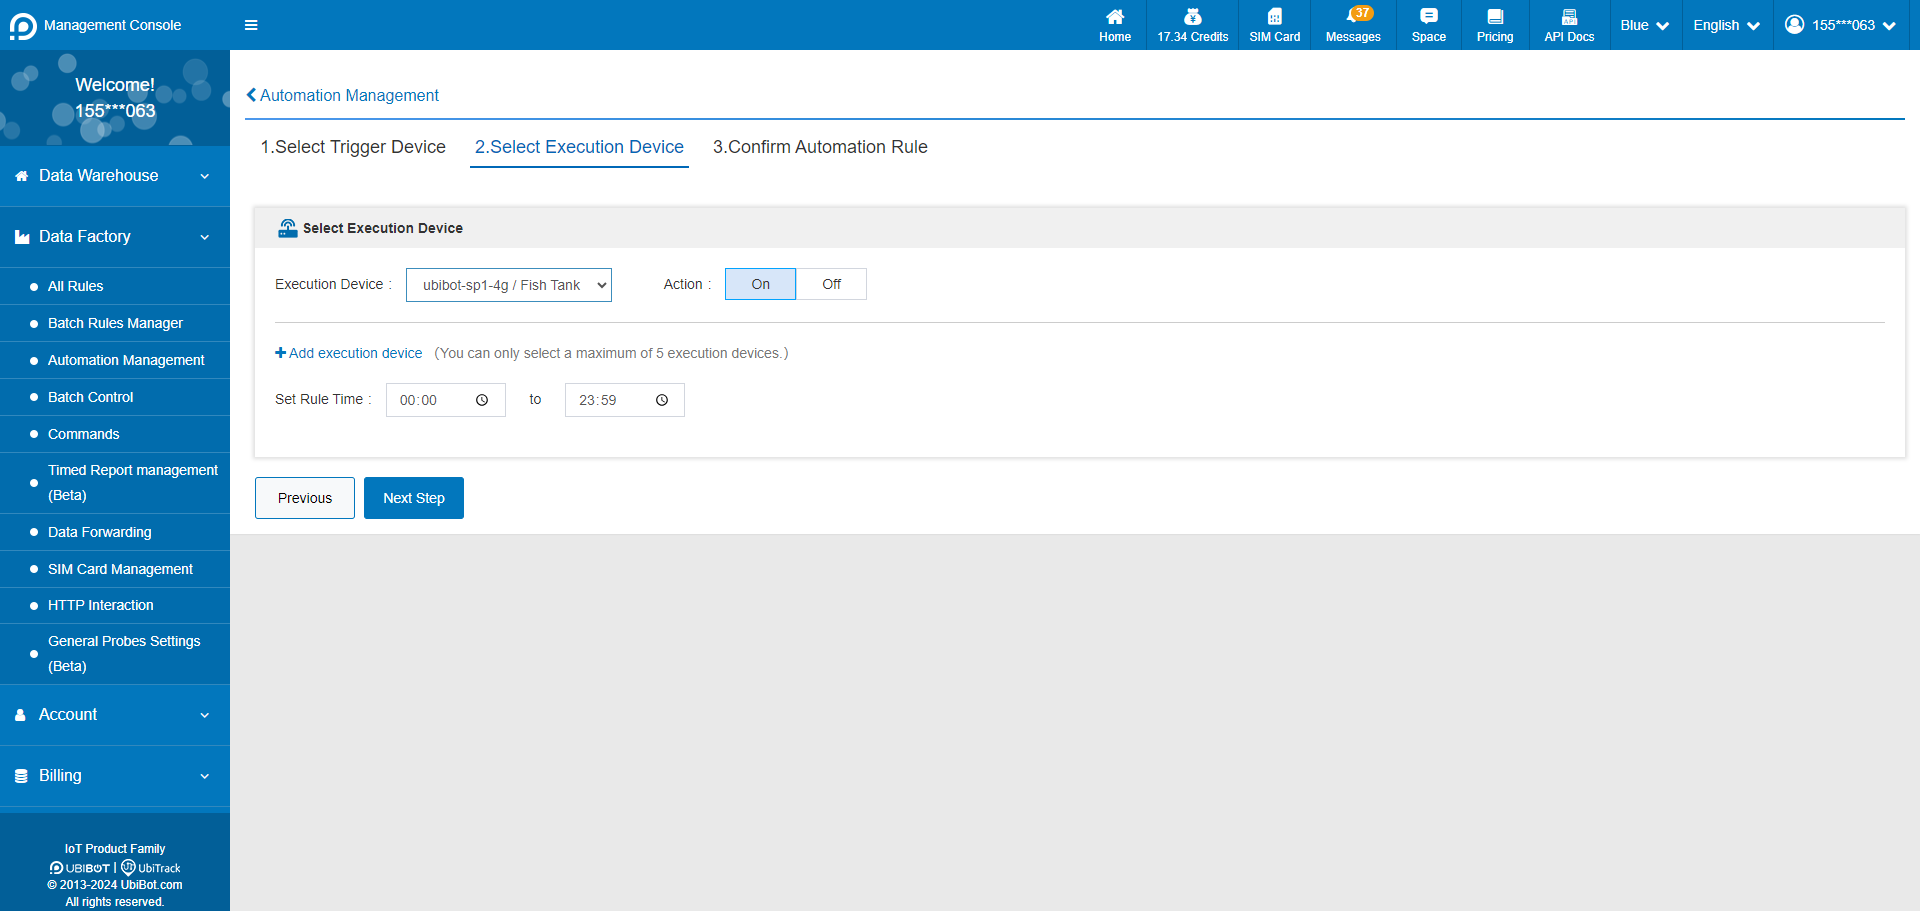 4. Confirm the automation rule and save it.
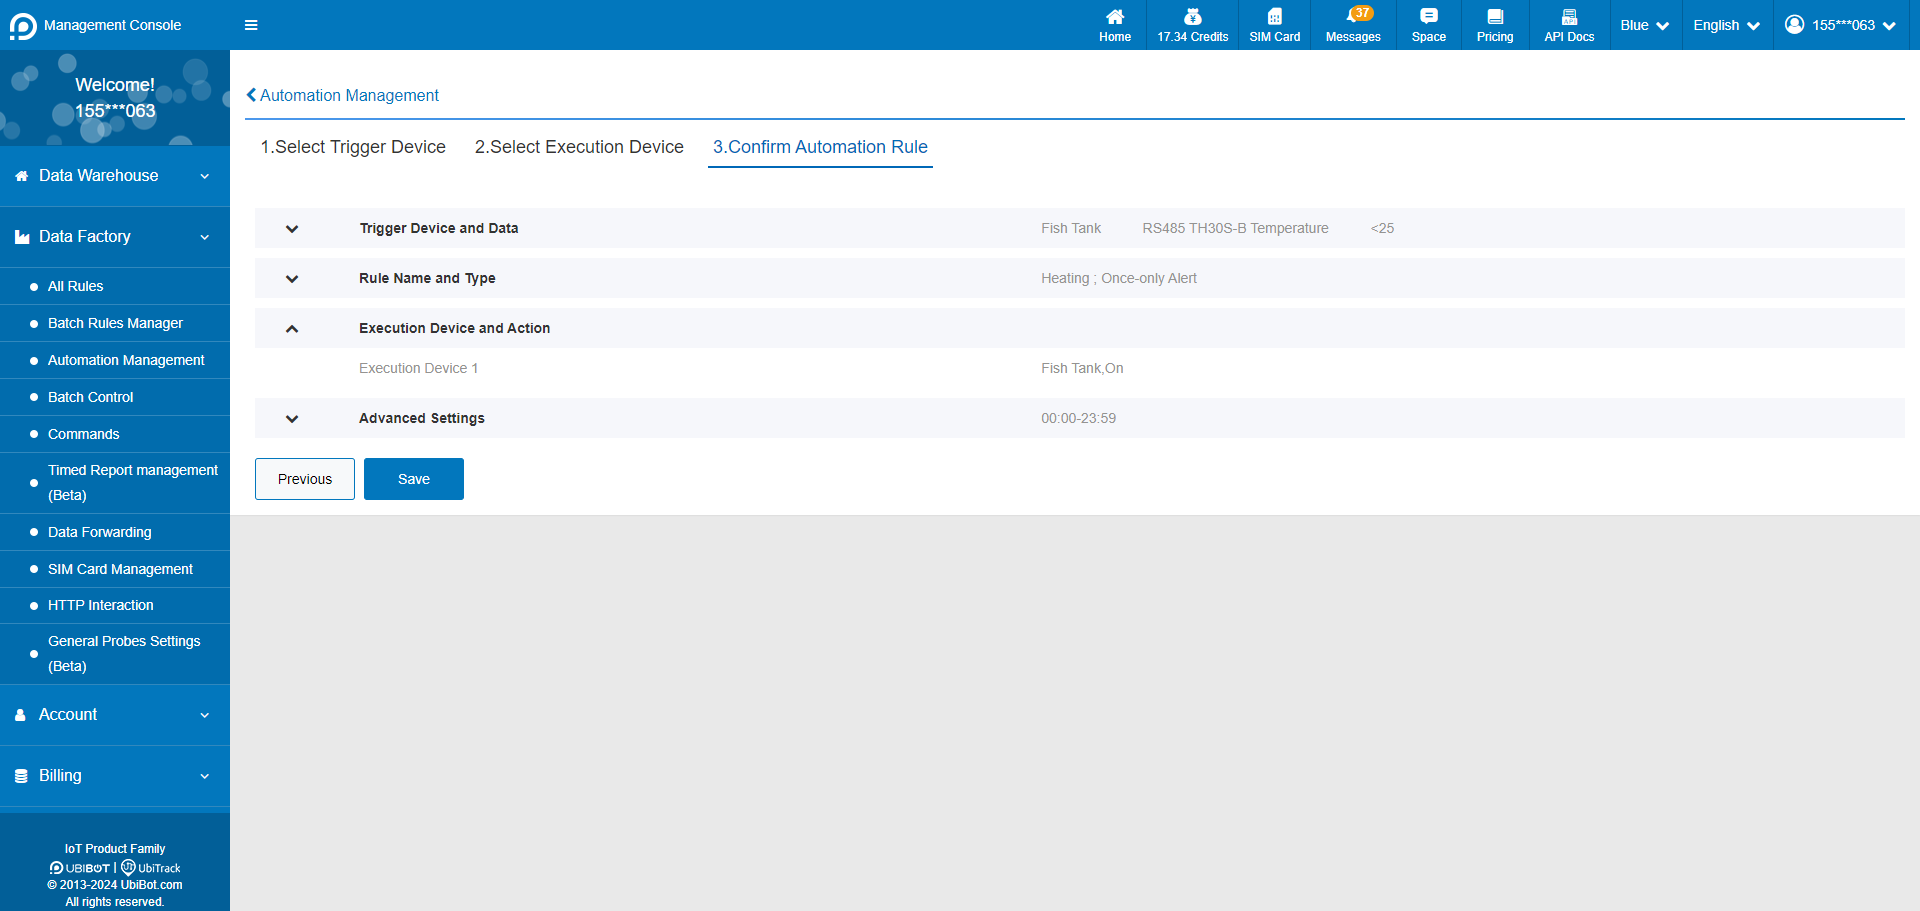 5. Setup successful.
 Receive/Answer Frame
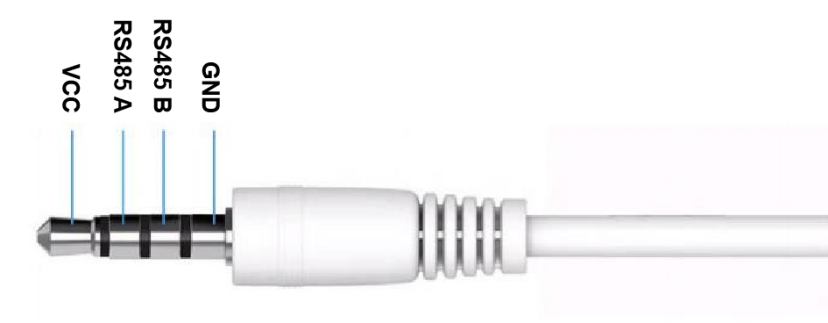
 The audio cable wiring sequence for the external sensor is shown below. Please confirm the working voltage of the sensor to be connected, if the output voltage of the RS485 interface of the device is not satisfied, you need to supply power to the sensor separately.
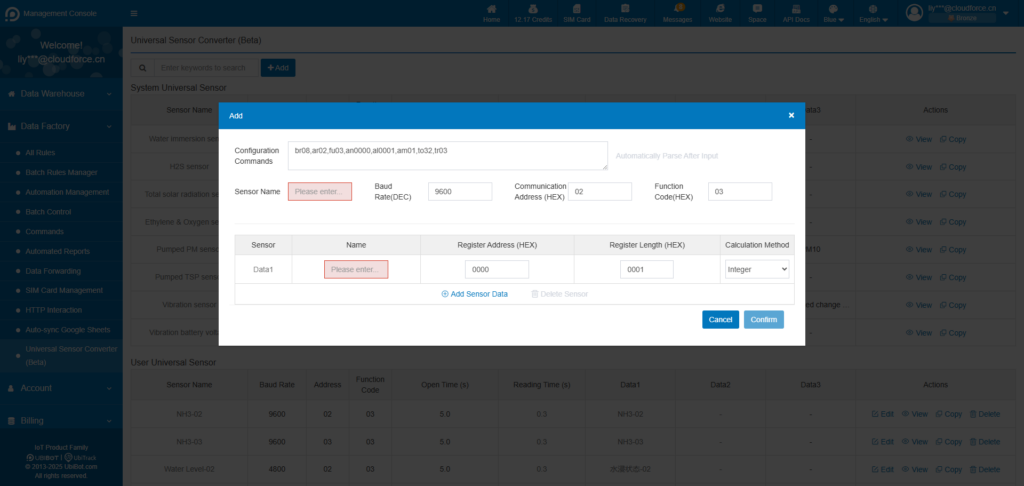
 Universal Sensor Converter Settings
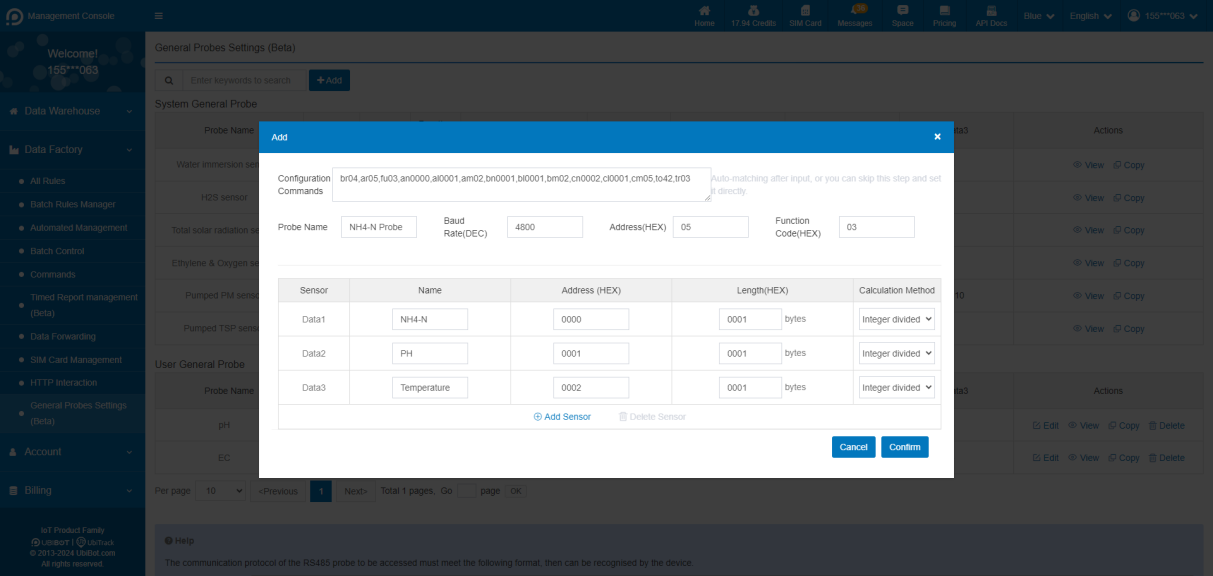
Click [Data Factory] → [Universal Sensor Converter] → [New]. According to the communication protocol of the sensor to be connected, fill in the sensor name, baud rate, address, function code and sensor information. You can also paste the command string and parse it automatically.
Universal Sensor Converter Settings
Click [Data Factory] → [Universal Sensor Converter] → [New]. According to the communication protocol of the sensor to be connected, fill in the sensor name, baud rate, address, function code and sensor information. You can also paste the command string and parse it automatically.
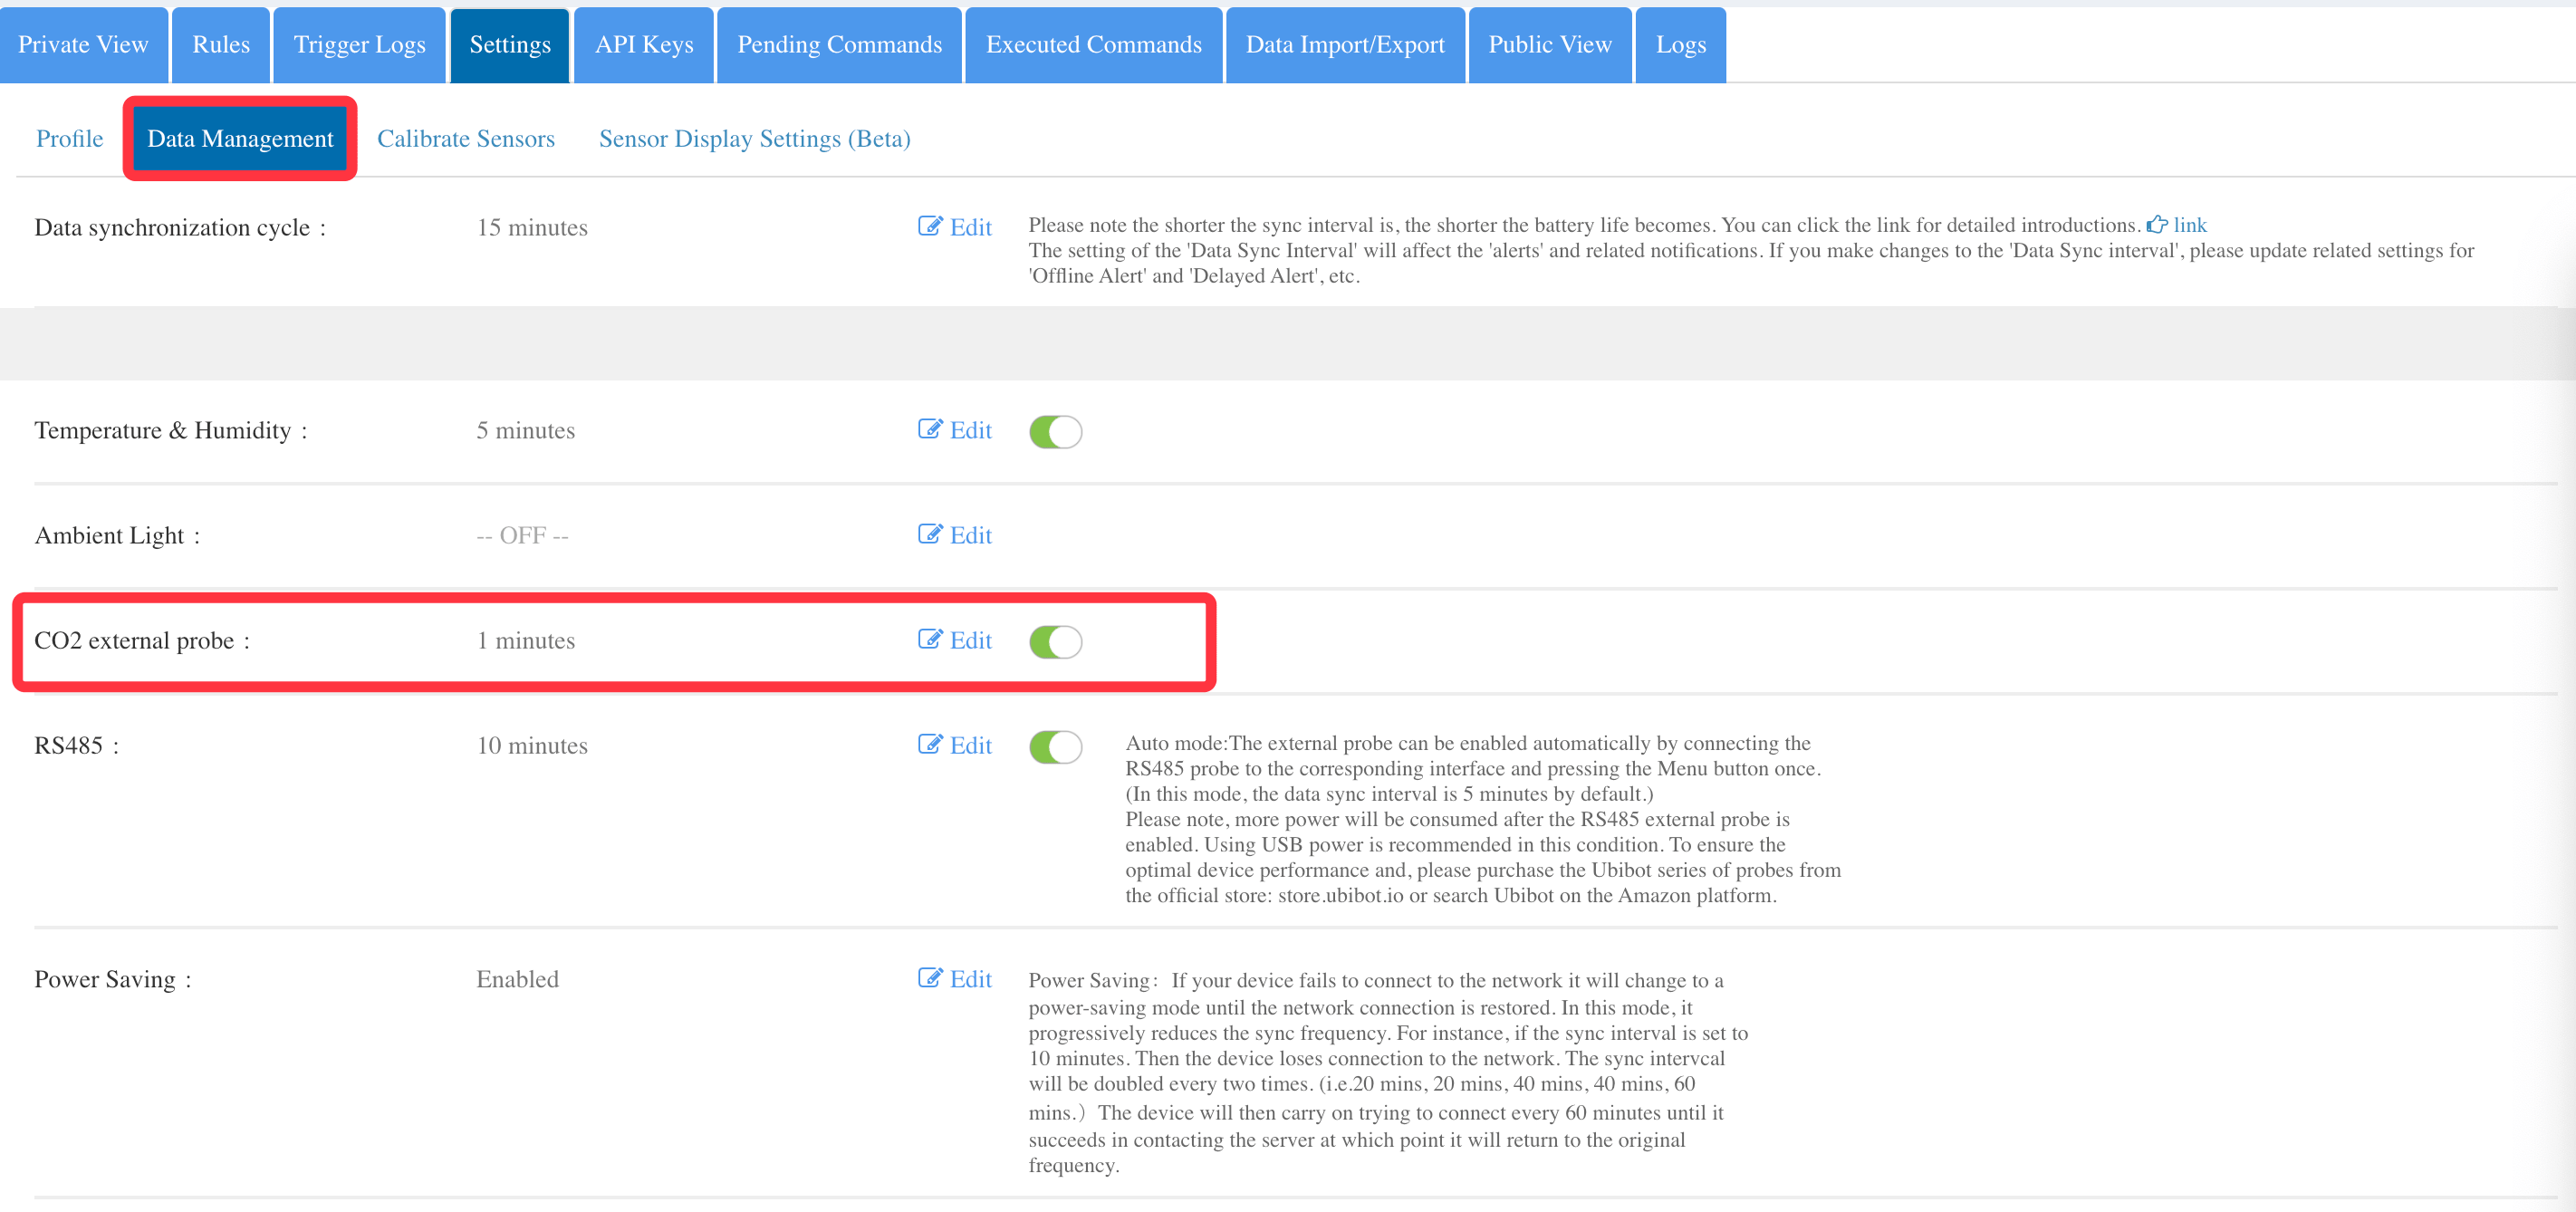
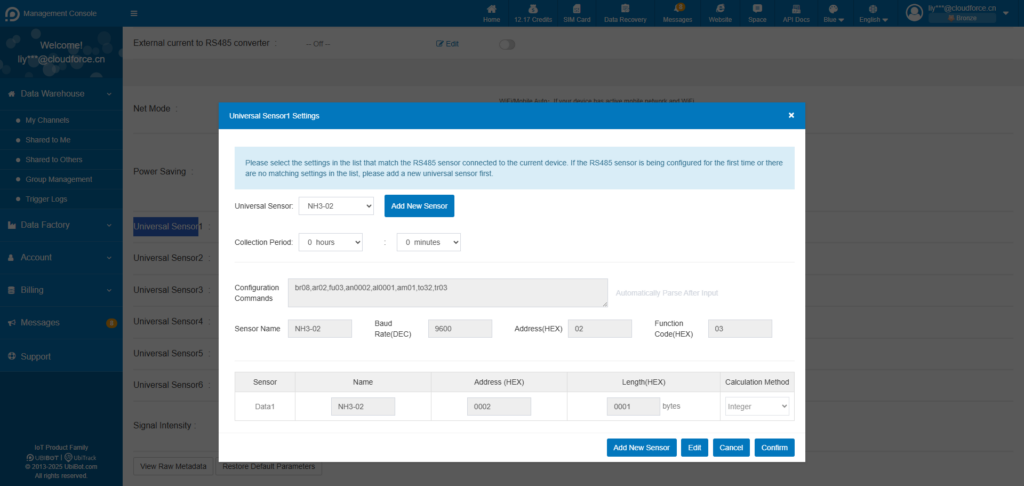
 After the setting is completed, enter the device page, click [Settings] → [Data Management]. Scroll down to Universal Sensor and click [Edit]. Then select the corresponding sensor and set the acquisition cycle.
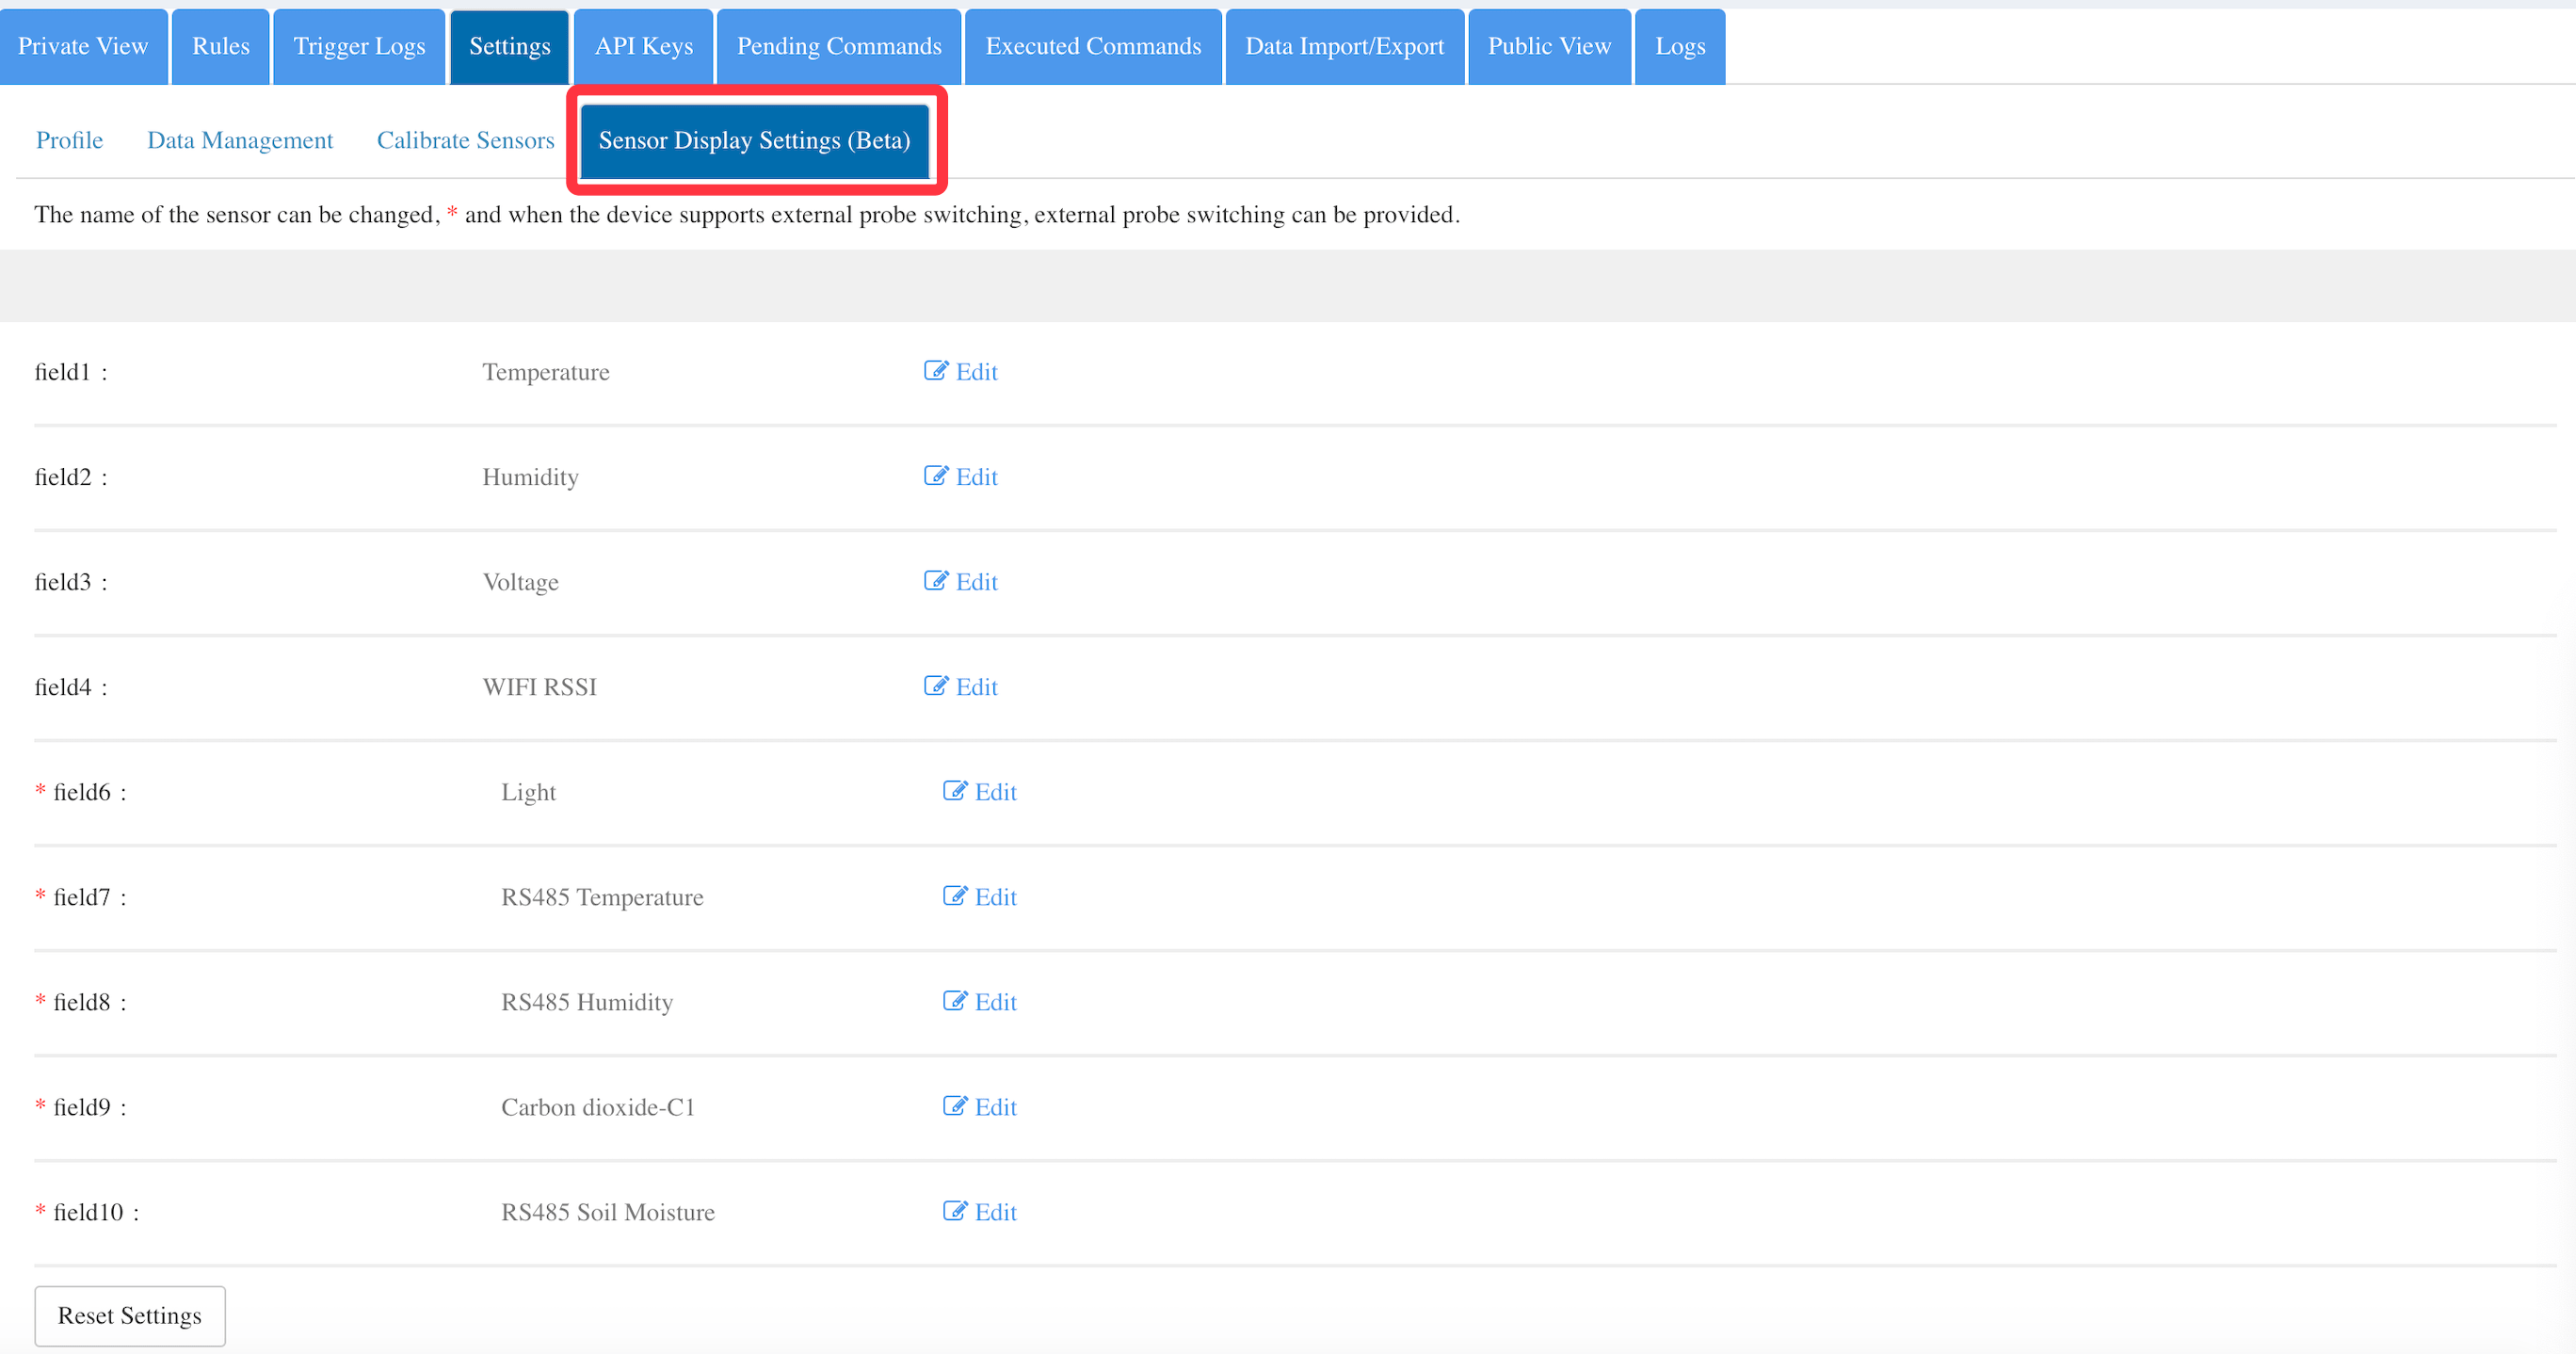
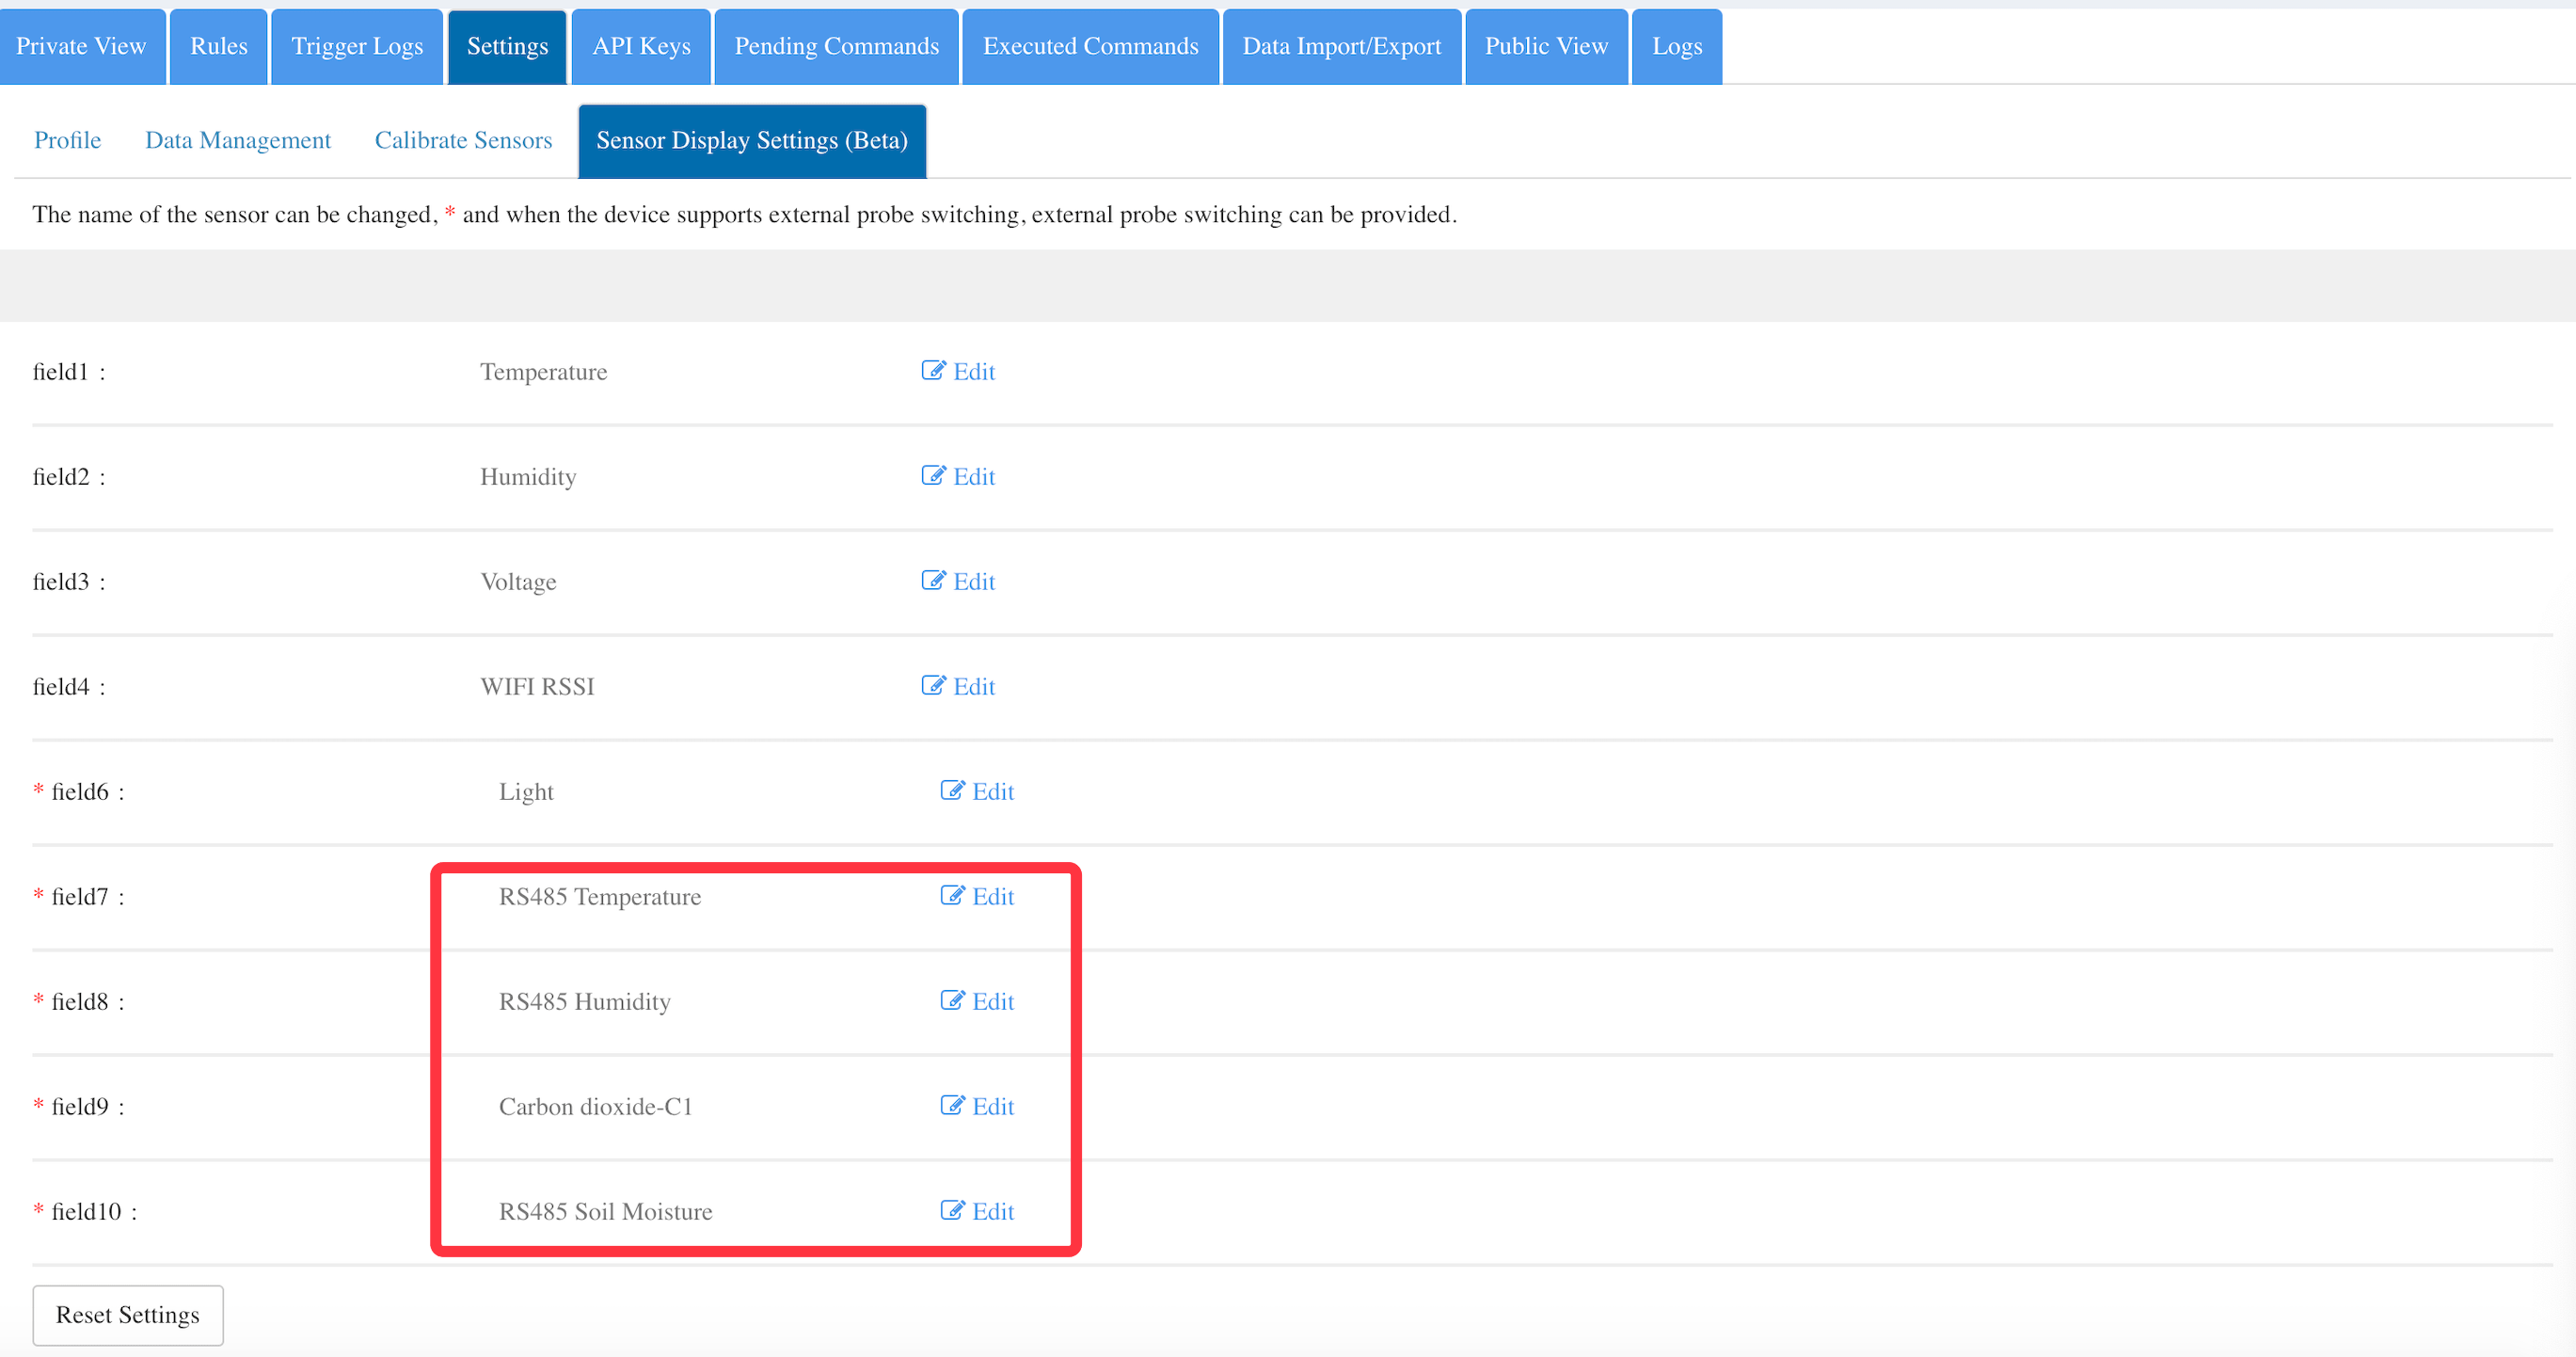
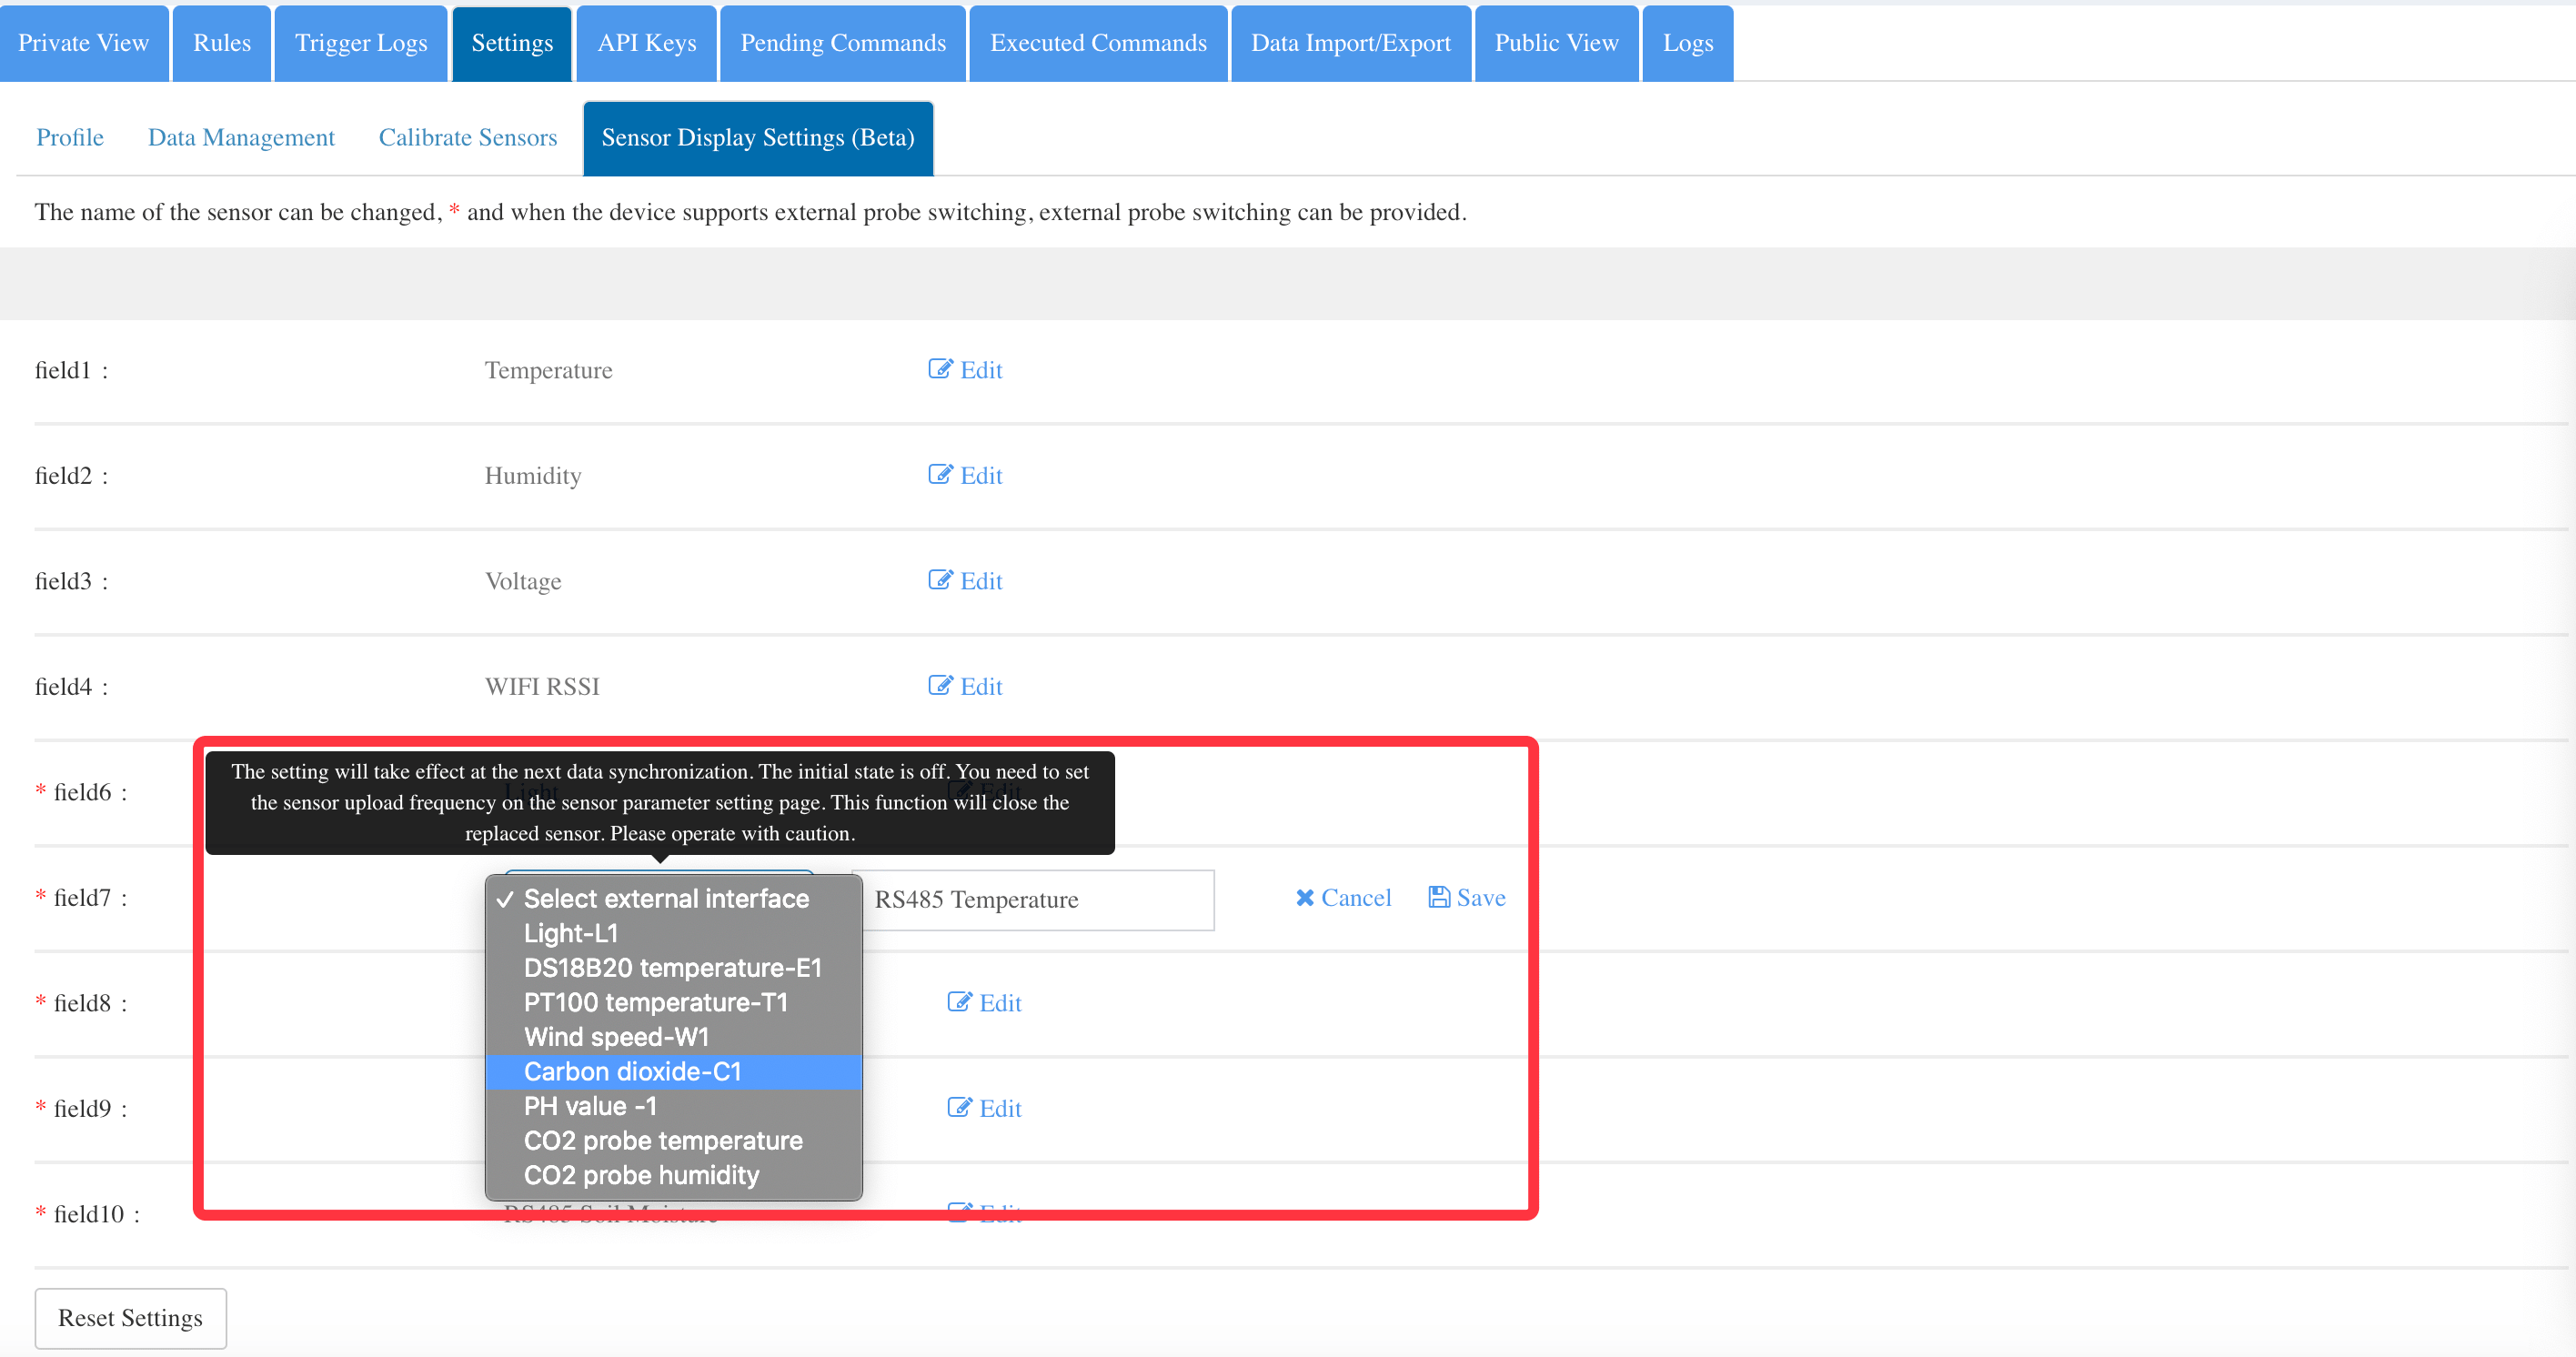
 Click [Sensor Display Settings], find the corresponding field and click [Edit] to select the sensor data name of the sensor setting.
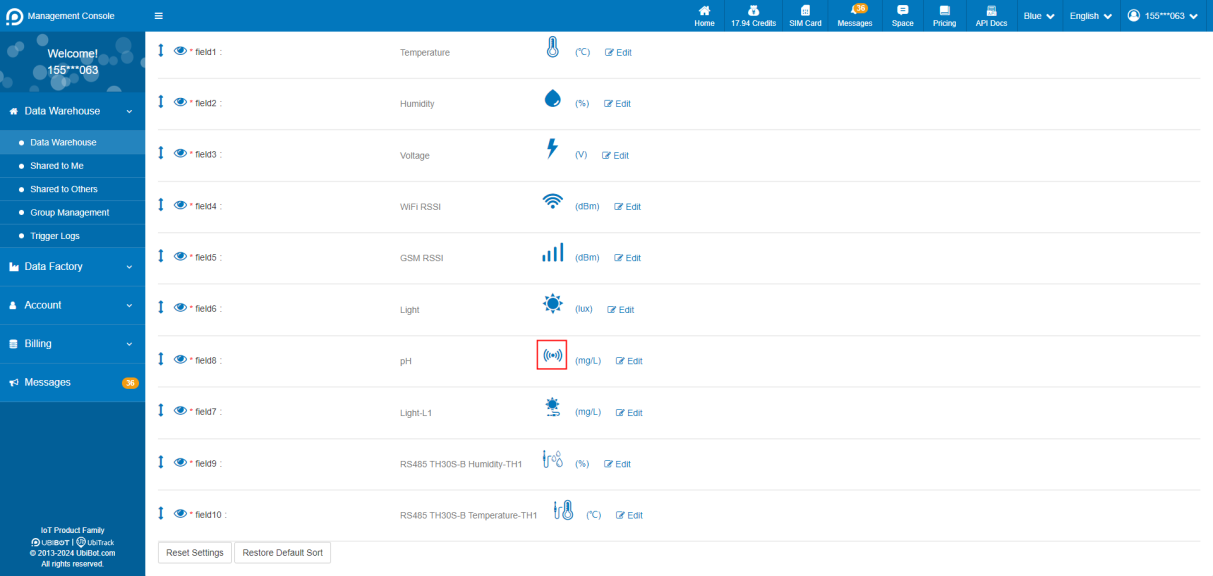
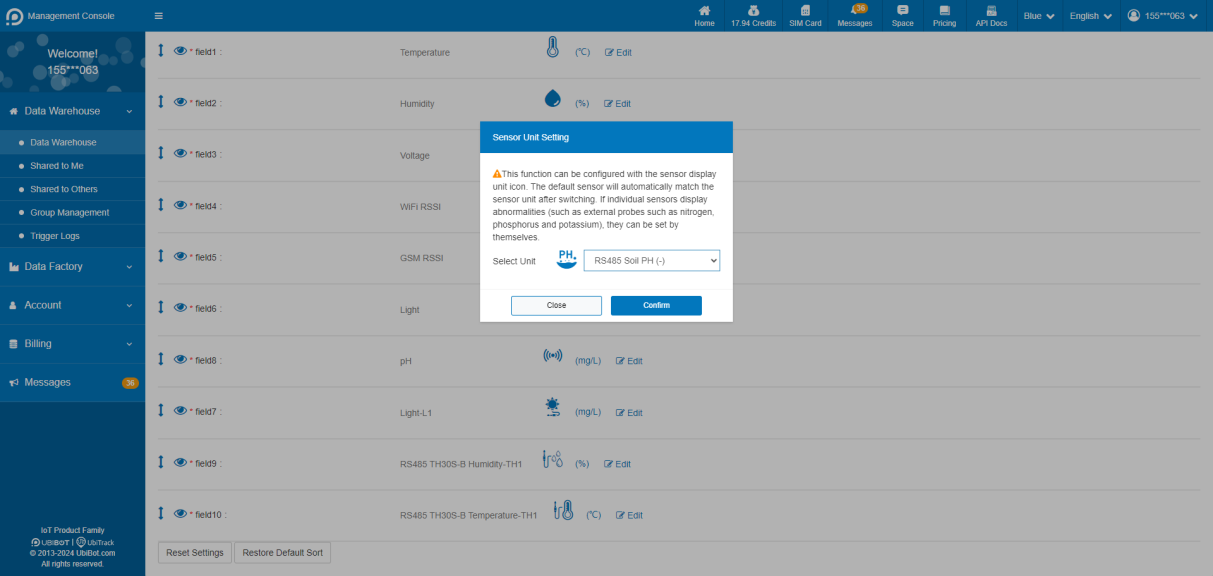
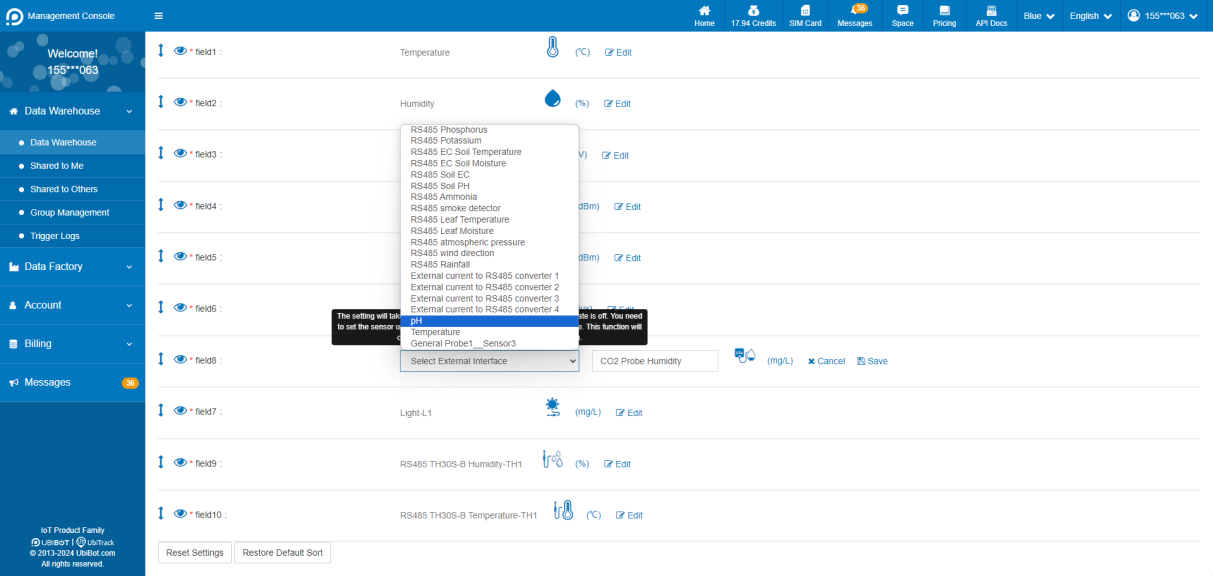 Click the unit as shown in the figure and select the corresponding unit or select "External current to RS485 converter" to customize the unit.
 Example
For external NH4-N sensor, the sensor address is 0x05, the baud rate is 4800 bit/s, the function code is 03, and the communication protocol and register address are listed in the table below.
Send Frame
Example
For external NH4-N sensor, the sensor address is 0x05, the baud rate is 4800 bit/s, the function code is 03, and the communication protocol and register address are listed in the table below.
Send Frame
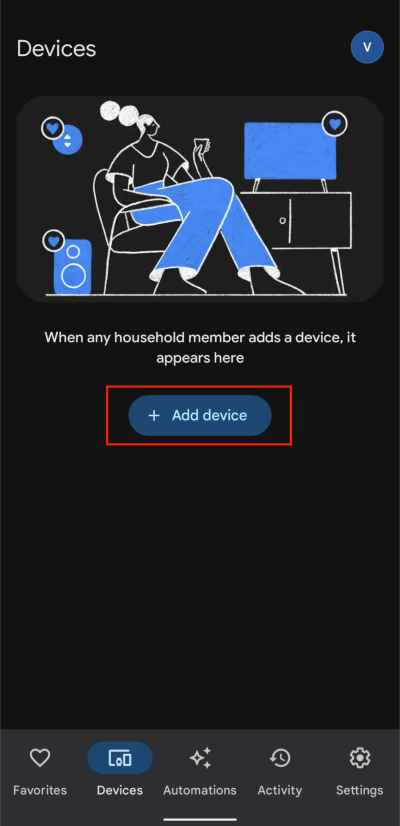
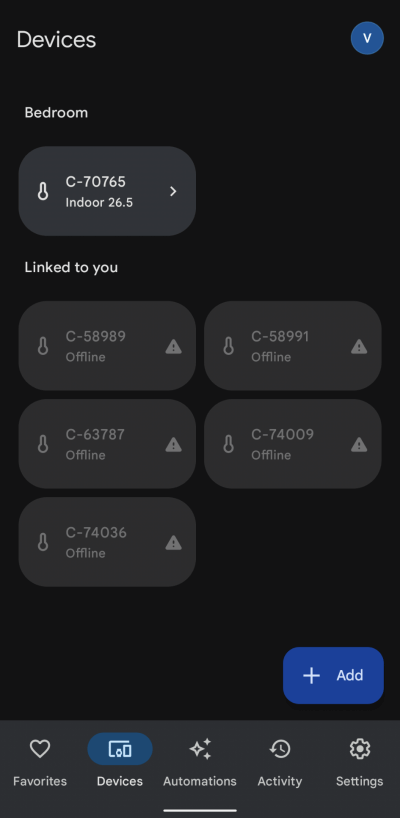
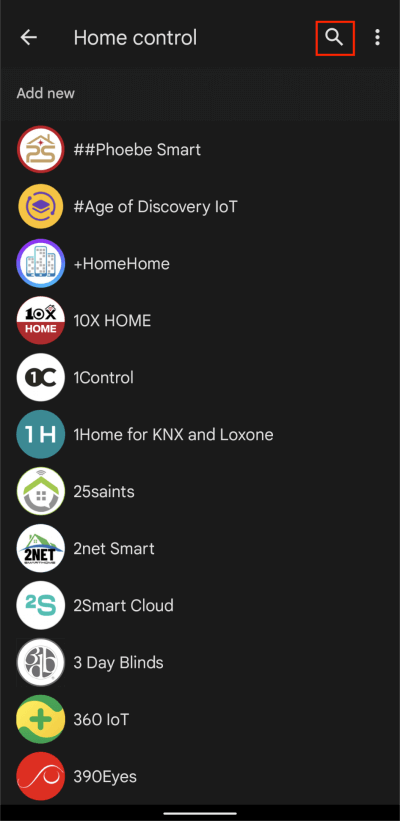
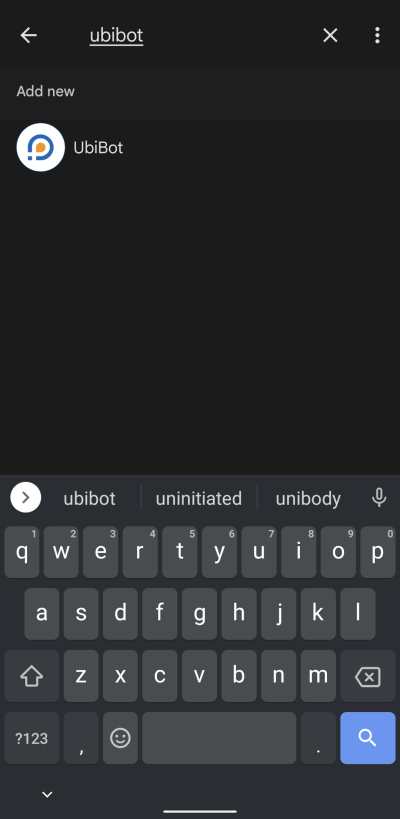
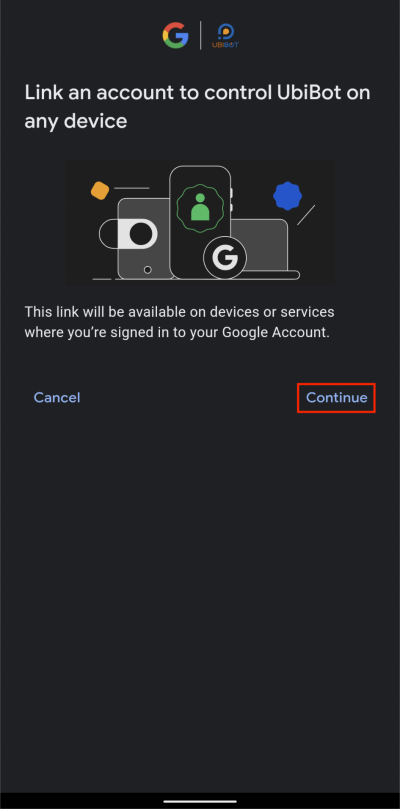
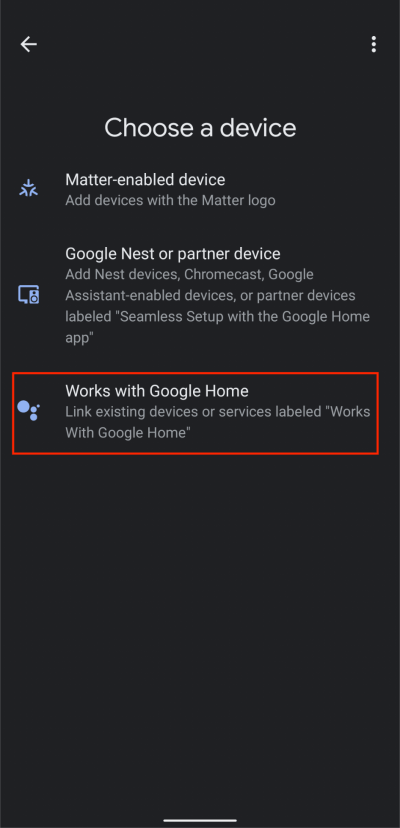 2. Tap Search button, then type UbiBot and select the UbiBot from the list.
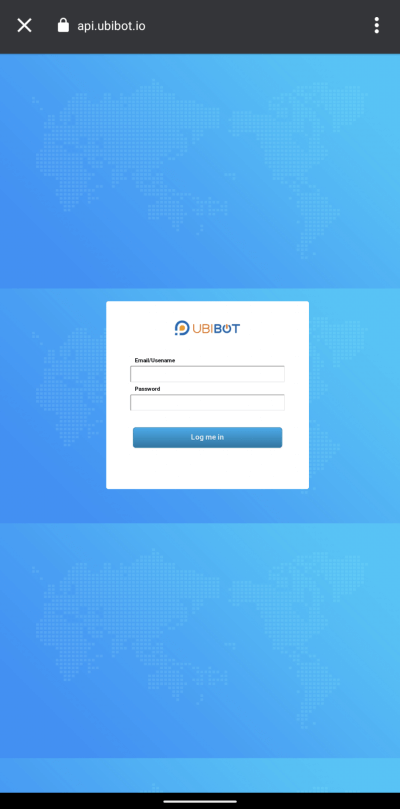
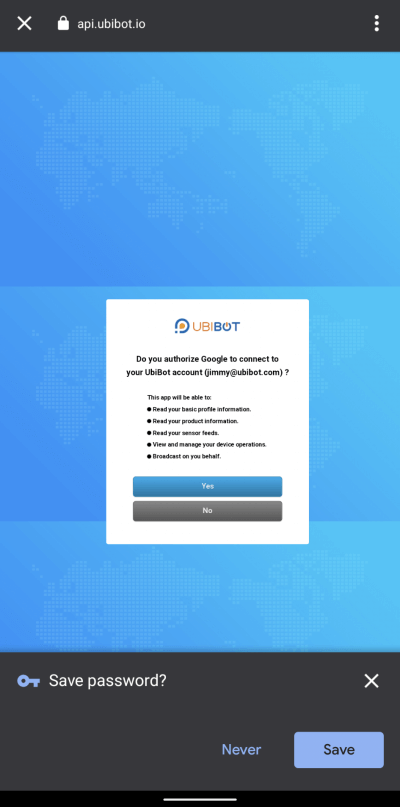
 3. Tap Continue, then enter your UbiBot account information to connect it to Google Home.
 4. Select a channel ID (device) and room for it.
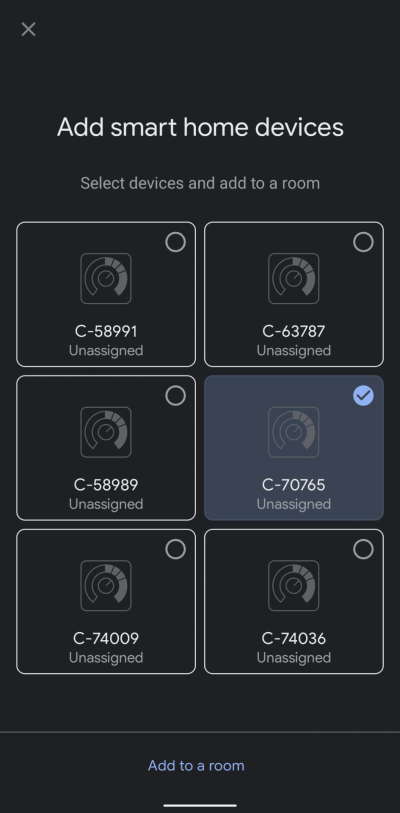
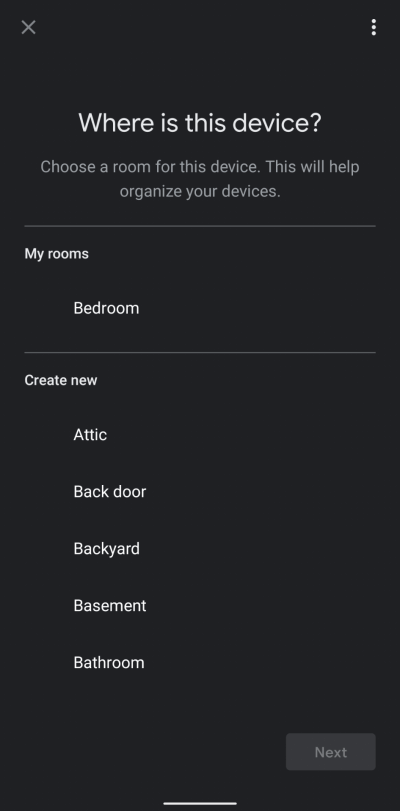 5. Now you can see the UbiBot device successfully.