-
Account Management
-
Common Questions
-
On-Premises Platform
-
WS1
-
WS1 Pro
-
GS1
-
External Probes
-
App Operation
-
Web Console
-
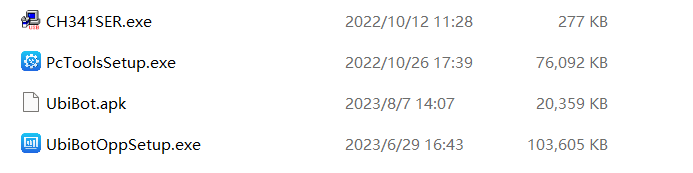
Downloads
UbiBot ® WS1 User Guide
UbiBot ® WS1 Pro User Guide
UbiBot ® GS1 User Guide
UbiBot ® GS2 User Guide
UbiBot ® MS1 User Guide
UbiBot ® SP1 User Guide
UbiBot ® LD1 User Guide
UbiBot ® AQS1 User Guide
UbiBot ® NR1 User Guide
UbiBot ® HW1 User Guide
UbiBot ® GW1 User Guide
UbiBot ® WS1Pro-L User Guide
UbiBot ® GS1-L User Guide
UbiBot ® Logo Files
Accessory Specifications
Console Operation
APP User Guide
PC Tools
-
Instruction Video
-
-
-
News
-
Changelog
-
Platform API
-
Read First
-
Channel Management
-
Channel Feeds Management
-
Channel Commands
-
API-Key Management
-
Device API
-
Certification and Compliance
Installation Instruction
July 19, 2024
Please click to download: Installation Instruction
I. Installation
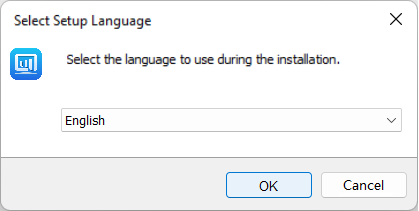
i.Install UbiBotOPP
a Double click “UbiBotOPP Setup”.
b Select setup language, click [OK].
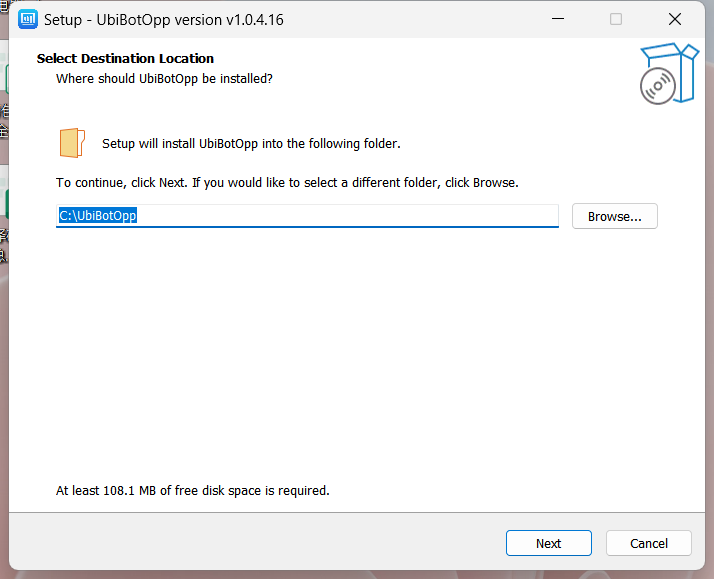
c Confirm the installation path, the default installation path for the programme is “C:\UbibotOpp”, then click [Next].
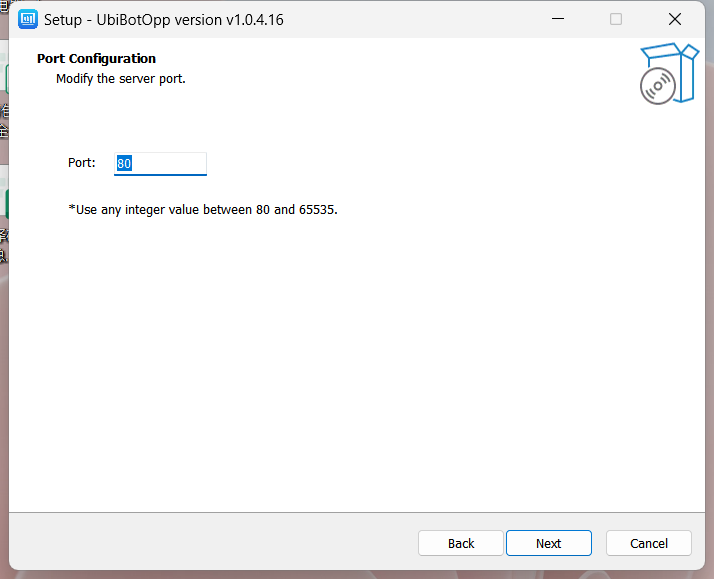
d Set the server port, then click [Next].
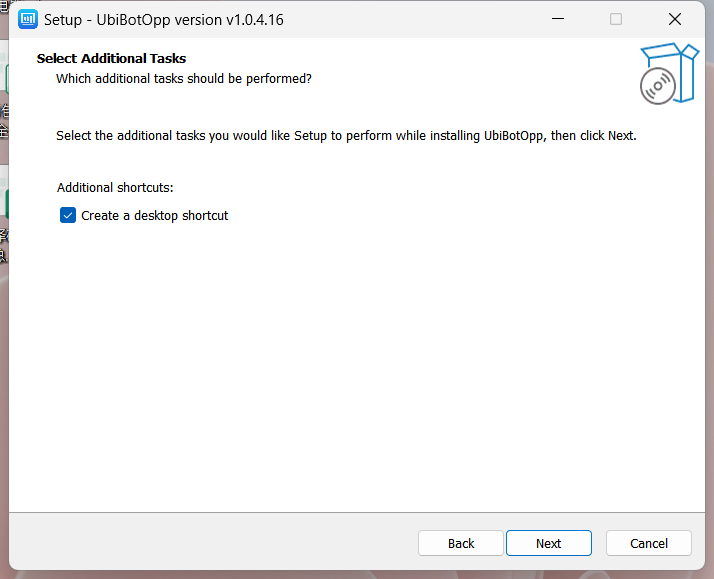
e Select additional tasks and click [Next].
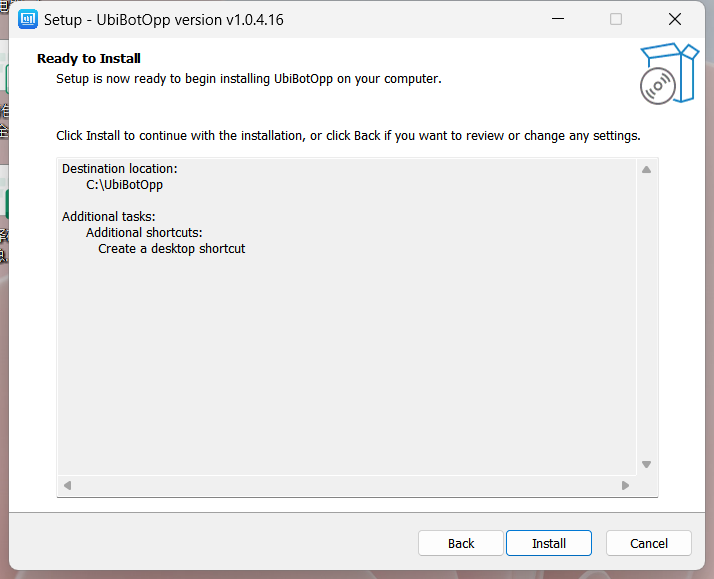
f Click [Install].
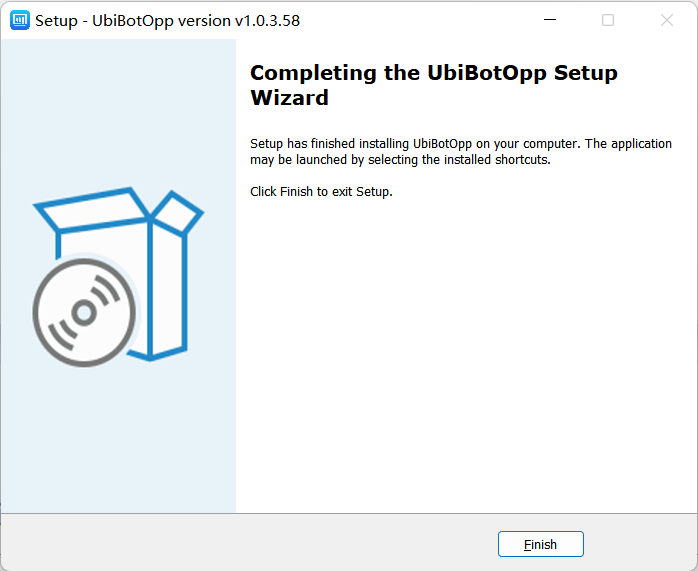
g Click [Finish].
ii.Privatization Environment Parameter Setting
a Open the browser and go to http://127.0.0.1/.
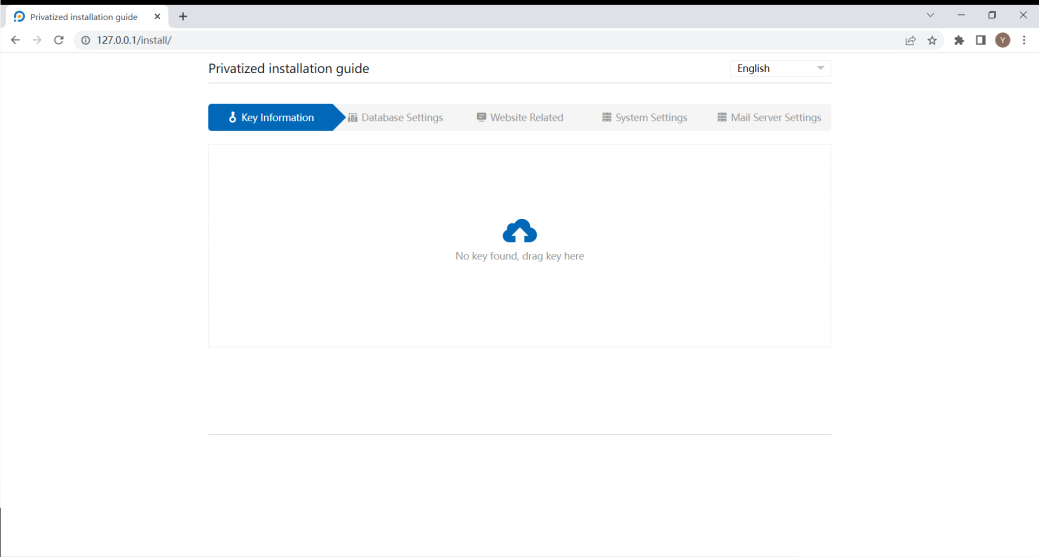
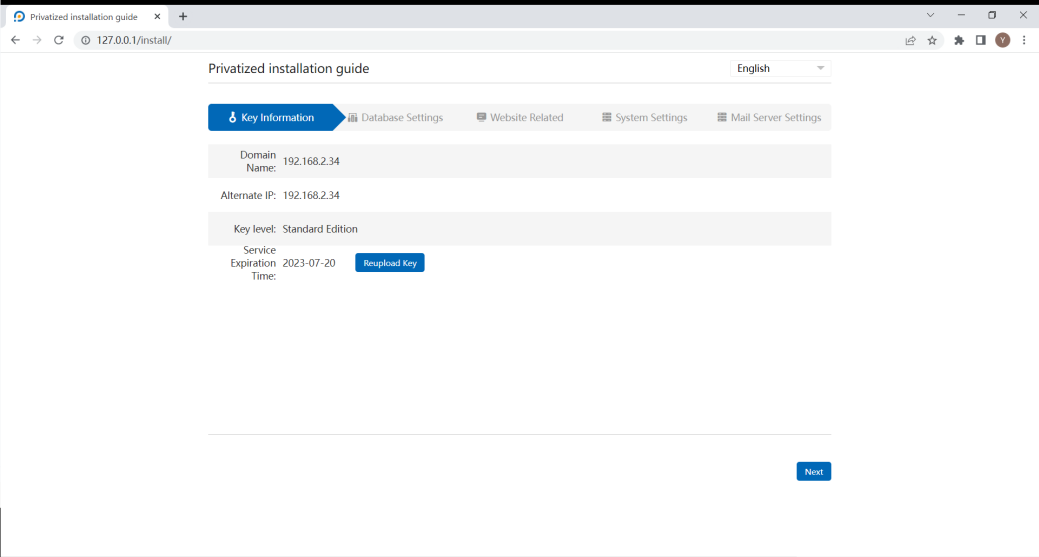
b Upload the license which download in the App Center, click [Next].

After the upload, the key information will be shown on the page.
c If no special setting is needed, please click [DB Link Test] to check whether the database is connected. Click [Next].

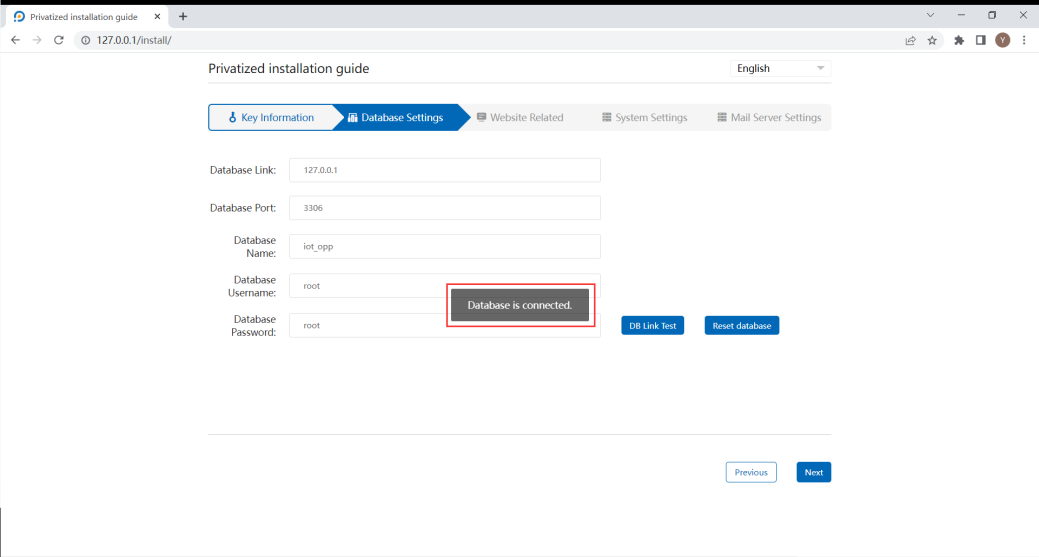
Note: [Reset database] will clear the original database, please operate with caution.
After click [Reset database], please click [DB link test] again to confirm the database link is successful.
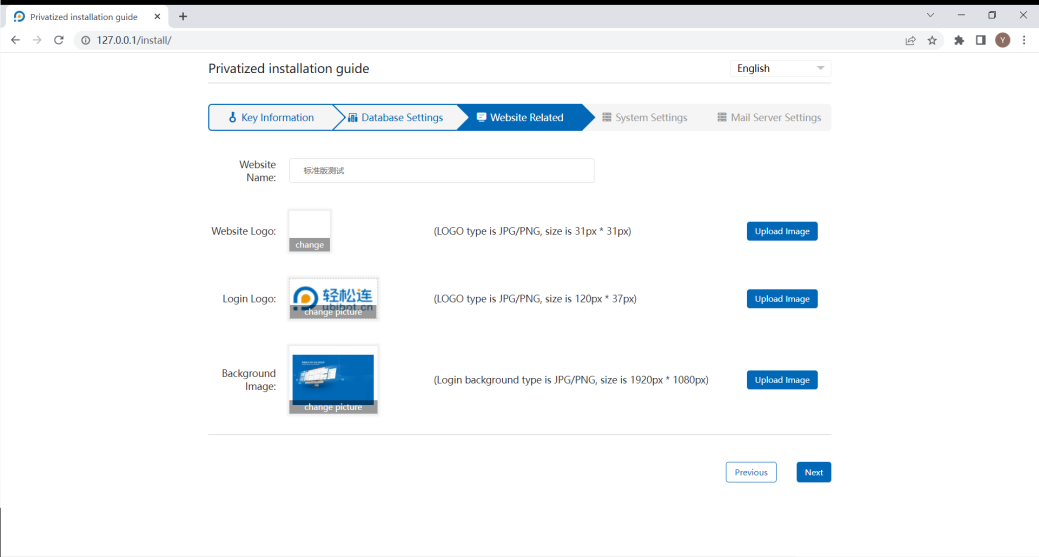
d Set website related information, you can set the name, logo and background image. Click [Next].
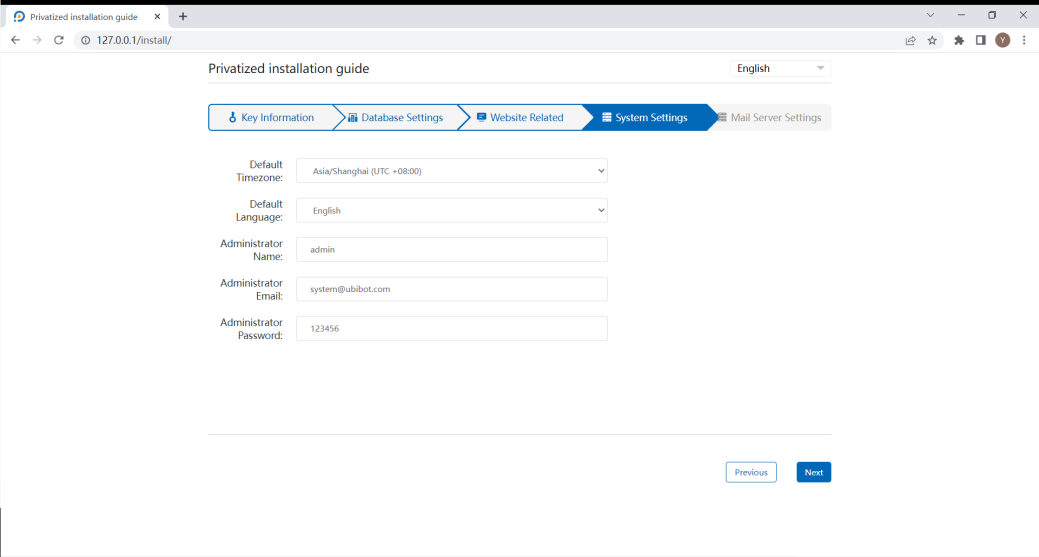
e Set the system setting like default timezone, language, account, etc.
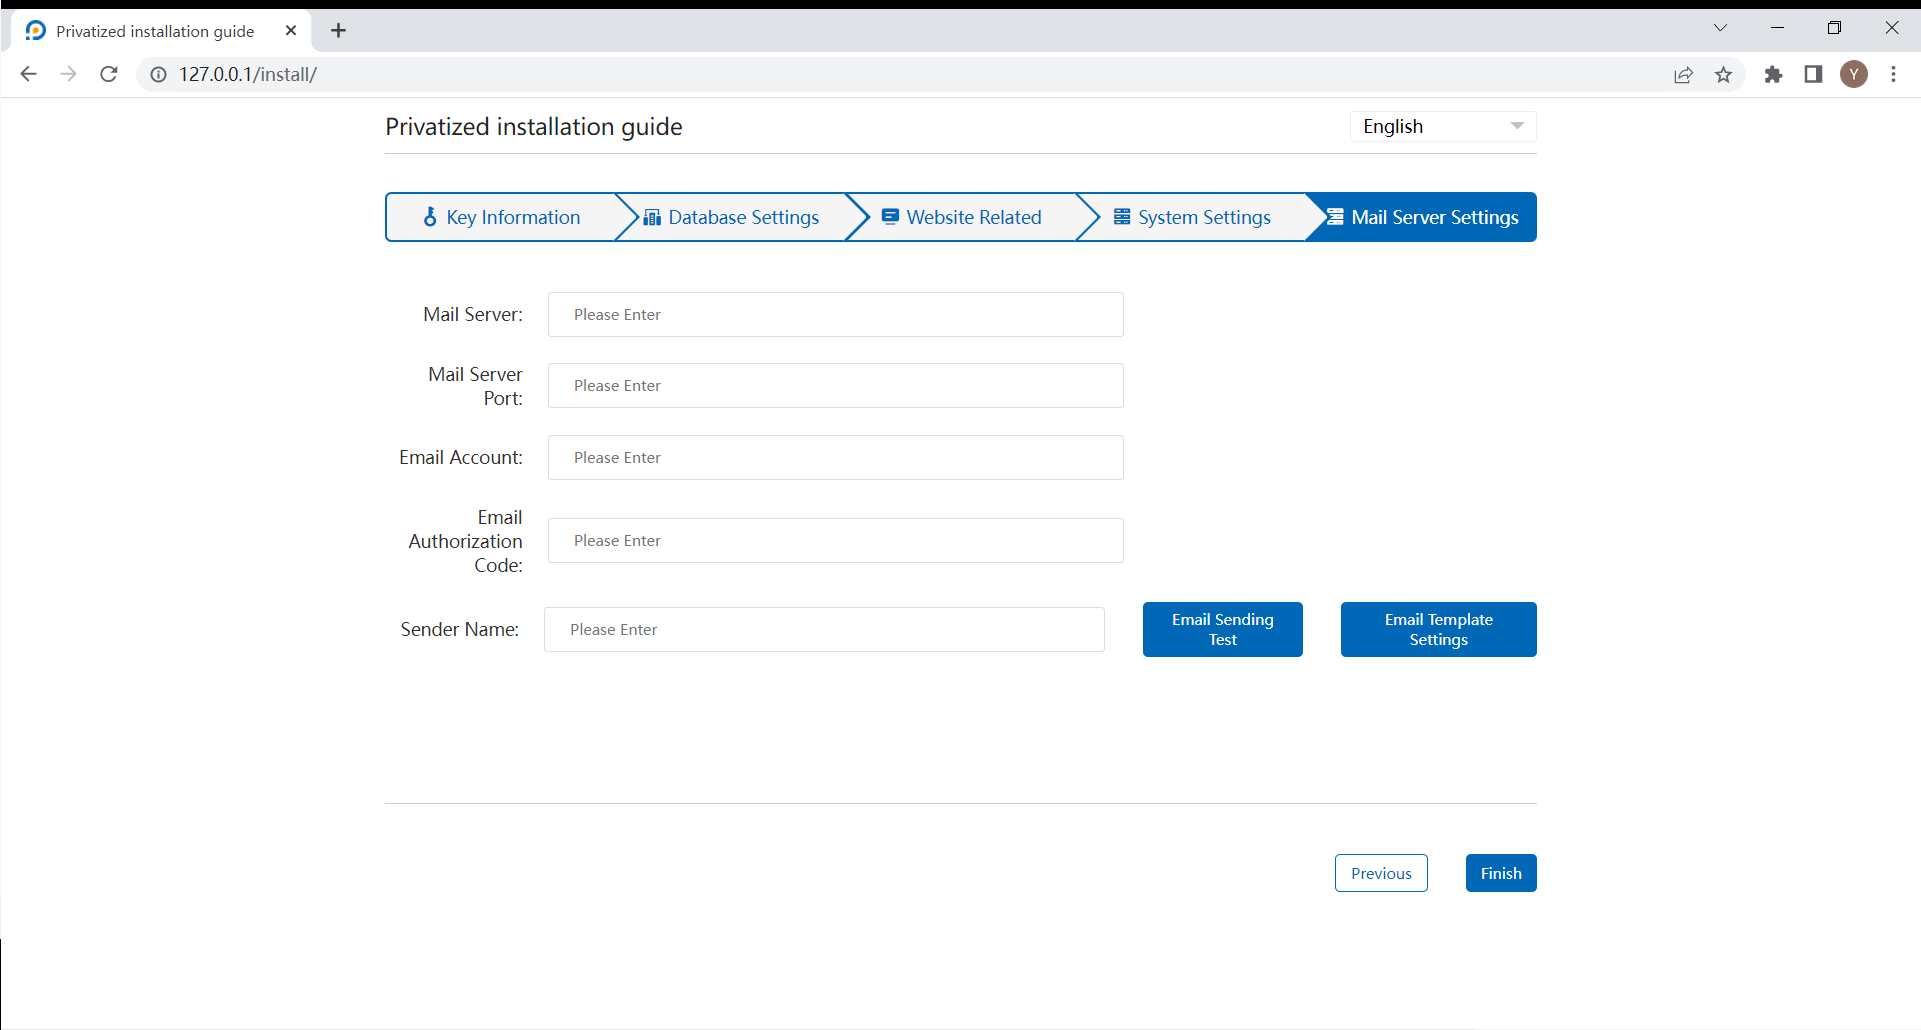
f If you need to use the email alert function (not supported in the free version), please set up the Mail Server Settings (server for sending alert emails). Click [Finish], then it will jump to the console platform.
Please check with the mail service provider you are using for the relevant settings. Here is an example, the relevant settings are as follows.

II. Activate the device
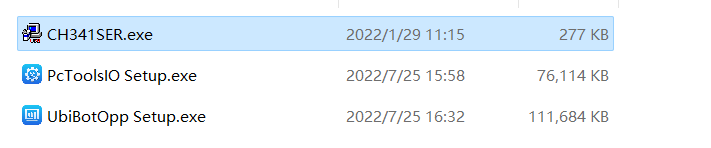
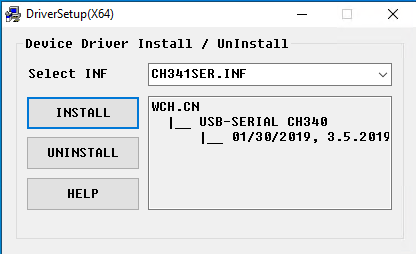
i.Install the CH340 driver
a Double click “CH341SER”.
b Click [Install].
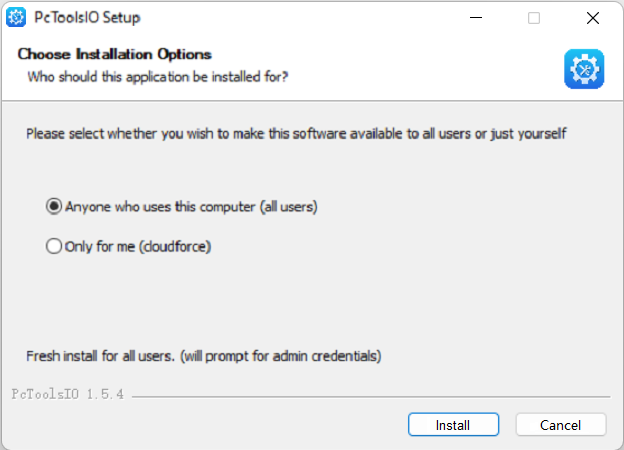
ii.Install PC Tool
a Double click “PcToolsIO Setup”.
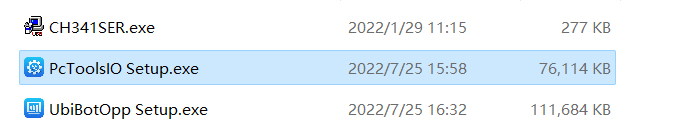
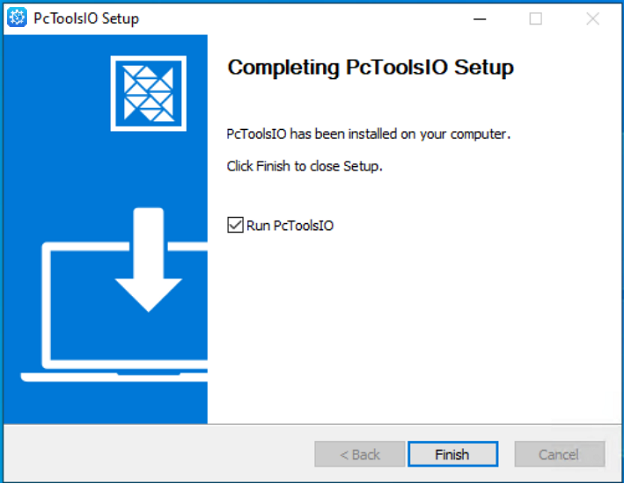
b Click [Install].
c Click [Finish].
iii.Activate device
Please ensure that the device to be activated is not bound. If not, restore the factory setting of the device first.
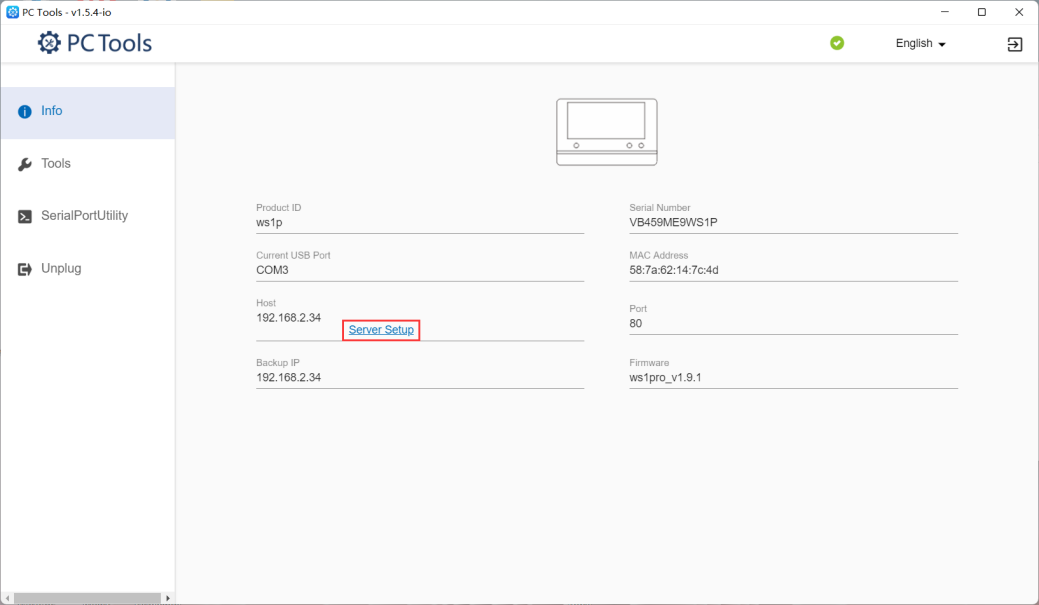
a Double click PC Tool.

b Connect the device to the computer with a USB cable.
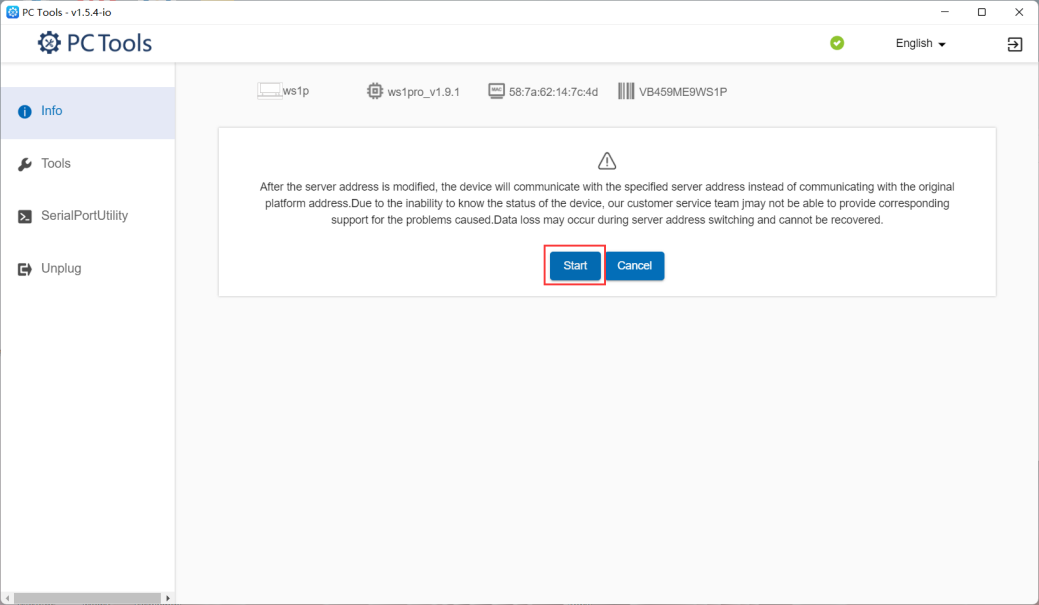
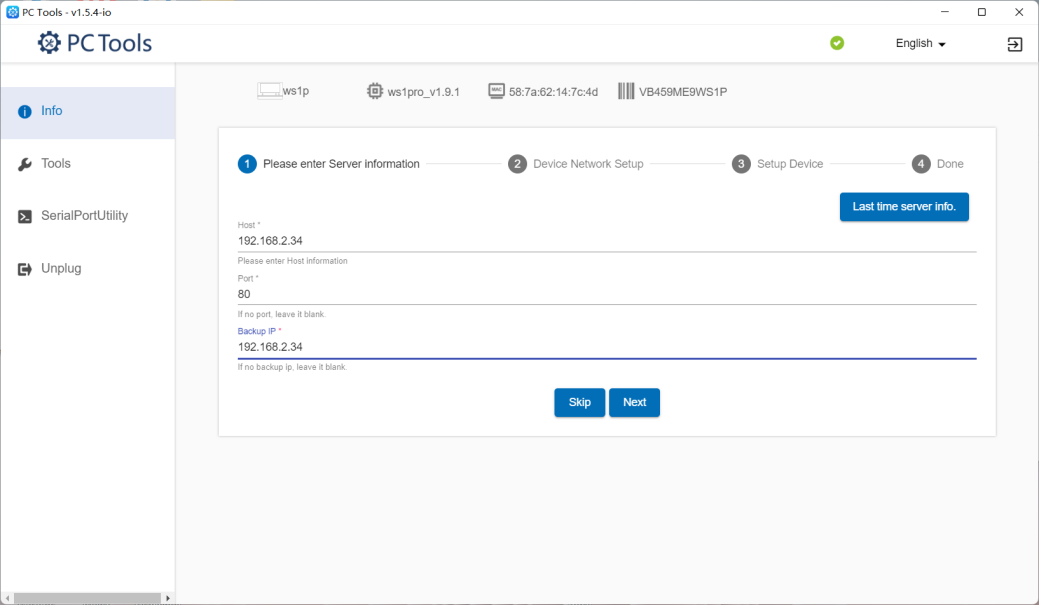
c Click [Server Setup].
d Click [Start].
e Enter the host, port and backup IP, then click [Next].
- Host: the host name set in the key.
- Port: 80(default). If the port has been modified, please fill in the new port number.
- Backup IP: the IP address set in the key.
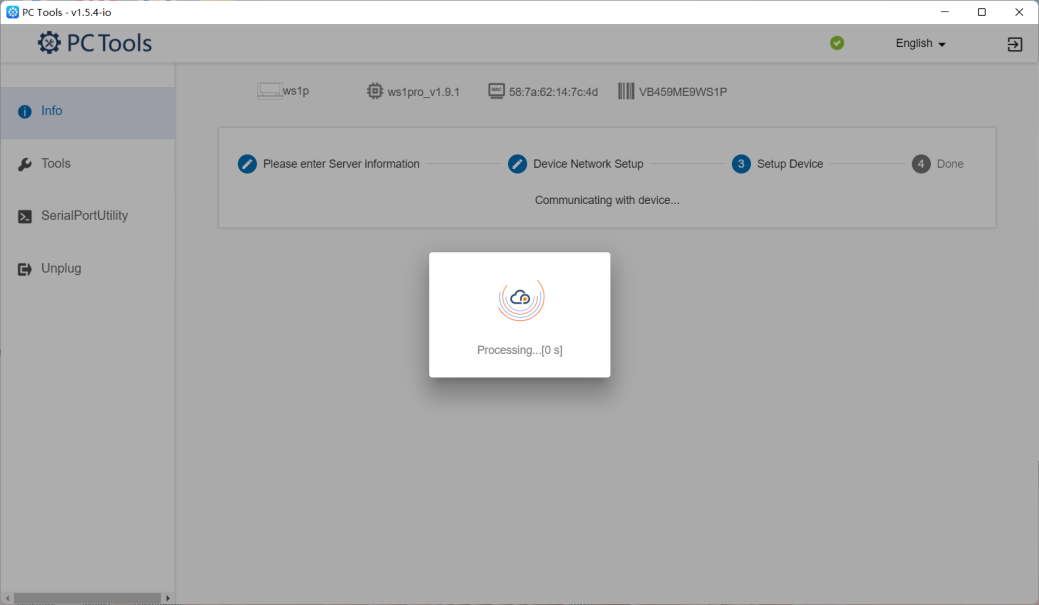
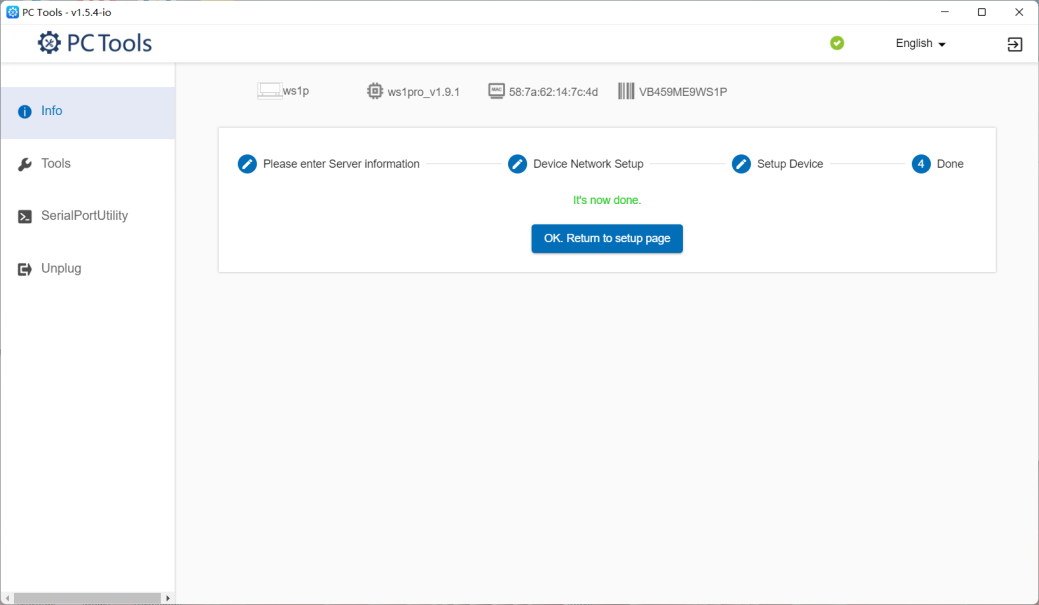
f WiFi setup. Choose the network, set the Network SSID and password, then click [Start Setup]. After the setup, the device will be shown in the console platform.

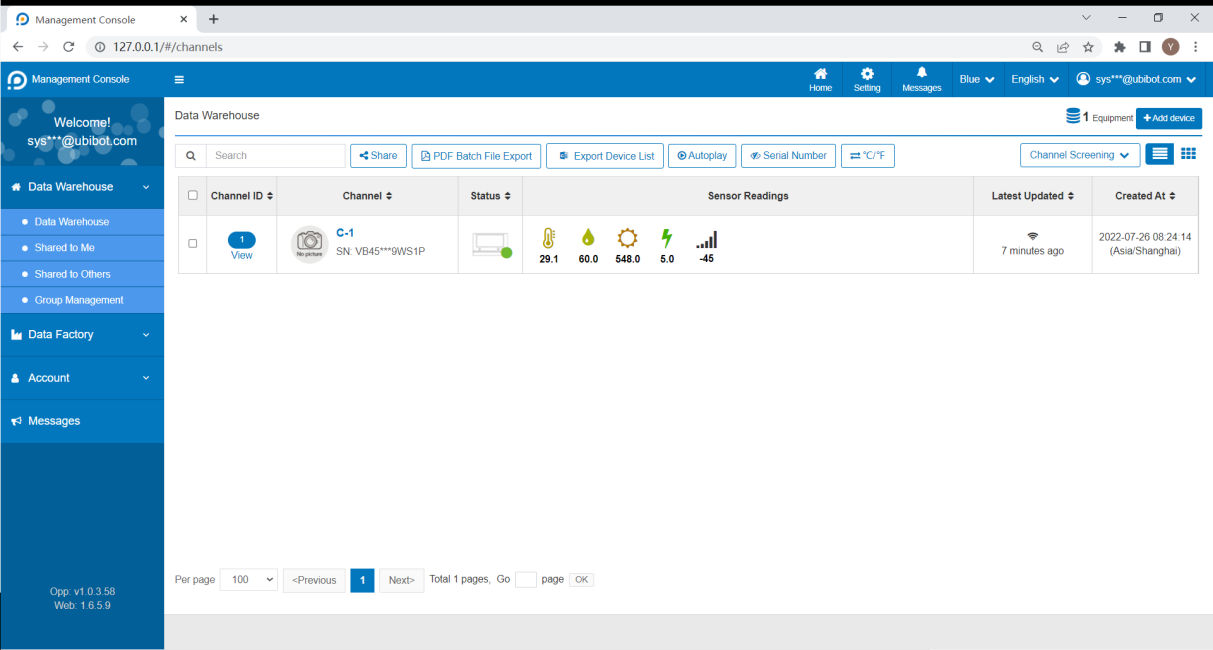
III. Login the console platform
Access http://127.0.0.1/ (local server only) or the specified host address, such as http://192.168.2.34.
The username and password are set in the system settings.

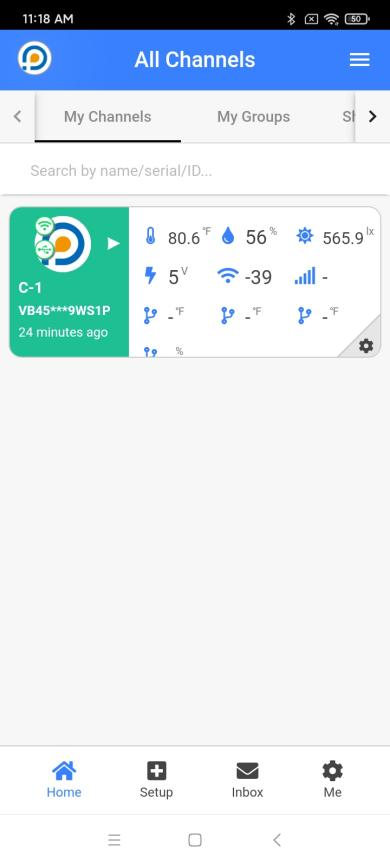
Click [Data Warehouse], the activated devices are shown in the page.
Note: If you need to bind the device again after deleting it, restore the factory setting of the device first.
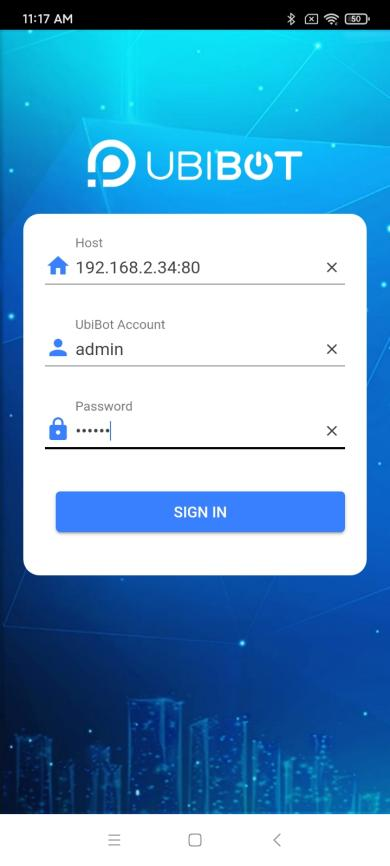
IV. Login APP (standard version and above)
a Download and install the “123 IoT OPP”.
b Open the APP and input the server, account and password. The server address must be the server address+port, such as 192.168.2.34:80.
Hot Tags
-
Batteries
calibration of the probe
change wifi
CO2 monitor
digital humidity sensor
elder years with optimal temprature
environmental conditions in warehouse
food industry
humidity index
hygrometer
indoor light strength
laboratory temperature sensor
remote data logger
RS485 interface
soil moisture
temperature and humidity sensor
temperature control in aquarium
temperature sensor
waterproof cover
wireless sensor